Hello! Welcome to the next lesson in your journey to becoming a Shopify developer.
In our last session, we went deep into the OAuth 2.0 flow, manually implementing the installation and callback routes to acquire that all-important access_token. This token is the key that allows our app's backend server to securely communicate with Shopify's API server.
But that raises a new, crucial question, born from the "first principles" approach we're taking: how does our app's frontend (the user interface loaded in an iframe inside the Shopify admin) securely talk to our own backend server?
Today, we'll answer that question. Our learning outcome is to manage authenticated sessions for making secure API requests on behalf of a store. This involves two distinct but related authentication flows:
- Authenticating requests from your app's frontend to your app's backend.
- Using the authenticated session to then make secure requests from your backend to the Shopify Admin API.
Let's dive in.
The Problem: The End of Third-Party Cookies
For years, web applications used cookies to manage user sessions. When you logged into a site, the server sent a cookie to your browser, and your browser would include that cookie on all subsequent requests to that same site, keeping you logged in.
However, a Shopify app running embedded in the admin is in a different situation. Your app's frontend is served from your domain (e.g., my-cool-app.com), but it's displayed inside an iframe on the Shopify admin domain (e.g., your-store.myshopify.com/admin). From the browser's perspective, a cookie from my-cool-app.com being used on a page at your-store.myshopify.com is a third-party cookie.
For privacy reasons, modern web browsers are phasing out support for third-party cookies. This breaks traditional session management for embedded apps. We need a new mechanism.
Shopify App Development - Shopify App Authentication
The video 'Shopify App Development - Shopify App Authentication' by Coding with Jan gives an excellent overview of this exact problem. This segment explains why third-party cookies are being deprecated and why a new solution is necessary.
Watch from 04:20 to 06:34. Focus on the explanation of how third-party cookies were used and why modern browsers are restricting this practice due to privacy concerns.
The Solution: Session Tokens (JWTs)
Shopify's solution to the cookie problem is Session Tokens. These are a specific implementation of a widely-used standard called JSON Web Tokens (JWT).
A JWT is a compact, self-contained, and digitally signed piece of data. Instead of storing a session ID in a cookie and forcing the server to look it up, the JWT itself contains the necessary user and session information. Since it's passed in the request headers, it doesn't rely on cookies at all.
Anatomy of a JWT
Given your background in full-stack development, you've likely encountered tokens before. A JWT has three parts, separated by dots (e.g., xxxxx.yyyyy.zzzzz):
- Header: Contains metadata, like the signing algorithm used (e.g.,
HS256). - Payload: Contains the actual data, called "claims." This includes information like the user ID, the shop domain, and an expiration time. This data is Base64Url encoded, not encrypted, so it should not contain sensitive secrets.
- Signature: This is the security feature. It's created by taking the header, the payload, a secret key (your App's API Secret), and running them through the specified hashing algorithm.
Only your server and Shopify's server know the secret key. When your backend receives a JWT, it can regenerate the signature with its secret key. If the regenerated signature matches the one on the token, it proves the token is authentic and its payload hasn't been tampered with.
Learn JWT in 10 Minutes with Express, Node, and Cookie Parser
To really grasp this from first principles, let's watch a concise, general-purpose explanation of JWTs from the 'Learn JWT in 10 Minutes' video by Web Dev Cody. This will give you a solid foundation before we look at Shopify's specific implementation.
Watch from 07:18 to 09:58. This segment does a fantastic job of breaking down a JWT into its three parts using the jwt.io website. Pay close attention to how changing the payload or using the wrong secret invalidates the signature.
Now, let's see what this looks like in the Shopify ecosystem.
The official Shopify documentation 'About session tokens' provides the authoritative details on the structure of their JWTs.
Read the section 'Anatomy of a session token'. Compare the Header and Payload fields listed here (like iss, dest, aud, sub) with the general JWT structure you just learned about. This shows you what specific information Shopify packs into each token.
The Two-Way Handshake: Implementing Session Authentication
Now that we understand the "what" and "why," let's look at the "how." Managing a session with JWTs is a two-part process involving both your frontend and backend.
Part 1: The Frontend Request (Client-Side)
Your app's frontend, running in the iframe, needs to get a session token and include it with every request to your backend. Manually doing this for every fetch call would be tedious. This is where Shopify App Bridge comes in.
The @shopify/app-bridge package provides a utility called authenticatedFetch. This is a wrapper around the standard fetch API. When you use it to make a request, it automatically:
- Calls App Bridge to request a fresh, short-lived (60-second) session token from the Shopify Admin host.
- Receives the JWT from Shopify.
- Adds the JWT to your request in the
Authorizationheader as a Bearer token (Authorization: Bearer <the_jwt>). - Sends the request to your backend.
The 'Set up session tokens' documentation shows the practical code for this process.
Review Step 1: Get a session token and Step 2: Authenticate your requests. You don't need to memorize the code, but understand the roles of getSessionToken for getting a token manually and authenticatedFetch as the automated, recommended approach for making API calls.
Part 2: The Backend Verification (Server-Side)
Your Express.js backend now receives a request with the JWT in the Authorization header. Before processing the request, it must validate the token. This is a perfect use case for Express middleware.
This validation middleware performs several checks:
- Extracts the token from the header.
- Decodes the token without verifying it to read the claims.
- Verifies that the token hasn't expired (
expclaim). - Verifies the issuer (
iss) and destination (dest) claims point to the correct shop. - Verifies the audience (
aud) claim matches your app's API key. - Most importantly: It re-calculates the signature using the token's header, payload, and your app's secret key, and confirms it matches the signature on the token.
If any of these checks fail, the request is rejected with a 401 Unauthorized or 403 Forbidden error.
The Shopify CLI template you used sets this up automatically with the @shopify/shopify-app-express library, which provides a validateAuthenticatedSession middleware that handles all of this for you.
Test your understanding!
You have two tokens in your app's ecosystem: the access_token (from OAuth, stored in your database) and the session token (a short-lived JWT). A request comes from your app's frontend to your backend API endpoint /api/products. Which token is used to authenticate this specific request, and where does your backend look for it?
Show answer
The session token (JWT) is used to authenticate the request from the frontend to the backend. Your Express middleware will look for it in the Authorization header of the incoming request (e.g., Authorization: Bearer <jwt>). The access_token is not used for this step; it will be used in the next step to talk to Shopify's API.
Making Secure API Requests to Shopify
Once your backend middleware has successfully validated the session token, your API route handler can run. This handler now trusts that the request legitimately came from a logged-in user on the correct shop.
Now, let's say this API handler needs to fetch all products from the store. This is where the access_token you acquired during the OAuth flow comes back into play.
The process is:
- Your
validateAuthenticatedSessionmiddleware verifies the JWT and loads the full session data from your database (the session storage you configured, likeShopify.Context.SESSION_STORAGE). This session object contains theshopand theaccess_token. - Your API route handler uses a Shopify API client (e.g., from
@shopify/shopify-api/clients/rest). - You pass the loaded session object to the client's request method (e.g.,
client.get({ path: 'products' })). - The client library automatically extracts the
access_tokenfrom the session object and adds it to the request it sends to Shopify's Admin API via theX-Shopify-Access-Tokenheader. - Shopify validates this
access_token, checks the requested scopes, and returns the data.
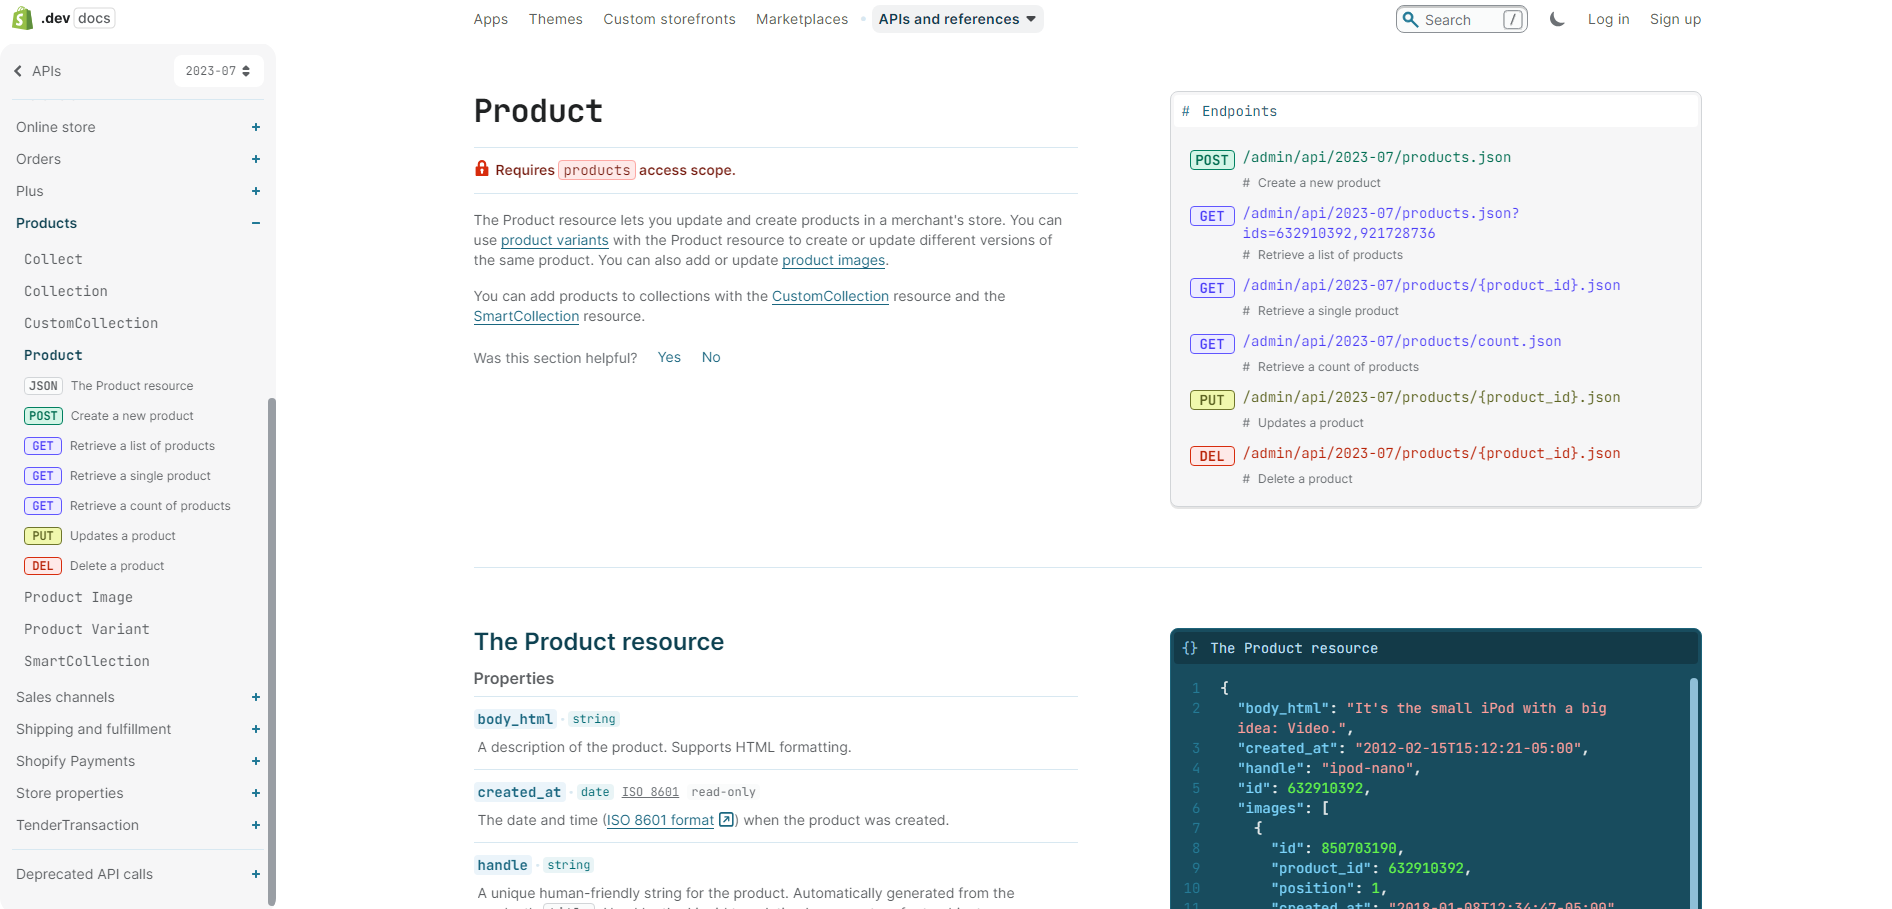
This completes the full, secure round trip:
Frontend -> Backend (Authenticated by Session Token/JWT)
Backend -> Shopify (Authenticated by Access Token)
Conclusion
Today, we connected the dots between the initial OAuth handshake and the ongoing, real-time operation of your app. You've gone beyond simply getting a token to understanding how to manage a full, secure session in the modern, cookie-less browser environment.
Key Takeaways:
- Session Tokens vs. Access Tokens: Session tokens (JWTs) authenticate the user session between your app's frontend and backend. Access tokens authenticate your app's server with Shopify's API server.
- The Problem: Third-party cookie restrictions break traditional session management for embedded apps.
- The Solution: JWTs, passed in the
Authorizationheader, provide a stateless, secure alternative. - The Flow:
authenticatedFetchon the frontend gets a JWT and sends it to your backend.validateAuthenticatedSessionmiddleware on the backend verifies the JWT using your app's secret key.- Your API handler uses the now-trusted session to retrieve the permanent
access_tokenfrom your database. - A Shopify API client uses that
access_tokento make a secure, server-to-server call to Shopify.
In our next lesson, we will begin building the user-facing part of our application. We'll learn how to describe the role of App Bridge in enabling communication between your app and the Shopify Admin and use Shopify's React component library, Polaris, to create a UI that feels native to the Shopify environment.