Hello and welcome back!
In our last lesson, you successfully set up your local development environment. You installed the Shopify CLI, connected it to your development store, and used shopify theme pull to get a copy of your theme's code onto your machine. Your VS Code is now prepped and ready for action.
Today, we'll complete the local development workflow. This lesson is all about the "edit-preview-deploy" cycle that you're already familiar with from your full-stack development experience. Our goal is to use the Shopify CLI to serve, preview, and push theme changes. We'll spin up a local server for instant previews, see how hot-reloading works, and then learn how to push our local changes back up to the Shopify store.
By the end of this lesson, you'll have a fluid and efficient workflow for theme development, setting the stage for us to start building custom theme templates in the next module.
Serving and Previewing Your Theme Locally
The first step in any development loop is to see your work. In the world of Shopify themes, this is handled by the shopify theme dev command. This command is the equivalent of npm run dev in a Next.js or React project. It bundles your local files, connects to your store's data, and serves everything up on a local server with hot-reloading enabled.
Here's what happens when you run it:
- It authenticates with the store you last connected to.
- It uploads your local theme to your store as a special, temporary development theme. This theme is hidden from your theme library and only accessible to you.
- It starts a local server and provides you with URLs to preview your work.
In your terminal, navigate to your theme's root directory (e.g., my-shopify-theme) and run the following command:
shopify theme dev
Note: In older tutorials, you might see shopify theme serve. The command was renamed to dev to better align with modern web development conventions, but serve still works as an alias.
After running the command, your terminal will display something like this:
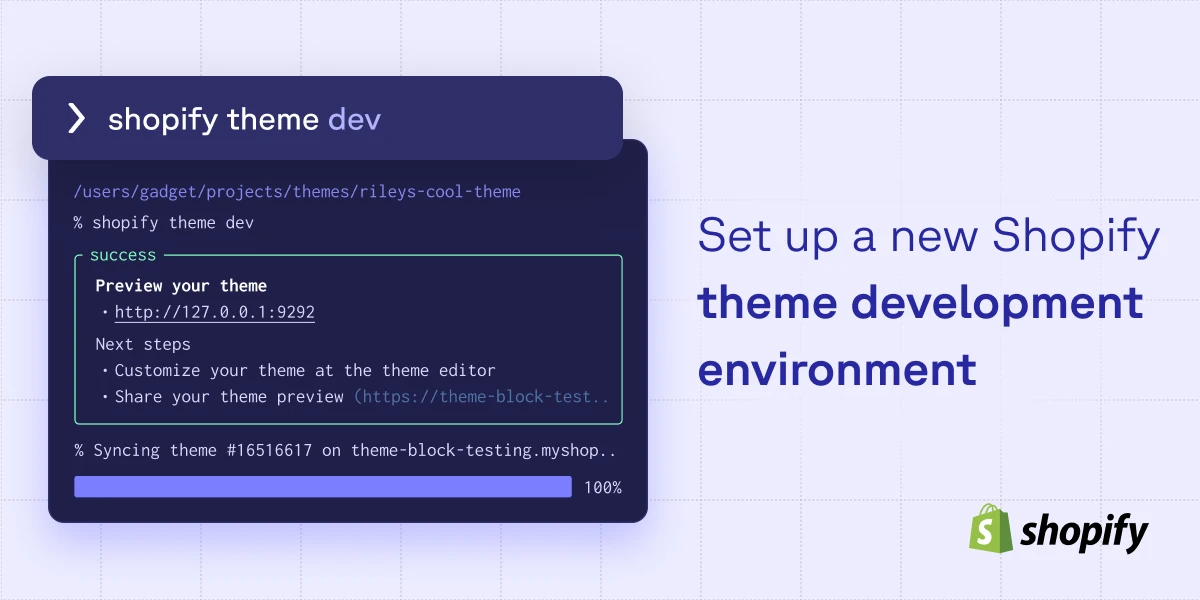
You get three important links:
- Local Preview URL (usually
http://127.0.0.1:9292): Open this in Chrome. You'll see your theme running with your development store's actual products, collections, and data. - Theme Editor Link: This takes you to the Shopify Theme Customizer for your temporary development theme.
- Shareable Preview Link: A temporary link you can send to others to get feedback.
To see this entire process in action, the official ShopifyDevs channel has an excellent walkthrough.
How to use the Shopify CLI for Building Themes
Watch this official Shopify video to see a demonstration of running shopify theme dev. It clearly shows how your local theme connects to live store data.
Watch the segment from 06:35 to 10:39. Focus on how the dev command creates the development theme and how local code changes are instantly reflected in the browser preview.
The Magic of Hot Reloading
The biggest advantage of local development is the immediate feedback loop. With shopify theme dev running, any change you save to your local Liquid or CSS files will be injected into the browser automatically, without a full page reload. This is the Hot Module Replacement (HMR) you're used to from React/Next.js.
Let's see just how fast it is. The following video gives a great side-by-side demonstration of making a change in VS Code and seeing it appear instantly.
Shopify CLI for Theme Development (How to use) [Version 2.0]
This clip provides a practical, real-time look at the power of hot reloading in a Shopify theme development workflow.
Watch from 15:37 to 17:42. The presenter has their code editor and browser side-by-side. Notice how saving a change to a CSS color or a Liquid file's text results in an immediate update on the site.
Now, try it yourself!
- With
shopify theme devrunning, open your project in VS Code. - Navigate to
sections/announcement-bar.liquid. - Find a line of text (for example, the default "Welcome to our store") and change it to something else.
- Save the file and watch your browser. The change should appear instantly.
A Critical Workflow "Gotcha": The Ephemeral Development Theme
Your curiosity, which we've established is a key part of your learning style, might be asking: "If I use the theme editor link for my dev theme and change a setting, like the announcement bar's color, what happens?"
This is a fantastic question and points to a crucial concept.
When you use the Theme Customizer on a development theme, those changes are not saved back to your local files. The development theme is temporary. If you stop the dev server and restart it, any settings you changed in the UI will be lost. Your local files (.json files in the templates and config directories) are the single source of truth during development.
This video explains this "gotcha" perfectly. Understanding this will save you a lot of confusion.
Shopify CLI for Theme Development (How to use) [Version 2.0]
This is a must-watch segment. It demonstrates the critical difference between making changes in the code versus making changes in the Theme Customizer for a development theme.
Watch from 18:46 to 22:14. The presenter removes a section using the UI of the development theme and shows that the corresponding local index.json file does not change. He then contrasts this with the behavior on a permanent theme, where the JSON file is updated.
The takeaway: use shopify theme dev for coding and instant previews. If you need to test changes made in the Theme Customizer, you must first push your theme.
Pushing Your Changes to Shopify
Once you're happy with your local changes, it's time to "deploy" them. The shopify theme push command uploads your local theme files to a permanent theme in your store's theme library, overwriting its contents.
This is the final step in making your changes stick.
To see this in action, watch the next clip from the official ShopifyDevs video.
How to use the Shopify CLI for Building Themes
This clip demonstrates how to use shopify theme push to update a theme on your Shopify store with the changes you've made locally.
Watch from 10:39 to 12:02. The presenter runs shopify theme push, selects which theme to update, and then confirms in the Shopify admin that the change is now live on that theme.
The push command has some very useful flags:
shopify theme push --unpublished: This creates a brand new, unpublished theme in your library instead of overwriting an existing one. It will prompt you for a name. This is great for pushing up the first version of a project.shopify theme push --live: This pushes your changes to the store's currently published, live theme. Use with caution!shopify theme push --theme [THEME_ID]: You can specify the exact ID of the theme you want to push to, which is useful for scripts and automation.
Test your understanding!
You've just spent the morning building a new feature on your local machine using shopify theme dev. Your project manager wants to review it, but doesn't need it to be the live theme. What is the safest and most appropriate CLI command to get your work onto the Shopify store for them to preview?
Show answer
The best command is shopify theme push --unpublished.
This command will create a new, separate theme in the theme library containing all your work. You can then name it something like "Feature Review - [Date]" and send your project manager a preview link to that specific theme without any risk of affecting the live theme or other development themes.
Your Complete Theme Development Workflow
Let's tie everything together. Here is the standard, battle-tested workflow for Shopify theme development, which will feel very familiar to you.
A Practical Guide for Next.js and React Devs
This article, written specifically for developers with a React/Next.js background, provides a fantastic 'Copy-Paste Setup Summary' that encapsulates the entire workflow. It's a perfect reference sheet.
Read the section titled 'Copy-Paste Setup Summary'. It lists the core commands in the exact order you'd use them in a real project.
The cycle is:
- Pull:
shopify theme pullto get the latest version of an existing theme. - Develop:
shopify theme devto start the local server and make code changes with hot-reloading. - Push:
shopify theme pushto deploy your local changes to a permanent theme on your store.
Integrating with Git, this becomes:
git pull(to get the latest from your repo)shopify theme dev(to code and preview)git add .,git commit,git push(to save your work to version control)shopify theme push(to deploy to Shopify for review or to go live)
Conclusion
You have now mastered the complete local development loop for Shopify themes. This workflow is the foundation for all professional theme development and is a crucial skill for your freelance career.
Here are the key takeaways:
shopify theme devis your go-to for an iterative development process, providing a hot-reloading server connected to your store's data.- The development theme created by
devis temporary; any changes made to its settings in the UI will not be saved. Your local code is the source of truth. shopify theme pushis the command to deploy your local changes to a permanent theme in your Shopify admin, making them ready for review or publishing.
With this workflow established, you are fully equipped to start building. In our next lesson, we will dive into the templates directory and build a custom product template from scratch to display product details, images, and variants. You'll be applying today's CLI commands to see your creation come to life.