Hello! Welcome back to our module on containerizing applications.
In the last lesson, you successfully ran your FastAPI application as a Docker container. You learned how to map ports, fixed the common 0.0.0.0 host issue, and tested the running container. This was a major step in creating a portable, isolated version of your application.
However, our current setup has a limitation: configuration is likely hardcoded. Values like an application title, logging levels, or, more importantly, future database URLs and API keys are part of the source code or the Dockerfile. This is inflexible and insecure. Today, we will fix that.
This lesson addresses the final step in preparing our container for deployment: managing application configuration using environment variables. You will learn how to decouple your app's configuration from its code, allowing you to run the exact same Docker image in different environments (development, staging, production) just by changing the variables you provide at runtime.
Why Use Environment Variables?
Before we dive into the "how," let's understand the "why." Managing configuration through environment variables is a fundamental principle of modern application development, especially for containerized services.
Configuring Apps with Environment Variables
This article provides a concise explanation of the core benefits of using environment variables for configuration. It sets the stage for everything we'll do in this lesson.
Please read the introduction and the section titled 'Why Use Environment Variables for Configuration?'. Focus on the three main advantages: flexibility, security, and adherence to best practices.
As you just read, the key benefits are:
- Flexibility: You can deploy the same image everywhere.
- Security: Sensitive data like passwords and API keys stay out of your source code and version control (like Git).
- Best Practice: This follows the "Config" principle of the Twelve-Factor App methodology, a set of best practices for building robust and scalable web apps.
Structured, Type-Safe Configuration with Pydantic
Since you're proficient with Python and have already worked with Pydantic for request/response validation, we can use a powerful, modern approach for settings management: pydantic-settings. This library allows you to define your configuration in a Pydantic model, and it will automatically load values from environment variables, all while providing type checking and validation.
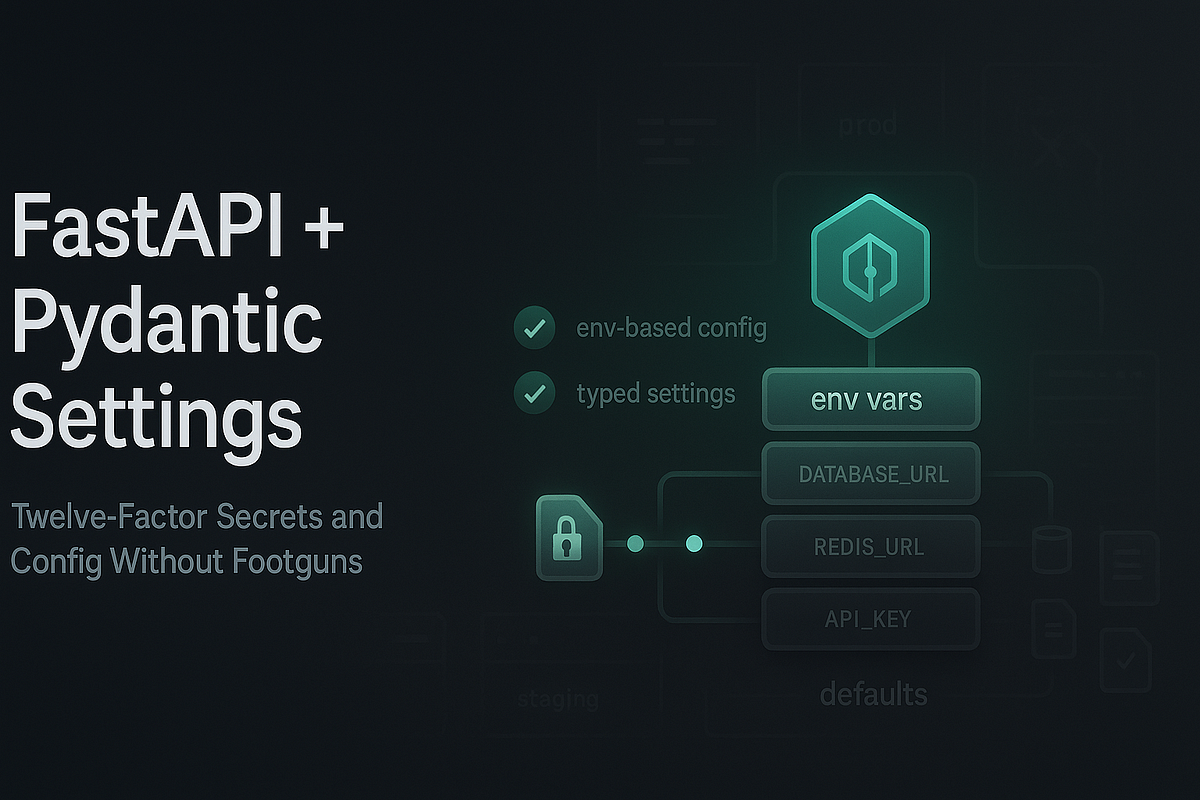
Let's see how to implement this.
pydantic-settings - Modern, Type-Safe Configuration for Python Apps
The following video from the BugBytes channel gives a fantastic, practical overview of pydantic-settings. It will show you how to set up a configuration class and how it automatically reads from the environment.
Watch the video from the beginning until 05:45. Pay close attention to: How a Settings class is created by inheriting from BaseSettings. How fields defined in the class are automatically populated from environment variables. The demonstration of overriding a default value by setting an environment variable when running the app.
Let's Apply It: A Hands-On Exercise
Now, let's integrate pydantic-settings into our project.
1. Install pydantic-settings
If you don't already have it in your requirements.txt, add it now:
fastapi
uvicorn
pydantic-settings
Then, install it locally: pip install pydantic-settings.
2. Create a config.py file
In your app directory, create a new file named config.py. This will be the central place for all application settings.
# app/config.py
from pydantic_settings import BaseSettings

class Settings(BaseSettings):
    APP_NAME: str = "My FastAPI ML App"
    LOG_LEVEL: str = "INFO"


    # In future lessons, you would add things like:
    # DATABASE_URL: str
    # SOME_API_KEY: str


# Create a single, reusable instance of the settings
settings = Settings()
3. Use the Settings in Your Application
Now, modify your main.py to use a value from this new configuration. This makes your application's behavior dependent on the configuration.
# app/main.py
from fastapi import FastAPI
from .config import settings  # Import the settings instance

app = FastAPI(title=settings.APP_NAME) # Use a setting to configure the app instance

@app.get("/")
def read_root():


    # Return a message that includes a configured value
    return {"message": f"Welcome to {settings.APP_NAME}", "log_level": settings.LOG_LEVEL}
Now, if you run your app locally, it will use the default values from your Settings class. But the real power comes when we provide these settings from outside the code.
Passing Environment Variables to a Docker Container
With our application ready to read from the environment, we need to learn how to supply these variables to the Docker container at runtime. There are three primary methods.
Configuring Apps with Environment Variables
The 'Configuring Apps with Environment Variables' article you looked at earlier also details the different ways to provide these variables to a Docker container. Let's review that section now.
Read the section 'Setting Environment Variables for Docker Containers'. Familiarize yourself with the three methods presented: ENV in Dockerfile, docker run -e, and docker run --env-file.
Let's put these methods into practice. First, make sure you rebuild your Docker image to include the new pydantic-settings dependency and the code changes.
# Make sure your requirements.txt is updated!
docker build -t fastapi-app .
Method 1: Using the -e flag
This method is ideal for overriding a single variable or providing secrets during deployment.
Stop any previous containers, then run a new one, overriding the APP_NAME and LOG_LEVEL.
# Stop and remove the old container if it's running
docker stop fastapi-container || true
docker rm fastapi-container || true


# Run the container with new environment variables
docker run -d --name fastapi-container -p 8000:8000 \
  -e APP_NAME="Production ML Service" \
  -e LOG_LEVEL="DEBUG" \
  fastapi-app
Now, test the endpoint with curl or in your browser at http://localhost:8000/:
curl http://localhost:8000/
You should see the new values reflected in the response:{"message":"Welcome to Production ML Service","log_level":"DEBUG"}
Method 2: Using an --env-file
This is very convenient for local development, where you might have many configuration variables.
-
Create a
.envfile in the root of your project (the same directory as yourDockerfile).# .env APP_NAME=FastAPI Dev Environment LOG_LEVEL=WARNING -
IMPORTANT: Add
.envto.gitignore. You should never commit.envfiles containing secrets to version control.# .gitignore .env -
Run the container using the
--env-fileflag.# Stop and remove the old container docker stop fastapi-container || true docker rm fastapi-container || true # Run using the .env file docker run -d --name fastapi-container -p 8000:8000 --env-file ./.env fastapi-app -
Test the endpoint again:
curl http://localhost:8000/This time, you'll see the values from your
.envfile:{"message":"Welcome to FastAPI Dev Environment","log_level":"WARNING"}
Method 3: ENV in the Dockerfile
This method sets a default value that is baked into the image. It's good for non-sensitive defaults, but remember that variables passed via -e or --env-file will override it.
You can add this to your Dockerfile:
# Dockerfile
...
ENV LOG_LEVEL="INFO"
...
CMD ["uvicorn", "app.main:app", "--host", "0.0.0.0", "--port", "8000"]
If you were to rebuild and run this image without providing a LOG_LEVEL variable at runtime, it would default to "INFO".
Handling Secrets Securely
A key reason for using environment variables is to handle secrets. pydantic-settings provides features to make this even safer, for instance, by preventing secrets from being accidentally logged.
pydantic-settings - Modern, Type-Safe Configuration for Python Apps
Let's return to the BugBytes video to see how to handle secrets like API keys and database URLs. This is directly relevant to your goal of deploying ML models, which often require such credentials.
Watch from 05:45 to 09:43 and from 13:14 to the end (17:16). Focus on: The use of SecretStr to obscure sensitive values when printed or logged. The use of special network types like PostgresDsn for validating connection strings. How repr=False can be used in a Field to prevent a value from being displayed in logs, offering another way to protect sensitive data.
These techniques—using SecretStr and validated types like PostgresDsn—are invaluable for building robust and secure applications.
Conclusion
Congratulations! You have now mastered a critical skill for deploying containerized applications. By externalizing your application's configuration, you've made your Docker image far more flexible, secure, and portable.
Key Takeaways:
- Hardcoding configuration is insecure and inflexible. Environment variables are the standard solution.
pydantic-settingsprovides a type-safe and convenient way to manage configuration in a FastAPI application by reading from the environment.- You can provide environment variables to a Docker container at runtime using the
docker run -e VAR=VALUEflag for individual variables. - You can use
docker run --env-file <filename>to provide multiple variables from a file, which is great for local development. - Always add
.envfiles to your.gitignoreto keep secrets out of version control.
This lesson completes our module on Docker. You now have all the skills needed to package your FastAPI application into a portable, configurable, and runnable container.
In our next and final module, Deployment to the Cloud, we will take the Docker image you've built and deploy it to Google Cloud Run, a serverless platform. The work you've done managing configuration with environment variables will pay off directly, as you'll see how cloud platforms use this exact mechanism to inject settings into your running service.