Hello! Last time, we got acquainted with the Unity Editor, your digital workshop for building games. You learned how to navigate the key windows and understand the relationship between assets in your Project and GameObjects in your Scene. So far, though, those GameObjects have been static.
Today, we're going to breathe life into them. This lesson is all about writing your first C# scripts. We'll cover the essential building blocks of programming in Unity: using variables to store data like speed or health, writing functions to perform actions, and using control flow to make decisions. By the end of this hour, you'll have written a script that allows you to control a GameObject with your keyboard, truly making your project interactive for the first time.
The Anatomy of a C# Script
In Unity, a script is a component you attach to a GameObject to give it custom behaviors. Since you have a foundational understanding of programming, we'll focus on how these concepts are applied specifically within the Unity and C# environment.
First, let's look at how to create and understand the structure of a script.
- In your Unity project's
Projectwindow, right-click and selectCreate > C# Script. Name itLearningScript. - Double-click the script to open it in your code editor (e.g., Visual Studio).
You'll see a template that looks something like this:
using UnityEngine;
using System.Collections;

public class LearningScript : MonoBehaviour
{
    // Start is called before the first frame update
    void Start()
    {

    }

    // Update is called once per frame
    void Update()
    {

    }
}
Here's a quick breakdown:
public class LearningScript : MonoBehaviour: This declares your script. For a script to work as a component in Unity, it must be derived fromMonoBehaviour.Start(): This is a special function that Unity calls once, right before the first frame your object appears in the game. It's perfect for setup tasks.Update(): This function is called by Unity once every frame. This is where most of your real-time game logic, like checking for player input, will go.
Variables: Your Script's Memory
Variables are how your script stores information. You'll use them for everything from a player's speed to their name or health score. C# requires you to declare the type of data a variable will hold.
The video below gives a fantastic, quick overview of the most common variable types in Unity and how to declare them.
Learn C# with these 9 LINES OF CODE - Unity Tutorial!
This video from Blackthornprod provides a concise and visual introduction to variables in C#. Pay close attention to the different data types and the difference between public and private.
Watch the segment on variables. You'll see how to declare types like string (text), int (whole numbers), float (decimal numbers), and bool (true/false), and how making a variable public exposes it in the Unity Inspector.
As you saw in the video, the basic syntax is access_modifier type variableName;. For example:public float moveSpeed;
Here's a visual summary of several common variable types you can declare in a script.

Let's try this out. In your LearningScript, add a couple of variables inside the class, but before the Start() function.
public class LearningScript : MonoBehaviour
{
    public int playerHealth = 100;
    public float playerSpeed = 5.5f;
    public string playerName = "Hero";
    private bool isAlive = true;

    // Start is called before the first frame update
    void Start()
    {

    }
    // ...
}
Save your script and go back to Unity. Create an empty GameObject (GameObject > Create Empty), name it ScriptHolder, and drag your LearningScript file onto it in the Inspector. You'll see that your public variables (Player Health, Player Speed, Player Name) appear as editable fields! The private variable isAlive does not. This is one of the most powerful features in Unity, allowing you to tweak values without changing code.
Functions: Performing Actions
Functions (or methods) are blocks of code that perform a specific task. You've already seen Start() and Update(), which are built-in Unity functions. You can also write your own. The official Unity tutorial below explains this concept clearly.
C# Variables And Functions in Unity! - Beginner Scripting Tutorial
This video from Unity's official channel explains how to create and use your own custom functions.
First, watch the section that defines what a function is, covering return types and parameters. Then, watch the next part on calling a function to see how to execute it from another place in your code, like the Start function.
A key takeaway is that functions help you organize your code and avoid repetition. For example, instead of writing the same damage calculation in ten different places, you could write a single TakeDamage(int amount) function and call it whenever needed.
Control Flow: Making Decisions with if
Your game will constantly need to make decisions. If the player has a key, open the door. If the player's health is zero, trigger a game over. This logic is handled with control flow statements, the most common of which is the if-else block.
Learn C# with these 9 LINES OF CODE - Unity Tutorial!
Let's return to the Blackthornprod video for a clear demonstration of using if-else statements to create different outcomes based on a condition.
Watch the segment on if-else blocks. The example shows how a simple bool variable can determine which character gets spawned, illustrating the power of conditional logic.
The basic structure is:
if (condition)
{
    // Code to run if the condition is true
}
else
{
    // Code to run if the condition is false
}
The else block is optional. You can use an if statement by itself if you only need to do something when the condition is true.
Practical Exercise: Let's Make It Move!
Now, let's combine these concepts—variables, functions, and control flow—to achieve our learning outcome of manipulating a GameObject. We will write a simple script to move an object using the keyboard.
-
Setup the Scene:
- Create a new 2D Sprite by going to
GameObject > 2D Object > Sprites > Square. Name itPlayer. - Create a new C# script named
PlayerMovement. - Attach the
PlayerMovementscript to yourPlayerGameObject.
- Create a new 2D Sprite by going to
-
Write the Script: Open
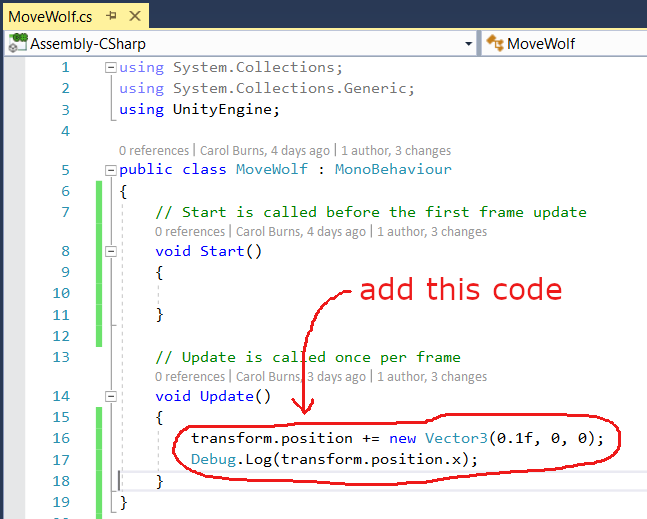
PlayerMovementand replace its content with the following code. We'll break it down below.using UnityEngine; public class PlayerMovement : MonoBehaviour { // A public variable to control speed from the Inspector public float moveSpeed = 5f; // Update is called once per frame void Update() { // 1. Get Input float moveX = Input.GetAxisRaw("Horizontal"); // -1 for left (A), 1 for right (D) float moveY = Input.GetAxisRaw("Vertical"); // -1 for down (S), 1 for up (W) // 2. Calculate movement direction Vector3 moveDirection = new Vector3(moveX, moveY, 0); // 3. Apply movement to the Transform component transform.position += moveDirection.normalized * moveSpeed * Time.deltaTime; } } -
Code Breakdown:
public float moveSpeed = 5f;: We declare apublicfloat variable to control the player's speed. You can change this value in the Inspector without re-opening the script.Input.GetAxisRaw(): This is a built-in Unity function that reads the default keyboard axes. "Horizontal" maps to A/D and Left/Right arrows, while "Vertical" maps to W/S and Up/Down arrows. It returns1,-1, or0.Vector3 moveDirection = new Vector3(moveX, moveY, 0);: AVector3is a structure that holds three numbers (X, Y, Z), perfect for representing positions or directions in 3D space (even in a 2D game, we useVector3for position, keeping Z at 0).transform.position += ...: This is the magic line.transformis a shortcut to the Transform component of the GameObject this script is on. We are directly changing itsposition..normalized: This ensures our character doesn't move faster diagonally. It makes the length of ourmoveDirectionvector equal to 1.* Time.deltaTime: This is crucial.Updateruns every frame, but frame rates can vary. Multiplying byTime.deltaTime(the time since the last frame) makes the movement smooth and independent of the frame rate.
-
Test It!
- Save your script and return to Unity.
- Select your
Playerobject. In the Inspector, you should see theMove Speedvariable. You can leave it at 5 or change it. - Press the Play button. Use the W, A, S, D keys to move your square around the Game view. You have just manipulated a GameObject with a script!
Key Takeaways
This lesson was a deep dive into the fundamentals of scripting in Unity. You've made a huge leap from navigating the editor to actively programming game logic.
- C# Scripts are
MonoBehaviourcomponents that add custom logic to GameObjects. - Variables are used to store data. Declaring them as
publicmakes them editable in the Unity Inspector. - Functions (
Start,Update, and your own custom ones) are blocks of code that perform actions. - Control Flow (
if-else) allows your scripts to make decisions based on conditions. - You can manipulate a GameObject's properties (like
transform.position) in your script to change its state in the game world.
Next Steps
Now that you have a grasp of writing basic script logic, our next lesson will delve deeper into the Unity Game Loop. We'll explore the Awake, Start, and Update functions in more detail, understanding their precise order of execution. This knowledge is essential for creating more complex and reliable game mechanics.