Hello! Welcome back to our module on creating sellable Notion templates.
In the last lesson, you learned how to analyze existing templates to identify what makes them valuable. We established that the best templates are not just collections of features, but are elegant, integrated frameworks that solve a specific problem for a specific user.
Now that you can recognize a good template, it's time to learn how to plan one yourself. Simply opening a blank Notion page and starting to build is a recipe for a messy, disconnected, and ultimately unsellable product. Just as in project management, the planning phase is the most critical step for success.
This lesson will teach you how to plan the architecture and user flow of a template before you start building. You will learn to create a blueprint for your template, covering both its underlying data structure and the experience your future customer will have using it. Your background in design and project management will be a great asset here, as we'll be using similar concepts like flowcharts and wireframes, adapted for the Notion environment.
1. The Blueprint Principle: Why Planning is Non-Negotiable
Before we get into the "how," let's solidify the "why." In your project management work, you wouldn't start a project without a charter and a plan. Building a Notion template is no different. Jumping straight into building without a plan leads to constant rebuilding, dead-end designs, and a system that's inefficient for your end-user.
Planning forces you to think through the entire system, identify potential bottlenecks, and ensure every component has a purpose.
Notion System Design: Create a Flow Chart (Life OS)
To understand the power of this planning-first approach, let's watch a clip from August Bradley, a renowned Notion system designer. He explains why mapping your system before you build is the most efficient way to create a powerful and streamlined product.
Watch from the beginning (00:20) to 03:33. Pay close attention to his reasoning for using a flowchart to visualize the entire system, how information flows, and how this process prevents the inefficient cycle of building and rebuilding.
As you can see, a little forethought saves a lot of rework. Now, let's break down the planning process into three distinct, manageable stages:
- Architecture Mapping: Defining the data foundation.
- User Flow Charting: Mapping the user's journey.
- Wireframing: Sketching the page layouts.
2. Stage 1: Mapping the System Architecture
The architecture is the "bones" of your template. In Notion, this means defining two things:
- Databases: What are the core containers of information? (e.g., Projects, Tasks, Notes)
- Relations: How do these containers connect to each other?
The best tool for this is a simple process map or flowchart.
A complete guide to process mapping
Notion's own blog has an excellent, simple guide to process mapping. This will give you the basic symbols and a clear process to follow.
First, read the sections 'What’s process mapping?' and 'Workflow process mapping symbols' to understand the basic concept and the meaning of each shape. Then, read 'How to create a process map' for a step-by-step guide you can apply immediately.
To adapt this specifically for Notion architecture, we can use a simple convention:
- Oval: Start/End of a user process.
- Cylinder (or Rectangle): A Notion Database.
- Rectangle: A key Page or Dashboard.
- Arrow: The flow of information or the relationship between databases.
- Diamond: A decision point for the user.
Let's say you're planning a template for a freelance writer. The architecture map might look something like this:
- (Oval: Start) -> [Rectangle: Main Dashboard]
- [Main Dashboard] shows views of -> (Cylinder: Articles)
- [Main Dashboard] shows views of -> (Cylinder: Clients)
- (Cylinder: Articles) <- Arrow showing Relation -> (Cylinder: Clients)
This simple diagram immediately clarifies that you need two databases and they must be related.
3. Stage 2: Charting the User Flow
Once you've mapped the data architecture, the next step is to think about how a user will actually interact with it. A user flow diagram maps out the step-by-step path a user takes to complete a specific goal within your template.
Your design background makes you familiar with this concept, but let's review the basics in the context of a digital product.
This video, 'User Flow Diagram Basics,' provides a clear and concise explanation of the core components and symbols used in user flow diagrams. Even if you're familiar with the concept, this is a great refresher on the standard conventions.
Watch from 01:12 to 05:49. Focus on understanding the three essential parts of a flow (entry point, steps, final interaction) and the standard meaning of the shapes (circle for start/end, rectangle for a screen/step, and diamond for a decision).
How does this apply to a Notion template?
- Entry Point (Circle): The main landing page or dashboard of your template.
- Screen/Step (Rectangle): A specific page the user navigates to, or a key action they take (e.g., "Fill out new project properties").
- Decision (Diamond): A choice the user makes. For example, "Is this task urgent?" A "Yes" path might lead to one action, a "No" path to another. In Notion, this can represent clicking a button or changing a 'Select' property.
- Exit Point (Circle): The task is complete.
Charting the user flow forces you to see the template from your customer's perspective, helping you create a more intuitive and logical experience.
Test your understanding!
You are planning a Content Creation Hub. One key user flow is "Adding a new video idea and scheduling it." What might the shapes in a user flow diagram for this process represent?
Show answer
- Entry (Circle): User lands on the "Content Dashboard."
- Step (Rectangle): User clicks the "New" button on the "Content Ideas" database.
- Step (Rectangle): User fills in the properties (Title, Notes).
- Decision (Diamond): "Is this idea approved for production?"
- "No" Path (Arrow): Flow ends or returns to the backlog.
- "Yes" Path (Arrow): Leads to the next step.
- Step (Rectangle): User sets the "Status" property to "Scheduled" and adds a "Publish Date."
- Exit (Circle): The idea is successfully scheduled.
4. Stage 3: Wireframing the Interface
The final planning stage brings the architecture and user flow together into a visual layout. A wireframe is a low-fidelity sketch of a page, focusing on structure and layout rather than colors and fonts. It's the blueprint for your Notion pages.
This article, 'What is a wireframe?', is an excellent primer from the world of UX design. It explains what wireframes are and, most importantly, what you need to consider before you start drawing.
Read the section 'Things to do before wireframing a design.' Pay special attention to the part on 'Information architecture and basic navigation pattern.' This is directly applicable to how you'll organize your template's pages and dashboards.
As the article mentions, Information Architecture (IA) is key. You're deciding how to structure your template so information is easy to find. A hierarchical structure is most common in Notion:
- Top Level: A single main dashboard.
- Second Level: Key pages or dashboards for major areas (e.g., Projects, Finances, Learning).
- Third Level: Individual database entries (a specific project page, an invoice, etc.).
Your wireframe doesn't need to be fancy. It can be sketched on paper or using a simple digital tool. The goal is to plan the layout of your key pages.

For a Notion wireframe, you should be asking:
- What is the most important information on this page? It should be at the top.
- Will I use columns to organize content?
- Where will my Linked Databases go?
- What filters or sorts will be applied to those linked views? (e.g., A "Tasks" view filtered for "Due Today").
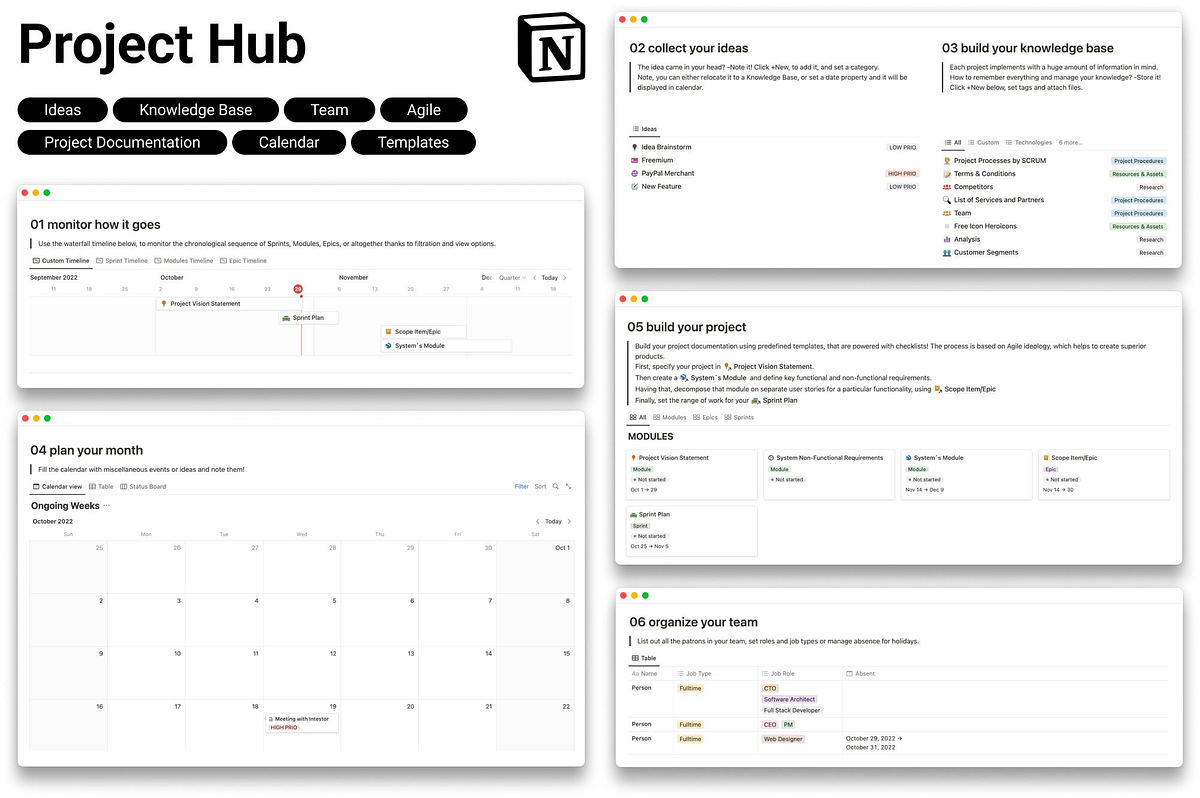
✍️ Exercise: Plan Your First Template Blueprint
Now it's time to put all three stages together. Your task is to create a complete blueprint for a simple Project and Task Manager. This will give you a head start on one of the projects we'll build in a later module.
You can use a digital whiteboarding tool (like Miro, FigJam, or Whimsical) or simply a pen and paper.
-
1. Create an Architecture Map:
- Diagram the databases you'll need. At a minimum, you'll want a
Projectsdatabase and aTasksdatabase. - Draw an arrow between them to signify the Relation property that will link tasks to projects.
- Include a
Main Dashboardpage that will serve as the entry point.
- Diagram the databases you'll need. At a minimum, you'll want a
-
2. Create a User Flow Diagram:
- Map out the user flow for the goal: "Create a new project and add two tasks to it."
- Use the standard shapes: circles for start/end, rectangles for steps, and arrows to connect them. Think about the clicks and actions the user will perform.
-
3. Sketch a Wireframe:
- Draw a wireframe for the
Main Dashboardpage.
- Decide on the layout (e.g., will you use columns?).
- Block out where you will put key elements. Include placeholders for:
- A linked view of the
Projectsdatabase. - A linked view of the
Tasksdatabase.
- A linked view of the
- Add annotations to your wireframe specifying the filters for each view (e.g., "Tasks view: Filtered where Status is not 'Done' AND Due Date is Today").
- Draw a wireframe for the
This exercise synthesizes everything we've covered and gives you a tangible plan to build from.
Conclusion
In this lesson, you've learned the essential pre-production process for creating a high-quality Notion template. By moving from a big-picture architecture map to a detailed user flow and finally to a structural wireframe, you create a comprehensive blueprint. This planning phase is what separates amateur templates from professional, sellable systems. It ensures your final product is logical, intuitive, and genuinely useful.
Key Takeaways:
- Plan Before You Build: Planning saves time, prevents rework, and results in a more coherent template.
- Architecture First: Define your databases and their relationships before anything else. This is the foundation of your system.
- Think Like the User: Use user flow diagrams to map out your customer's journey and create an intuitive experience.
- Wireframe for Structure: Sketch your page layouts to focus on information hierarchy and functionality before getting lost in visual details.
Preview of the Next Lesson:
With a solid blueprint in hand, you're ready to start thinking about the visual experience. In the next lesson, we will dive into applying visual hierarchy principles using headings, spacing, and dividers. You'll learn how to use design fundamentals to guide the user's eye, make your template easy to navigate, and create a clean, professional aesthetic that attracts buyers.