Hello! Welcome back to your journey toward mastering Notion.
In our last lesson, we got acquainted with the basic layout of your Notion workspace, focusing on the sidebar for navigation and the search function for finding your content quickly. You now have a map of your digital workshop.
Today, we'll start building. This lesson is all about bringing your first pages to life. We will cover how to create, organize, and customize pages using nesting, icons, and covers. These are the foundational skills for creating the well-structured and visually appealing systems you're aiming to build—whether it's a project manager for personal use or a professional template you intend to sell.
1. The Anatomy of a Notion Page
In Notion, a "page" is the fundamental building block. Think of it as a blank canvas. But unlike a simple document, a Notion page can contain other pages, creating a nested, web-like structure. This is the key to building complex, organized systems.
You can create a new page in several ways:
- Clicking the
+ New pagebutton in your sidebar. - Clicking the
+icon that appears next to an existing page in the sidebar to create a sub-page. - Typing
/pageon an existing page to create a new page block inside it.
This ability to place pages inside other pages is what we call nesting.
2. Organizing with Nested Pages
Nesting is how you create hierarchy and structure in Notion. Instead of using traditional folders, you organize pages within parent pages. This is crucial for building systems like a project manager (where each project is a page containing task pages) or a content calendar (where each content piece is a page).

To get a comprehensive understanding of how to create and manage this structure, the following article provides an excellent guide.
Nesting Pages in Notion: A Simple Guide (3 Steps)
This article, 'Nesting Pages in Notion: A Simple Guide', breaks down how to create and manage sub-pages, which is the core skill for organizing any Notion workspace.
Please read from the beginning down to the end of the section 'Advanced Techniques: Rearranging and Managing Nested Structures'. Focus on the different methods for creating sub-pages and the use of drag-and-drop to reorganize them.
Key Ways to Organize Pages:
- Creating Sub-pages: As the article details, you can use the
/pagecommand or the+icon in the sidebar to nest a new page inside an existing one. - Drag-and-Drop: You can rearrange your entire workspace structure by simply dragging pages in the sidebar. Drag a page on top of another to nest it, or drag it out to make it a top-level page.
- Breadcrumbs: At the top-left of any page, you'll see a "breadcrumb" trail (e.g.,
Workspace > Project Hub > Project A). This shows you exactly where you are in the hierarchy and allows you to quickly navigate back to parent pages.
For a dynamic demonstration of these concepts, the following video offers a great visual walkthrough.
Notion Fundamentals: Page Links, Backlinks, and Sub-Pages
This video from Thomas Frank's 'Notion Fundamentals' series provides a clear visual demonstration of creating and nesting pages.
Watch from 08:48 to 09:45 to see how pages are created using the sidebar. Then, watch from 10:20 to 12:35 to understand the difference between creating a full 'page block' and creating an inline link to a new page. This is a subtle but important distinction for template design.
3. Customizing Pages with Icons and Covers
A well-designed Notion template is not just functional; it's also visually engaging and easy to navigate. Icons and cover images are the first and simplest way to give your pages a unique identity and create a professional, polished look.
- Icons appear next to your page title in the sidebar and in browser tabs. They act as quick visual signposts.
- Cover Images are banners at the top of your pages that help set the mood and brand your content.
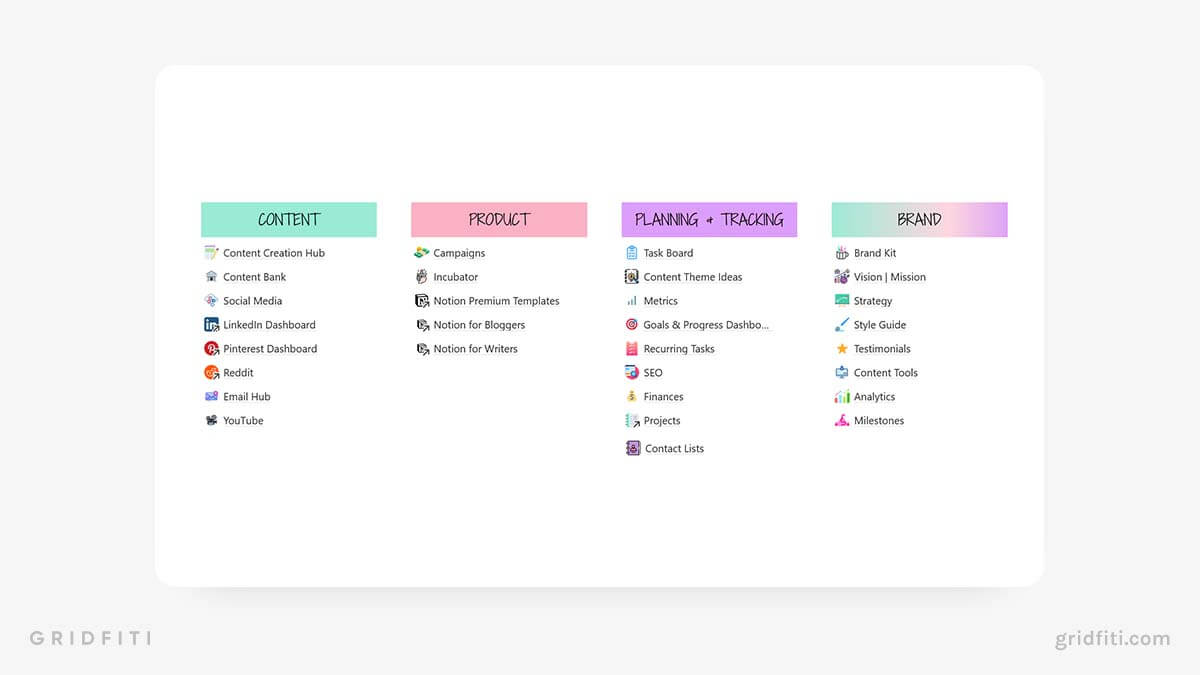
The best way to learn this is to see it. The official Notion team has a great video that walks you through the process.
This video, 'Making your pages beautiful', is a quick, official tutorial on adding visual style to your pages.
Watch from 00:48 to 02:29. Pay attention to the different options you have for sourcing icons and covers: emojis, Notion's own icon sets, uploading your own images, and using the Unsplash integration.
Customization Options:
- Icons: You can use default emojis, Notion's built-in icon library, or upload your own image (ideal size: 280x280 pixels). This is perfect for adding your brand's logo or a custom icon set.
- Covers: You can choose from Notion's gallery, search the vast Unsplash photo library directly within Notion, or upload your own banner image (recommended width: at least 1500 pixels). Once added, you can reposition the cover to frame it perfectly.
For a quick written reference on these features, you can consult Notion's official help documentation.
Style & customize your page – Notion Help Center
This article from the Notion Help Center, 'Style & customize your page', serves as a great text-based reference for what you just saw in the video.
Quickly review the sections on 'Page icons and emojis' and 'Cover art'. No need to read in depth, just know this is here as a reference.
Test your understanding!
You are designing a project management template. You have a main "Projects Dashboard" page and want to create a sub-page for a new project called "Website Redesign." How would you create this sub-page and make it visually distinct?
Show answer
- Open the "Projects Dashboard" page.
- Type
/pageand press Enter. - Name the new page "Website Redesign."
- To make it visually distinct, hover over the new page's title and click "Add icon." Choose a relevant icon, like a computer 💻 or a globe 🌐.
- Click "Add cover" and choose a fitting image from the Unsplash gallery or upload a branded banner.
✍️ Exercise: Build Your First Structure
It's time to put theory into practice. Create a simple structure that will serve as a foundation for the projects we'll build later in the course.
- In the
Privatesection of your sidebar, create a new top-level page and name it "My Command Center". - Give the "My Command Center" page a cover image and an icon (e.g., a 🚀 or 🏛️).
- Inside "My Command Center", create two new sub-pages: "Projects" and "Content Calendar".
- Give the "Projects" page an icon (e.g., a 📁 or ✅).
- Give the "Content Calendar" page an icon (e.g., a 📅 or ✍️).
- Inside the "Projects" page, create another sub-page named "Q4 Initiative". Give it an icon.
- Look at the breadcrumb trail at the top of the "Q4 Initiative" page. Use it to click back to the main "My Command Center" page.
- In your sidebar, drag the "Content Calendar" page out from under "My Command Center" to make it a top-level page. Then, drag it back inside.
Lesson Summary and Next Steps
Fantastic work! You've learned how to move beyond a single page and start building an organized, multi-layered workspace.
Key Takeaways:
- Pages are Notion's core building blocks and can be created in multiple ways.
- Nesting pages inside one another is how you create structure and hierarchy, replacing traditional folders.
- Icons and covers are essential for visual organization and creating professional, sellable templates.
- The sidebar and breadcrumbs are your primary tools for navigating your page structures.
You now have the skills to create and organize the skeleton of any system. In our next lesson, "Add and format various text blocks," we'll start fleshing out that skeleton by learning how to add and style the content that lives inside your pages.