Introduction
Welcome back. In our last lesson, you successfully implemented a LoRA fine-tuning setup using the Hugging Face peft library. You now understand the core mechanics of loading a quantized model, defining a LoraConfig, and applying it to create a parameter-efficient, trainable model.
Today, we transition from the mechanics to the craft of fine-tuning. This lesson focuses on the full, end-to-end process of running a Supervised Fine-Tuning (SFT) job. You will learn how to configure all the necessary training parameters, execute the training process on a domain-specific dataset, monitor its progress, and package the final result. This lesson directly addresses the learning outcome: Configure and execute a supervised fine-tuning (SFT) job on a domain-specific dataset. Mastering this workflow is a fundamental skill for an applied AI engineer, as it's the primary method for adapting base models to solve specific business problems.
1. The Supervised Fine-Tuning (SFT) Workflow
Supervised Fine-Tuning is the process of further training a pre-trained model on a labeled dataset to adapt its behavior for a specific task. This is distinct from pre-training (learning from vast unlabeled text) and from alignment techniques like RLHF.
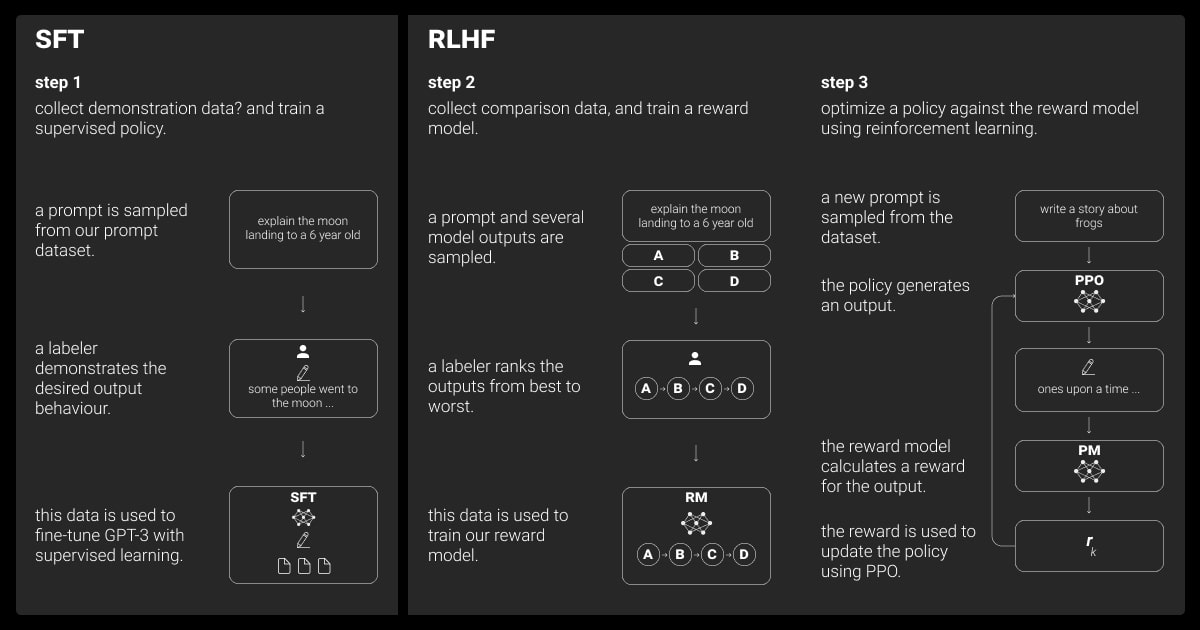
The Hugging Face trl (Transformer Reinforcement Learning) library provides a high-level API called SFTTrainer that orchestrates this entire process. To give you a roadmap for this lesson, let's look at the key steps involved in a typical SFT job.
Fine-Tuning Llama 3 on a Custom Dataset: Training LLM for a RAG Q&A Use Case on a Single GPU
The video 'Fine-Tuning Llama 3 on a Custom Dataset' by Venelin Valkov provides an excellent, up-to-date walkthrough of a full SFT job. We will use it as a running example. First, let's get a high-level overview of the process he outlines.
Watch from 00:52 to 02:25. Pay attention to the six main steps he presents: (1) Build dataset, (2) Choose base model, (3) Set up LoRA adapter, (4) Train and monitor, (5) Evaluate and merge, (6) Push to Hub. This is the blueprint we will follow.
2. Preparing the Ingredients for Training
Before we can start training, we need to prepare our data and model. While we've touched on these steps before, let's see how they fit into a practical, end-to-end script.
Dataset Preparation in Practice
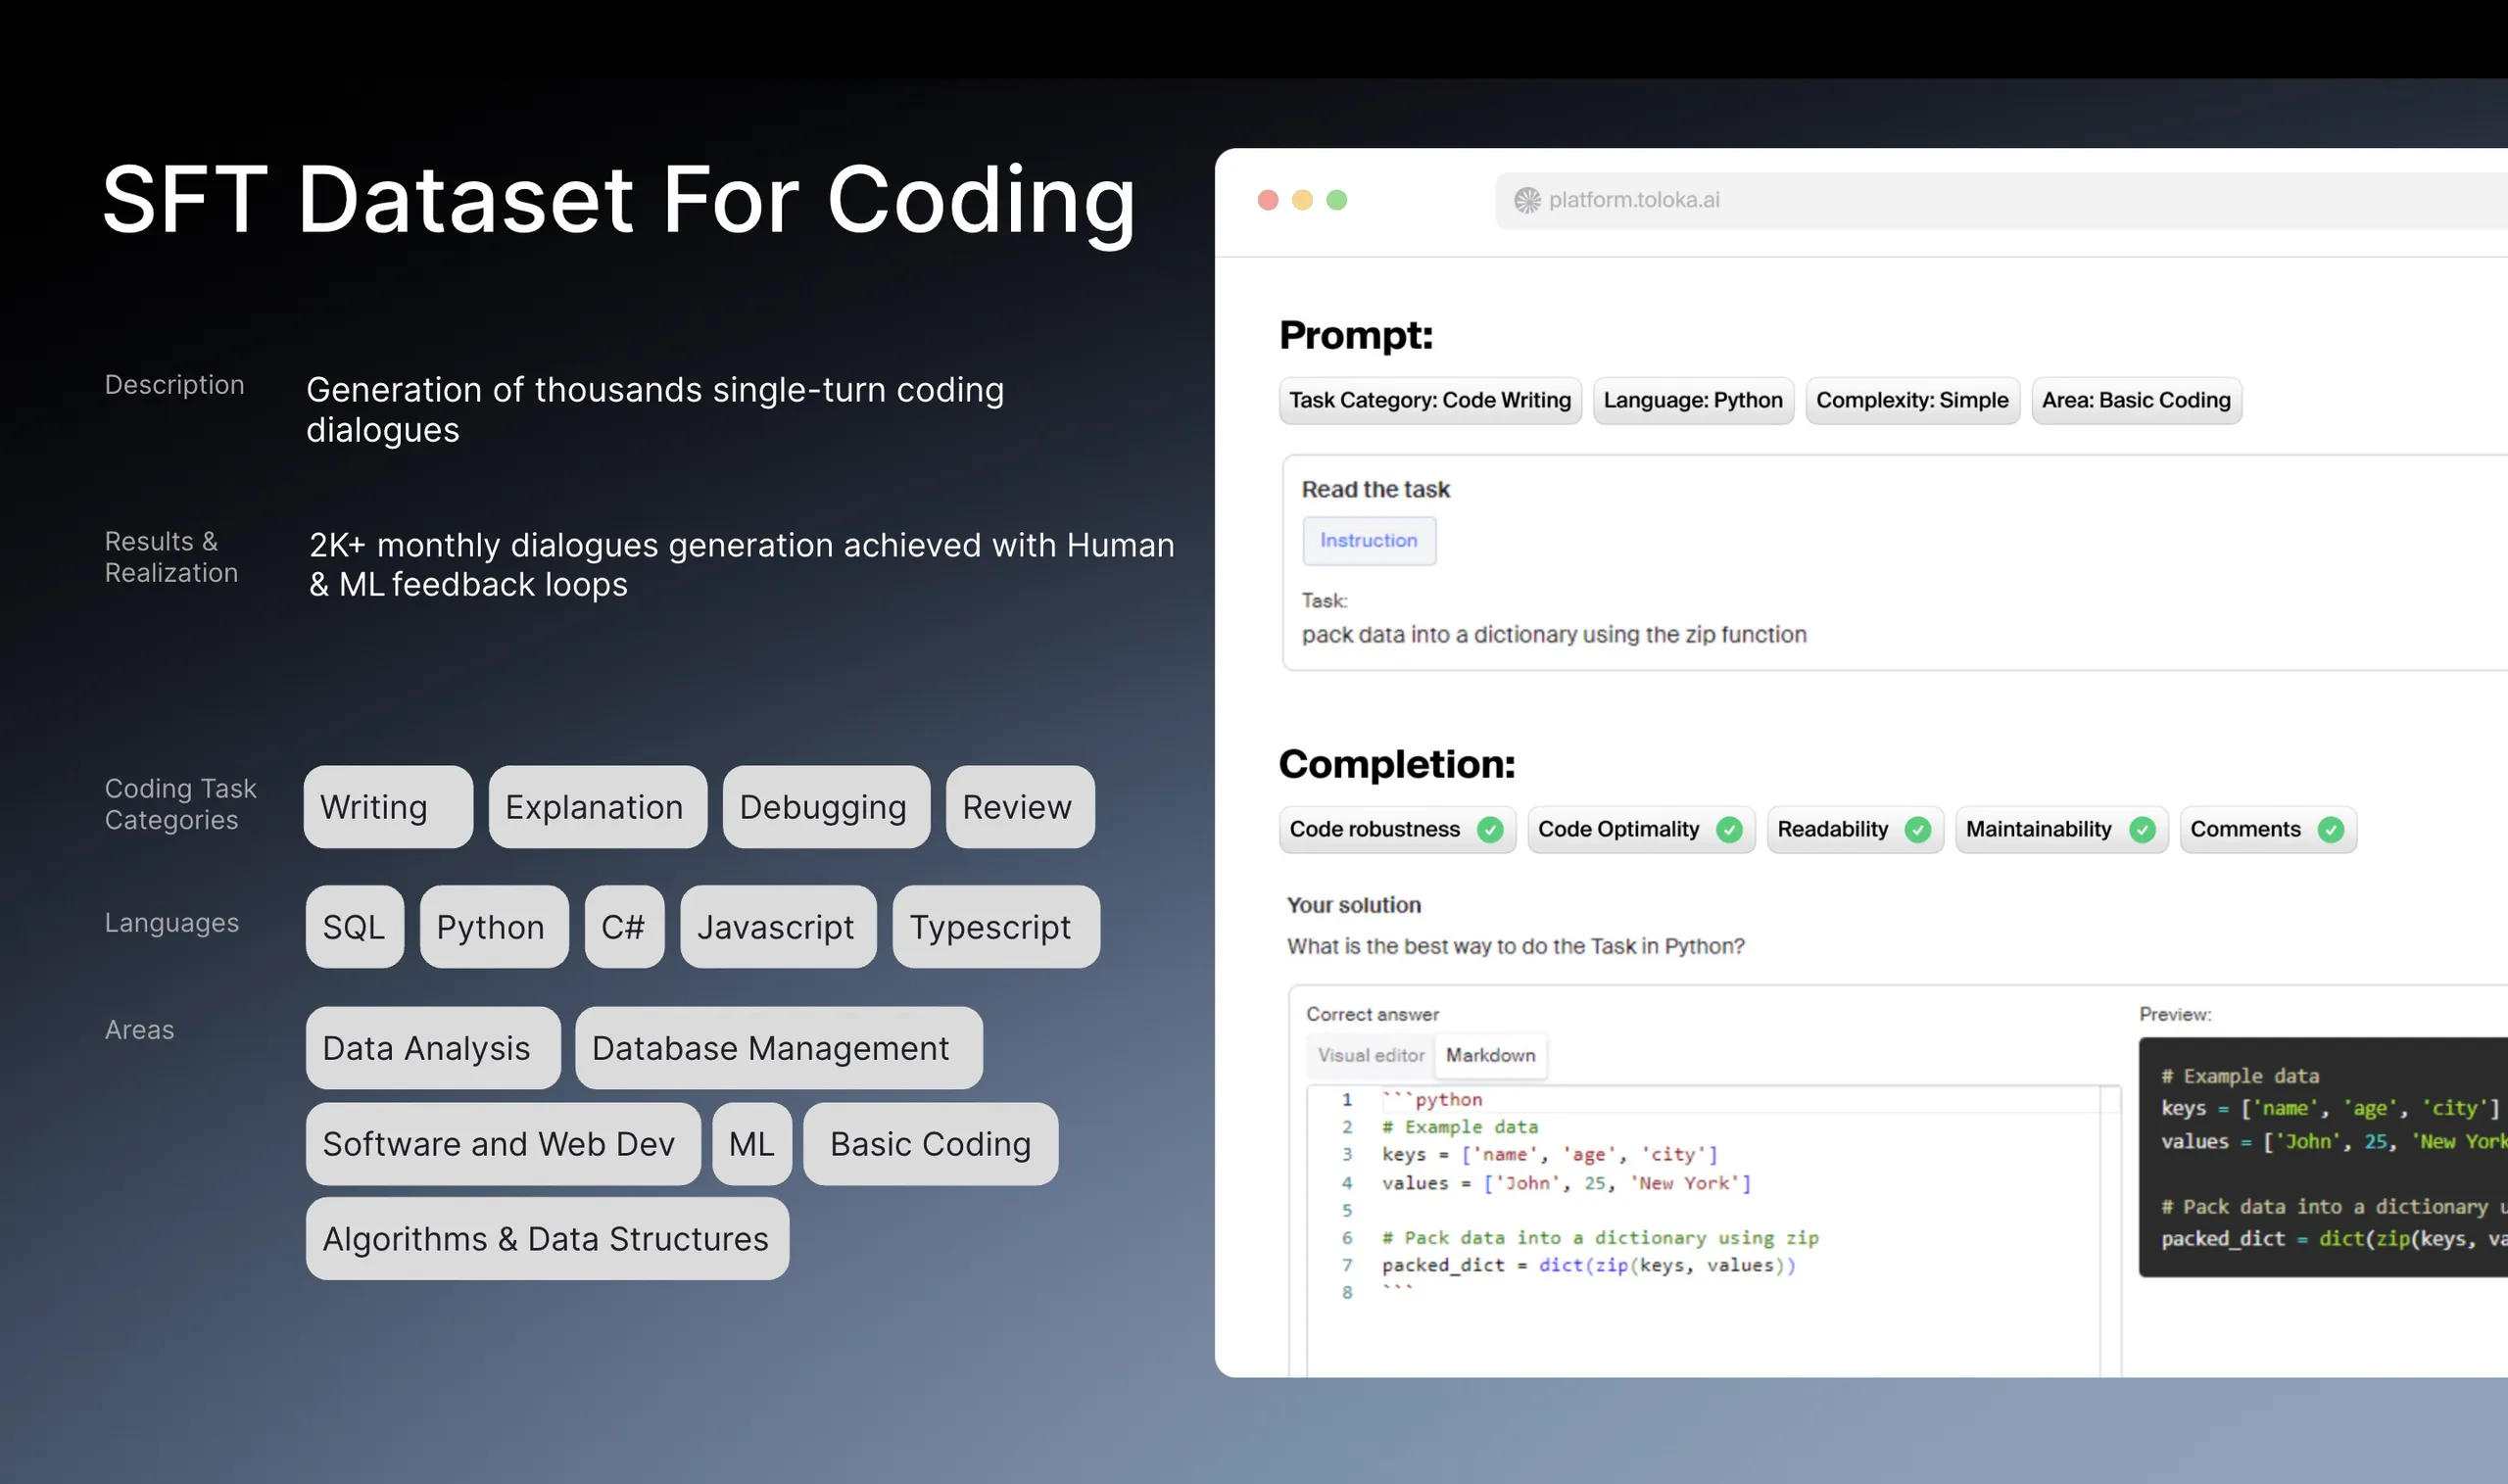
In a previous lesson, you learned how to format a dataset into prompt-completion pairs, often using the chat template format ({"messages": [...]}). A crucial part of the engineering process is transforming your raw data source (like a CSV, JSON file, or database) into this required format. This also involves practical considerations like analyzing token lengths to set an appropriate max_seq_length.
Let's see a real-world example of this process.
Fine-Tuning Llama 3 on a Custom Dataset: Training LLM for a RAG Q&A Use Case on a Single GPU
Continuing with Venelin Valkov's video, let's see how he takes a raw dataset, formats it for instruction tuning, and analyzes its token distribution.
Watch from 08:12 to 14:06. Focus on these key engineering steps: Loading raw data: Starting with a Hugging Face dataset and converting it to a Pandas DataFrame. Formatting: Creating a function (format_example) that applies the model's chat template to each row. Token Analysis: Calculating the token count for each formatted example and plotting a histogram to understand the distribution. This directly informs the max_seq_length hyperparameter. Splitting: Creating train, validation, and test splits from the prepared data.
This data preparation phase is critical. High-quality, correctly formatted data is the single most important factor for a successful fine-tuning outcome.
Model and LoRA Configuration
Next, we set up our model. This involves loading the base model (often with quantization for memory efficiency) and defining the LoraConfig, which you mastered in the previous lesson. Let's quickly review how this looks in a complete script.
Fine-Tuning Llama 3 on a Custom Dataset: Training LLM for a RAG Q&A Use Case on a Single GPU
This clip from the same video shows the model and LoRA adapter setup. This should be a good refresher from our last lesson.
Watch from 18:51 to 22:15. Observe how the 4-bit quantization config is defined and how the LoraConfig is created, specifically targeting the linear layers of the Llama 3 architecture. Notice the call to print_trainable_parameters() to verify the efficiency of the setup.
3. Configuring the Training Job with SFTTrainer
With the data and model ready, we can configure the training job itself. The SFTTrainer uses a configuration object, SFTConfig (which is an extension of TrainingArguments), to control every aspect of the training loop. Understanding these parameters is key to running stable and effective training jobs.
Supervised Fine-Tuning - Hugging Face LLM Course
The Hugging Face LLM Course provides a concise guide to the key parameters in the SFT training configuration. This will give you a structured understanding of your main control knobs.
Read the section 'Training Configuration'. Focus on the four categories of parameters: Training Duration, Batch Size, Learning Rate, and Monitoring. Understand the purpose of each parameter, such as num_train_epochs, per_device_train_batch_size, gradient_accumulation_steps, and learning_rate.
Let's see these parameters defined in a practical code example. The following code snippet from the Google AI Gemma fine-tuning guide shows a well-documented SFTConfig.
from trl import SFTConfig
import torch

# Assume torch_dtype is set (e.g., torch.bfloat16)
args = SFTConfig(
    # --- Job & Model Paths ---
    output_dir="gemma-text-to-sql",      # Directory to save checkpoints and repository ID

    # --- Dataset & Training Strategy ---
    max_seq_length=512,                 # Max sequence length (informed by your dataset analysis)
    packing=True,                       # Packs multiple short examples into one sequence for efficiency
    num_train_epochs=3,                 # Number of training epochs

    # --- Batching & Gradient ---
    per_device_train_batch_size=1,      # Batch size per GPU
    gradient_accumulation_steps=4,      # Accumulate gradients over 4 steps to simulate a larger batch size (1*4=4)
    gradient_checkpointing=True,        # Use gradient checkpointing to save memory
    max_grad_norm=0.3,                  # Clip gradients to prevent exploding gradients (from QLoRA paper)

    # --- Optimizer & Scheduler ---
    optim="adamw_torch_fused",          # Efficient AdamW optimizer
    learning_rate=2e-4,                 # Learning rate (a common starting point for QLoRA)
    lr_scheduler_type="constant",       # Learning rate schedule
    warmup_ratio=0.03,                  # Warmup ratio (from QLoRA paper)

    # --- Logging & Saving ---
    logging_steps=10,                   # Log metrics every 10 steps
    save_strategy="epoch",              # Save a checkpoint at the end of each epoch

    # --- Precision & Hardware ---
    fp16=False,                         # Set based on GPU capability
    bf16=True,                          # Set based on GPU capability

    # --- Other ---
    push_to_hub=True,                   # Push model to Hugging Face Hub
    report_to="tensorboard",            # Log to TensorBoard
)
Test your understanding!
You are training on a single GPU with limited VRAM. You want to use an effective batch size of 32 to stabilize gradients, but your GPU can only handle a per_device_train_batch_size of 2. What value should you set for gradient_accumulation_steps?
Show answer
You should set gradient_accumulation_steps to 16. The effective batch size is calculated as per_device_train_batch_size * gradient_accumulation_steps. Therefore, 2 * 16 = 32. The trainer will run 16 forward/backward passes, accumulating the gradients from each, before performing a single optimizer step to update the model weights.
4. Executing and Monitoring the SFT Job
Once all configurations are in place, the final steps are to instantiate the SFTTrainer and launch the training.
from trl import SFTTrainer

# Assume model, tokenizer, train_dataset, peft_config, and args are defined

# 1. Initialize the Trainer
trainer = SFTTrainer(
    model=model,
    args=args,
    train_dataset=train_dataset,
    eval_dataset=validation_dataset, # Optional: for tracking validation loss
    peft_config=peft_config,
    tokenizer=tokenizer,
)

# 2. Start the training!
trainer.train()
As the training runs, the console will output logs showing metrics like training loss, validation loss, and learning rate. Monitoring these metrics is essential for diagnosing the health of your training job.
Fine-Tuning Llama 3 on a Custom Dataset: Training LLM for a RAG Q&A Use Case on a Single GPU
Let's watch the training process in action and see the kind of output you should expect.
Watch from 23:02 to 26:34. Pay close attention to the transformers training log table. You can see columns for Step, Training Loss, and Validation Loss. Notice how the training loss generally decreases, which is a sign that the model is learning.
The patterns in your loss curves can tell you a lot:
- Healthy Training: Both training and validation loss decrease and then plateau.
- Overfitting: Training loss continues to decrease, but validation loss starts to increase. The model is memorizing the training data and losing its ability to generalize.
- Underfitting: Neither training nor validation loss decreases significantly. The model doesn't have enough capacity or isn't training long enough to learn the task.
We will do a much deeper dive into interpreting these metrics in the next lesson.
5. Finalizing the Model
After the trainer.train() call completes, you have a trained adapter. You have two main options for saving and using your result.
-
Save the Adapter Only: This is the default behavior.
trainer.save_model()will save the lightweight LoRA adapter weights (typically a few MB) to the specifiedoutput_dir. This is highly efficient for storage and allows you to dynamically load different adapters onto the same base model. -
Merge and Save the Full Model: For some deployment scenarios (e.g., using inference servers like vLLM), it's easier to work with a single, merged model. You can merge the trained adapter weights back into the base model's weights and save the entire model.
This final step completes the full fine-tuning lifecycle, taking you from a raw dataset to a deployable, specialized model.
Fine-Tuning Llama 3 on a Custom Dataset: Training LLM for a RAG Q&A Use Case on a Single GPU
Finally, let's see how to merge the adapter with the base model and push the final artifact to the Hugging Face Hub.
Watch from 26:34 to 28:15. This clip demonstrates loading the base model, applying the trained PEFT adapter, and then calling model.merge_and_unload() before pushing the final, merged model to the Hub. This creates a standalone model that is easy to share and deploy.
Conclusion
You have now walked through the entire workflow for configuring and executing a supervised fine-tuning job. This process is the bedrock of adapting LLMs for practical applications.
Key Takeaways:
- The
SFTTraineris your primary tool: It elegantly orchestrates the data, model, and training configurations. - Configuration is key: The
SFTConfigprovides the essential knobs to control batch size, learning rate, training duration, and efficiency settings likepackingandgradient_accumulation. - The workflow is systematic: Prepare data -> configure model/LoRA -> configure training -> execute -> monitor -> save.
- Monitoring is non-negotiable: Watching the loss curves is your first line of defense against common training problems like overfitting and underfitting.
- You have deployment options: You can keep adapters separate for modularity or merge them into the base model for simplified deployment.
What's Next?
In this lesson, we saw the training logs and briefly discussed what they mean. In our next lesson, "Monitor training and validation metrics (e.g., loss, accuracy) to identify overfitting or underfitting during fine-tuning," we will perform a deep dive into this crucial diagnostic skill. You'll learn to interpret various loss patterns, understand what they imply about your model's learning process, and identify the corrective actions you can take.