Introduction
In the previous lesson, we established a professional workflow for managing dependencies using venv and pip-tools. Your project now has a solid foundation with an isolated, reproducible environment. This is critical for ensuring that code behaves consistently across different machines.
Now, we shift our focus from environment correctness to code correctness. How do we verify that the functions and classes we write actually do what we expect? The answer is automated testing.
This lesson addresses the learning outcome: Write tests using pytest, employing fixtures for setup/teardown and pytest.mark.parametrize for data-driven tests. You will learn to use pytest, the de facto standard testing framework in the Python ecosystem. We'll move beyond the ceremony of Java's JUnit or Python's built-in unittest and embrace a more direct, powerful, and Pythonic approach to testing.
Why pytest? The End of Boilerplate
Coming from a Java background, you are likely familiar with testing frameworks that require significant boilerplate: creating classes, inheriting from a base test class, and using specific assertion methods like assertEquals(). Python's unittest module follows a similar pattern.
pytest radically simplifies this. It lets you write tests as simple functions and use the standard Python assert keyword for checks. This reduces verbosity and makes tests more readable.
Effective Python Testing With pytest
This article from Real Python provides an excellent comparison between unittest and pytest. Focus on the first few sections to see the reduction in boilerplate and the improved output.
Read the sections titled 'What Makes pytest So Useful?', 'Less Boilerplate', and 'Nicer Output'. Pay attention to the side-by-side comparison of a simple test written in both unittest and pytest.
To get started, first install pytest into your project's virtual environment:
# Make sure your .venv is active
pip install pytest
Now, let's see how to write and run your first test.
Please Learn How To Write Tests in Python… • Pytest Tutorial
This video from Tech With Tim provides a practical walkthrough of installing pytest, writing a basic test file, and running it from the command line.
Watch from the beginning until 05:43. The key takeaways are: How to install pytest. The naming convention for test files (test_*.py) and test functions (test_*). How to use a simple assert statement. The command to run your tests (pytest).
As you saw, pytest discovers and runs tests based on naming conventions. A typical test looks like this:
# my_app/utils.py
def add(a, b):
    return a + b


# tests/test_utils.py
from my_app.utils import add

def test_add_positive_numbers():
    assert add(2, 3) == 5

def test_add_negative_numbers():
    assert add(-1, -1) == -2
Running pytest in your terminal will automatically find and execute these functions, providing a clear report.
Managing Test State: Fixtures for Setup and Teardown
Tests rarely exist in a vacuum. They often require some setup (the "Arrange" step in Arrange-Act-Assert), such as creating a database connection, initializing a class, or providing a sample dataset.
In unittest or JUnit, you might use setUp() and tearDown() methods (or @Before/@After annotations). pytest uses a more powerful and explicit concept called fixtures. A fixture is a function that provides a resource to your tests. Tests declare which fixtures they need by accepting them as arguments.
This dependency injection mechanism makes it clear exactly what each test depends on.
The following resource from OneUptime gives a clear, structured overview of fixtures, from basic creation to more advanced patterns.
Read the sections 'What Are Fixtures?' and 'Creating Your First Fixture'. This will show you the basic syntax for defining a fixture with @pytest.fixture and requesting it in a test.
Fixtures with Teardown
Fixtures are not just for setup; they are also perfect for teardown (cleanup). By using yield instead of return in a fixture, you can execute cleanup code after the test has finished, even if it fails.
Please Learn How To Write Tests in Python… • Pytest Tutorial
This segment from the Tech With Tim video demonstrates how to create a fixture that provides a fresh object instance for each test, highlighting test isolation. It then introduces the yield keyword for adding teardown logic.
Watch from 12:43 to 17:05. This part explains: What a fixture is and how it provides a clean setup for each test, preventing state leakage between tests. How to use yield in a fixture to perform teardown actions (like clearing a database).
Here's an example of a fixture that provides a temporary database connection and ensures it's closed afterward:
# tests/conftest.py
import pytest
from my_app.database import Database


# The conftest.py file is a special pytest file for sharing fixtures.
# Fixtures defined here are available to all tests in the same directory and subdirectories.

@pytest.fixture
def db_connection():


    # --- Setup ---
    connection = Database.connect("test_db.sqlite")

    yield connection  # The test runs here


    # --- Teardown ---
    connection.close()
    print("\n(Database connection closed)")


# tests/test_queries.py
def test_user_lookup(db_connection):


    # The 'db_connection' fixture is automatically called, and its yielded value is passed here.
    user = db_connection.query("SELECT * FROM users WHERE id=1")
    assert user["name"] == "Alice"


    # After this test finishes, the teardown code in the fixture runs.
Fixture Scopes
By default, a fixture runs once for every test function that requests it (scope="function"). For expensive resources (like a database container or a large machine learning model), you can change the scope to run the fixture only once per class, module, or the entire test session.
The article "How to Use pytest Fixtures" (LINK) has an excellent table summarizing these scopes under the "Fixture Scopes" section. For now, just be aware they exist; we will primarily use the default function scope for test isolation.
Testing at Scale: Data-Driven Tests with parametrize
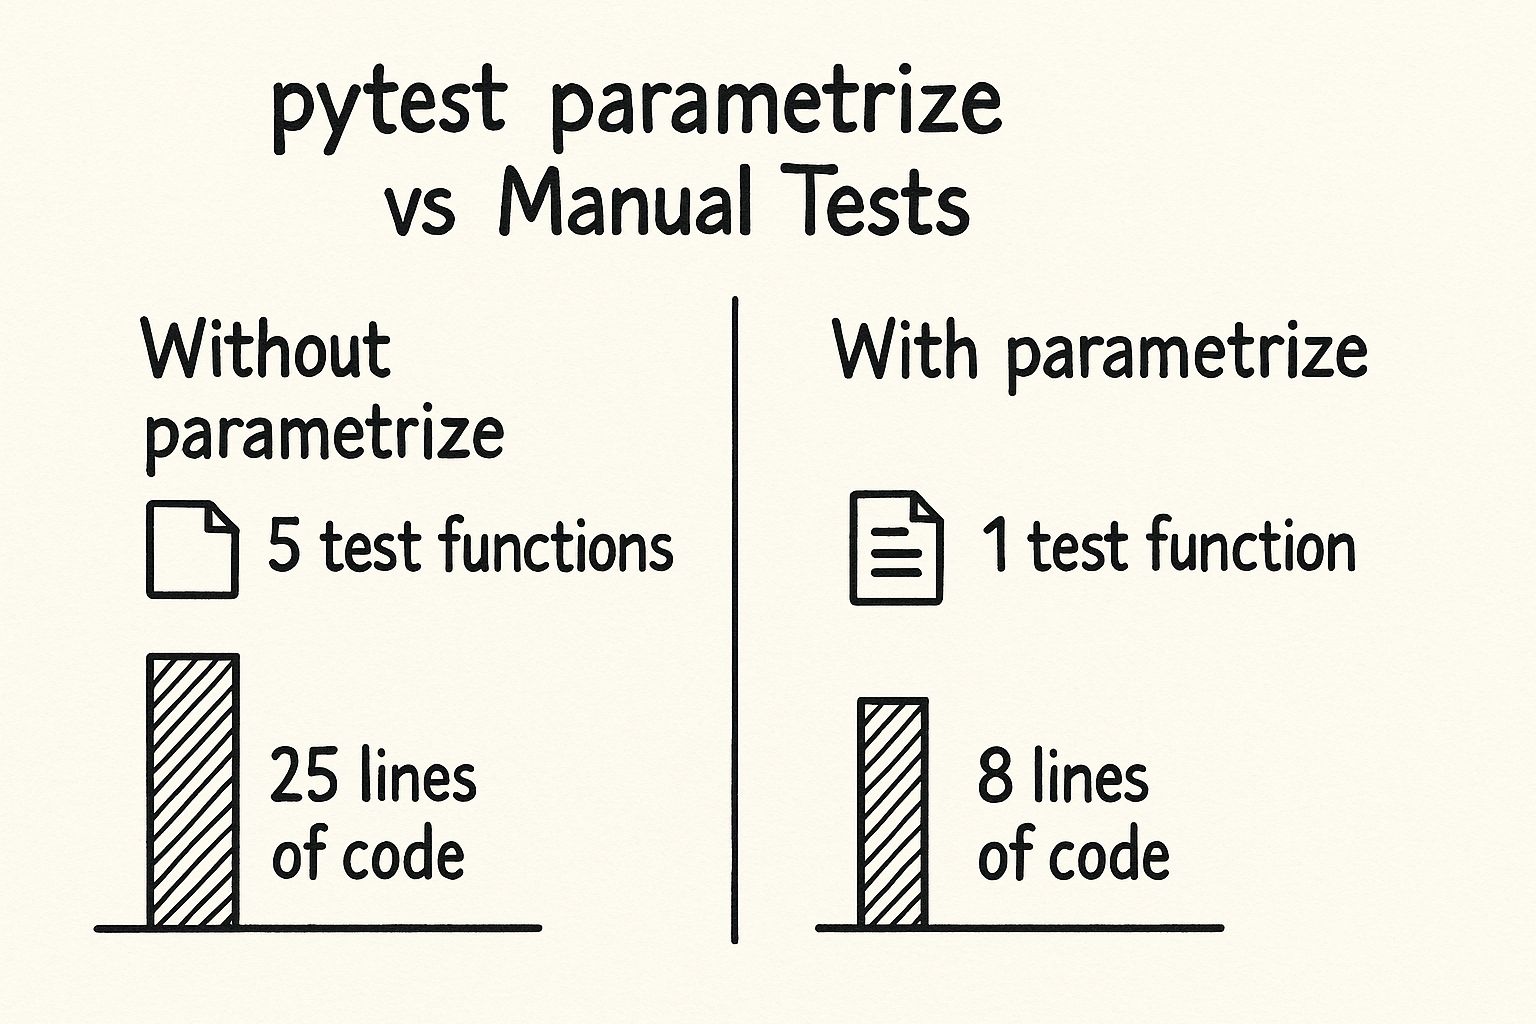
Often, you need to test a single function with multiple different inputs to cover various edge cases. The naive approach is to write a separate test function for each case, leading to a lot of duplicated code.
# The "bad" way: repetitive code
def test_is_prime_for_2():
    assert is_prime(2) is True

def test_is_prime_for_3():
    assert is_prime(3) is True

def test_is_prime_for_4():
    assert is_prime(4) is False
pytest provides a powerful decorator, @pytest.mark.parametrize, to handle this elegantly. It allows you to define a single test function and run it multiple times with different arguments.
pytest's parametrize (beginner - intermediate) anthony explains #027
Anthony Sottile gives a fantastic, concise explanation of parametrize. He covers the basic syntax, how to provide custom test IDs, and an important anti-pattern to avoid.
Watch the entire video (it's short!). Pay close attention to: (01:21) How parametrize converts a list of parameters into multiple, independent test runs. (05:01) Using pytest.param to give descriptive IDs to your test cases for clearer output. (06:00) The 'boolean trap' anti-pattern and why it's better to have separate, focused parametrized tests for success and error cases.
Here is the "good," parametrized version of the prime number tests:
import pytest

@pytest.mark.parametrize("number, expected", [
    (2, True),
    (3, True),
    (4, False),
    (5, True),
    (1, False),
    (0, False),
    pytest.param(13, True, id="prime_number"),
    pytest.param(12, False, id="even_number_non_prime"),
])
def test_is_prime(number, expected):
    assert is_prime(number) == expected
This single test is clear, concise, and easily extensible with new test cases.
Practical Application
Now it's time to put these concepts into practice.
Consider the following function, which formats a list of items into a string.
# in a file named `my_app/formatter.py`
def format_list(items: list[str], separator: str = ", ", prefix: str = "Items") -> str:
    """Formats a list of strings into a single display string."""
    if not items:
        return f"{prefix}: none"

    item_string = separator.join(items)
    return f"{prefix}: {item_string}"
Your task is to write tests for this function in tests/test_formatter.py.
Exercise:
- Create a fixture: In
tests/conftest.py, create a fixture namedsample_itemsthat returns a simple list of strings, for example,["apple", "banana", "cherry"]. - Write a basic test: In
tests/test_formatter.py, write a test functiontest_format_list_with_fixturethat uses yoursample_itemsfixture and asserts that the default output is"Items: apple, banana, cherry". - Write a parametrized test: Create a second test function,
test_format_list_various_cases. Use@pytest.mark.parametrizeto test theformat_listfunction with the following cases:- An empty list.
- A list with one item.
- A list with multiple items and a custom separator (e.g.,
|). - A list with a custom prefix.
- (Optional) Use
pytest.paramto add custom IDs to your test cases.
This exercise will solidify your understanding of how fixtures and parametrization work together to create robust and maintainable tests.
Conclusion
In this lesson, you've learned the fundamentals of writing modern, Pythonic tests with pytest. You can now replace verbose, boilerplate-heavy test suites with clean, readable, and powerful tests.
Key Takeaways:
pytestis simple and powerful: It uses standard Python functions andassertstatements, eliminating the need for special classes or assertion methods.- Fixtures for clean tests: Use
@pytest.fixtureto manage test setup and teardown. This makes dependencies explicit and ensures tests are isolated. Useyieldto add cleanup logic. parametrizefor data-driven testing: Use@pytest.mark.parametrizeto run the same test logic with multiple sets of data, dramatically reducing code duplication and improving test coverage.- Conventions are key:
pytestrelies on file (test_*.py) and function (test_*) naming to discover tests automatically. Shared fixtures belong inconftest.py.
What's Next:
You now have the core tools for writing effective tests. In the next lesson, we'll build on this by exploring two more essential pytest features: testing for expected exceptions with pytest.raises and handling filesystem operations safely with the built-in tmp_path fixture.