Introduction
In our last lesson, we mastered the precise art of applying swimwear elastic, a skill fundamental to creating professional, performance-ready garments. We focused on creating a clean, puck-free edge that provides both structural integrity and a snug fit. Now, we will elevate that skill by learning how to make those expertly crafted seams disappear entirely.
This lesson addresses the technique of constructing reversible bikini tops with invisible seams. This method is not just an aesthetic choice; it is a powerful tool for on-set efficiency, a concept that aligns with your expertise in optimizing systems. Imagine a Bollywood film shoot where a single, masterfully constructed bikini can provide two distinct looks. This saves time during costume changes, reduces the wardrobe budget, and minimizes luggage for location shoots—a perfect case study in design efficiency. We will learn the "bagging out" method, which encloses all seams and elastics between two layers of fabric, resulting in a flawless finish on both sides.
The "Bagging Out" Method: Engineering Two Looks in One
The core principle behind a reversible garment is elegantly simple. It involves creating two identical garment "shells"—one for each side—and sewing them together along their perimeters with the right sides of the fabric facing each other. After sewing, the entire piece is turned right-side-out through a small, strategically hidden opening. The result is a single garment with all structural seams neatly concealed inside.
This technique offers several key advantages for high-end and performance swimwear:
- Aesthetic Versatility: It provides two distinct looks in one garment, as shown in the examples below. This is invaluable for cinematic storytelling, allowing for a quick visual change to match a shift in mood or setting.
- Superior Comfort: With all seams, including the elastic, enclosed between two layers of soft swimwear fabric, there are no rough edges to chafe or irritate the skin during long hours of wear or vigorous movement.
- Professional Finish: The absence of visible topstitching along the edges gives the garment a clean, luxurious, and high-end appearance.

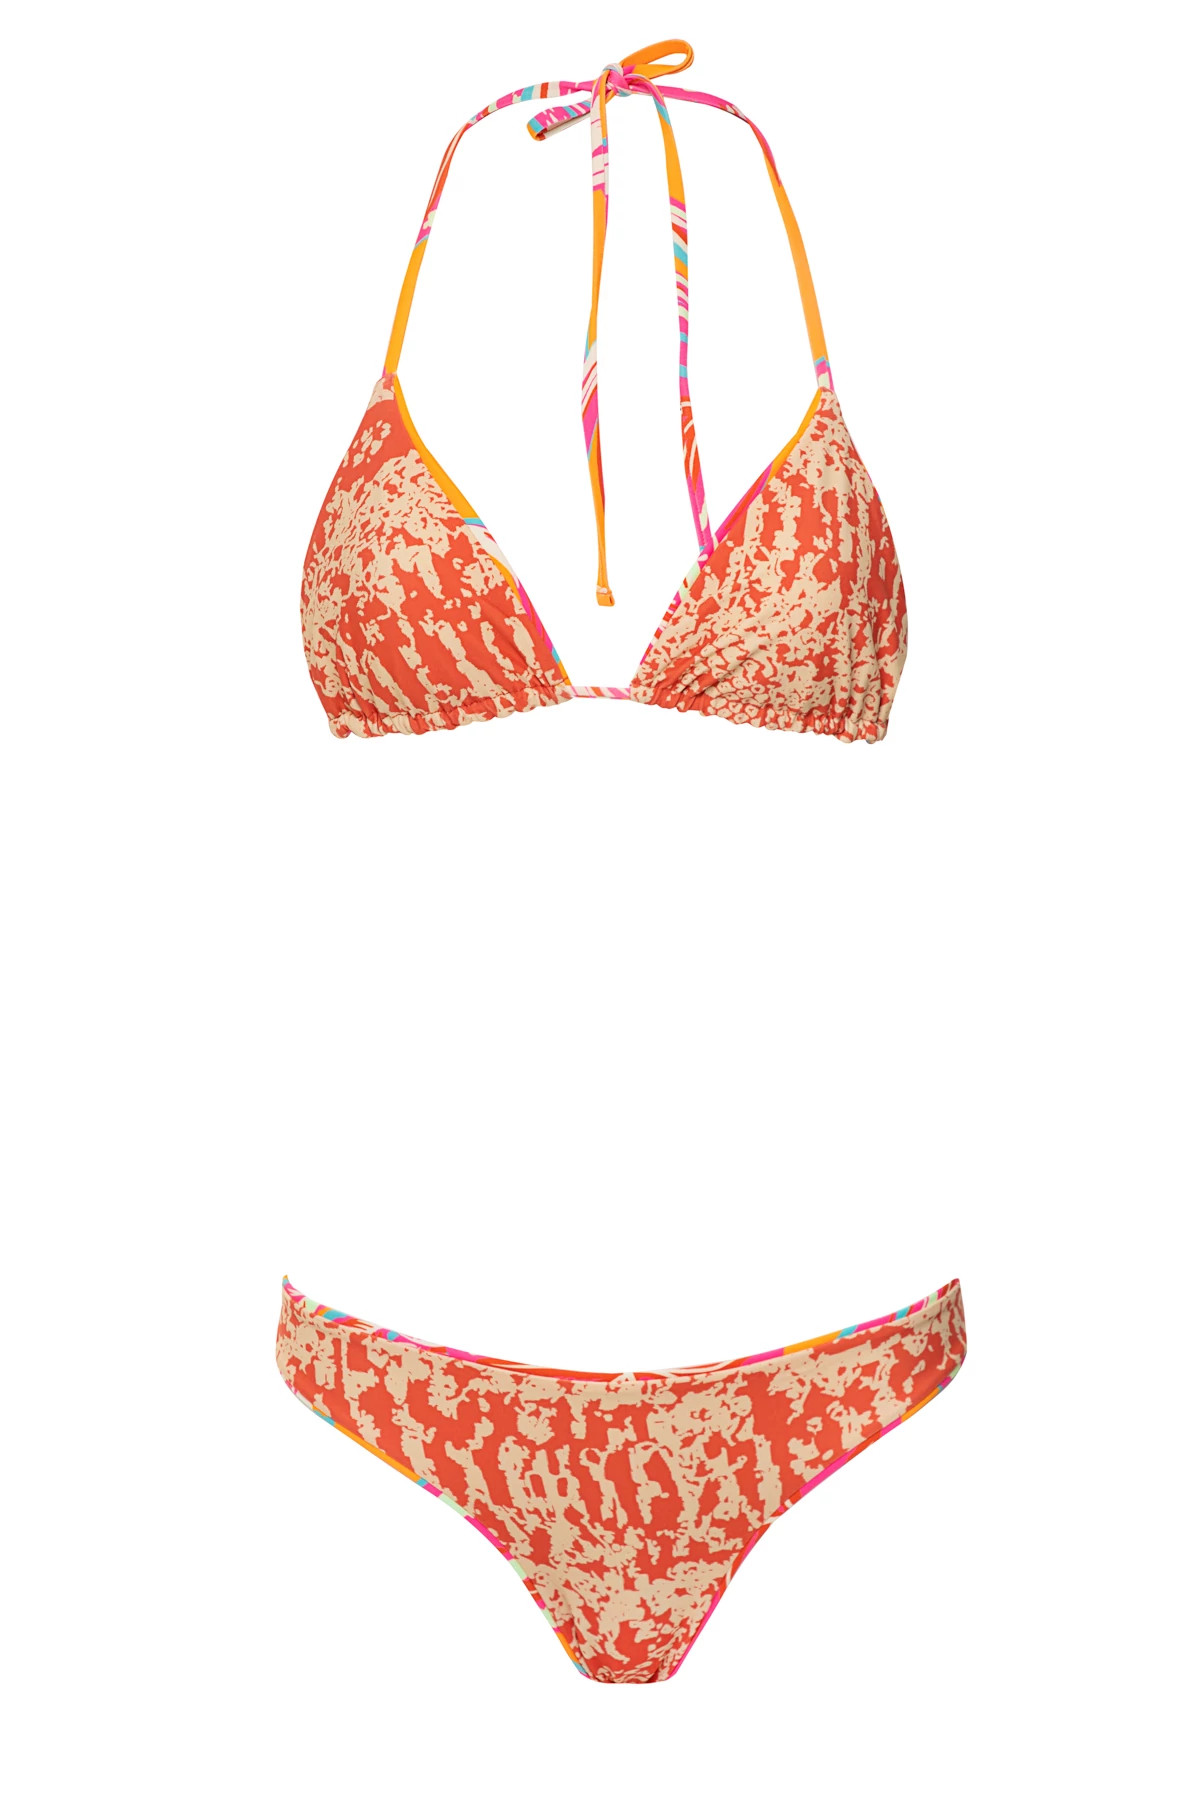
The Construction Process: A Step-by-Step Breakdown
Constructing a reversible top is a methodical process that builds directly on the elastic application skills from our previous lesson. The key difference is that the elastic is now being attached to two layers of fabric simultaneously, and the final topstitching pass is eliminated.
Step 1: Layering and Edge Finishing
First, you cut identical pattern pieces from your two chosen fabrics. Let's call them Fabric A (main) and Fabric B (reverse). Place the corresponding pieces together, right sides facing. For example, the front piece from Fabric A is placed on the front piece from Fabric B, with their printed/finished sides touching.
You will then sew the main edges (necklines, armholes, underbust) by attaching elastic along the seam allowance. This combines two steps into one: you are both joining the two layers and finishing the edge. The following video provides an excellent walkthrough of this initial phase. Notice the methodical use of basting stitches first—a quality control step that allows for easy correction before committing to the final stitch, a process that should resonate with your background in experimental design.
Sew Like a Pro: Creating Your Own Reversible Swimsuit for Summer Fun
This tutorial from the "Sew Happy" channel demonstrates the full process on a one-piece swimsuit, but the edge-finishing technique is identical for a bikini top.
Watch carefully how the layers are prepared and the elastic is applied: Basting the layers: The presenter pins and then machine-bastes the two layers together using a long stitch and contrasting thread. This temporarily holds the pieces perfectly aligned. Applying the elastic: The elastic is then basted on top of the seam line, typically at a 1:1 ratio. After basting, the final, secure stitch is done with a serger or a stretch stitch on a regular machine. This two-stage process ensures maximum control and a perfect finish.
Step 2: Assembling the Garment and Leaving a Turning Gap
Once the individual sections (e.g., the front and back pieces of the top) have their edges finished, they need to be joined together. This is the most conceptually challenging part of the process. You will essentially place one finished "bag" inside the other, right sides together, to sew the final connecting seams, like the side seams.
The following written tutorial for a reversible top clearly illustrates this assembly method.
This tutorial from Edgewater Ave provides clear, illustrated steps for constructing a reversible top. We will focus on the "View A" instructions, which demonstrate the core assembly principle.
Follow the logic of the assembly from Step 4 to Step 5. The key action is placing the completed BACK piece (which has been turned right-side out) inside the FRONT piece (which is still inside-out). This aligns the side seams with right-sides together, allowing you to sew them and connect the front and back of the garment.
Crucially, one seam must be left partially open to create a turning gap. This is the small hole through which you will pull the entire garment to turn it right-side-out. The "Hannah Top" tutorial suggests seam-ripping a hole after the fact, while the video below shows the more common method of planning for it in advance.
Sew Like a Pro: Creating Your Own Reversible Swimsuit for Summer Fun
Continuing with the "Sew Happy" video, we now focus on how the garment is assembled and prepared for turning.
Observe the following key steps: Leaving the turning gap: The presenter marks a small 1-inch gap on a straight, discreet edge (the center-back neckline) that she will intentionally not sew. Joining the pieces: Similar to the text tutorial, the front piece is placed inside the back piece to align the side seams and shoulder straps for sewing. All four layers (two from the front, two from the back) are sewn together.
Step 3: Turning and Closing
This is the most satisfying step. You will carefully pull the entire garment through the small turning gap. As you do, the bikini top will emerge fully formed, with all its seams beautifully hidden on the inside.
All that remains is to close the turning gap. For a truly reversible and professional finish, this must be done by hand with an invisible stitch, such as the ladder stitch.
Sew Like a Pro: Creating Your Own Reversible Swimsuit for Summer Fun
The final step is to close the opening invisibly. This short clip from the "Sew Happy" video provides a clear demonstration.
Watch from turning and closing. After pulling the suit right-side-out, the presenter uses a needle and thread to perform a ladder stitch, creating a closure that is virtually invisible from both sides of the fabric.
Case Study Application: The Quick-Change Dance Number
Let's apply this to a specific cinematic scenario. A lead actress is performing a high-energy song sequence in a film like War (2019) or Pathaan (2023). The sequence is shot in one location but is meant to depict a transition from day to night.
- The Challenge: The director wants a seamless transition. A hard cut to a different costume would be jarring. A lengthy break to change wardrobe is inefficient and costly.
- The Design Solution: You design a reversible bandeau or triangle top.
- Side A (Day): A bright, tropical print in turquoise and yellow.
- Side B (Night): A sleek, black fabric with a subtle glitter finish.
- The Execution: The choreography incorporates a moment where the actress performs a quick spin behind a prop (like a beach umbrella) or is briefly obscured by backup dancers. In that split second, she unties and flips the bikini top, re-tying it to reveal the black "night" side. The camera continues to roll, capturing a magical and seamless transformation that enhances the narrative of the song.
This application moves beyond simple construction and becomes an act of practical problem-solving for film production, demonstrating the immense value a technically skilled designer brings to a project.
Conclusion
Today, we've unlocked a technique that defines high-end swimwear construction. By mastering the "bagging out" method, you can create flawless, reversible bikini tops that are both comfortable for the performer and a highly efficient tool for film production. This process synthesizes the elastic application skills we previously learned with a new, systematic approach to assembly, resulting in a garment with no visible seams.
Key Takeaways:
- Reversible Construction: The "bagging out" method involves sewing two layers of fabric right-sides-together, enclosing all seams and elastics internally.
- Methodical Process: The key steps are: layering fabrics, applying elastic while sewing edges, assembling the sections, leaving a turning gap, turning the garment right-side-out, and closing the gap with an invisible stitch.
- The Turning Gap is Critical: A small opening, planned in advance or carefully seam-ripped, is essential for turning the garment. It is closed by hand with a ladder stitch for an invisible finish.
- Cinematic Application: This technique provides immense value on a film set, allowing for quick costume changes that can be integrated into the choreography and storytelling, showcasing design as a tool for production efficiency.
Next Lesson Preview
Now that you can create a perfectly finished two-layer garment, we will explore how to add functional elements between those layers. In our next lesson, we will learn to create pockets for and insert removable foam cups. We'll evaluate their performance in the context of a challenging cinematic rainfall sequence, considering issues of water absorption, shape retention, and modesty.