Introduction
In our last lesson, we mastered the "bagging out" method to create flawless, reversible bikini tops—a technique that adds significant aesthetic and practical value for cinematic use. We learned to enclose all seams, creating a garment that is perfectly finished on both sides. Now, we will build directly on that foundation by exploring how to add functional components between those fabric layers.
This lesson focuses on creating pockets for and inserting removable foam cups. This is a critical skill for designing professional swimwear that offers modesty, shaping, and support. We will approach this not just as a sewing exercise, but as an engineering problem driven by a classic Bollywood scenario: the rainfall sequence. We will analyze why standard padding fails dramatically when wet and how to engineer a solution that maintains the garment's integrity and the performer's comfort, even when completely saturated. By the end of this lesson, you will be able to construct high-performance cup pockets and evaluate the materials used, ensuring your designs are ready for the most demanding aquatic scenes.
The Engineering Challenge: A Cinematic Rainfall Sequence
Imagine the scene: the film's star, performing a song in a picturesque location, is caught in a sudden downpour. It's a visually iconic and emotionally charged moment. However, for the costume designer, it's a technical minefield. A bikini top with standard padding can quickly turn into a design failure.
Common Failure Points:
- Water Saturation: Conventional foam acts like a sponge, absorbing water and becoming incredibly heavy. This causes the garment to sag, distorting its shape and creating significant drag.
- Loss of Shape: The weight of the water can cause the cups to collapse or fold, ruining the intended silhouette.
- Discomfort and Chafing: A waterlogged garment is cold, heavy, and can lead to chafing during movement.
- Extended Drying Time: On a film set, time is critical. A garment that takes hours to dry can delay shooting and requires multiple identical costumes for continuity.
The solution lies in a systems-based approach: selecting the right materials and using a construction method that accounts for these stresses.
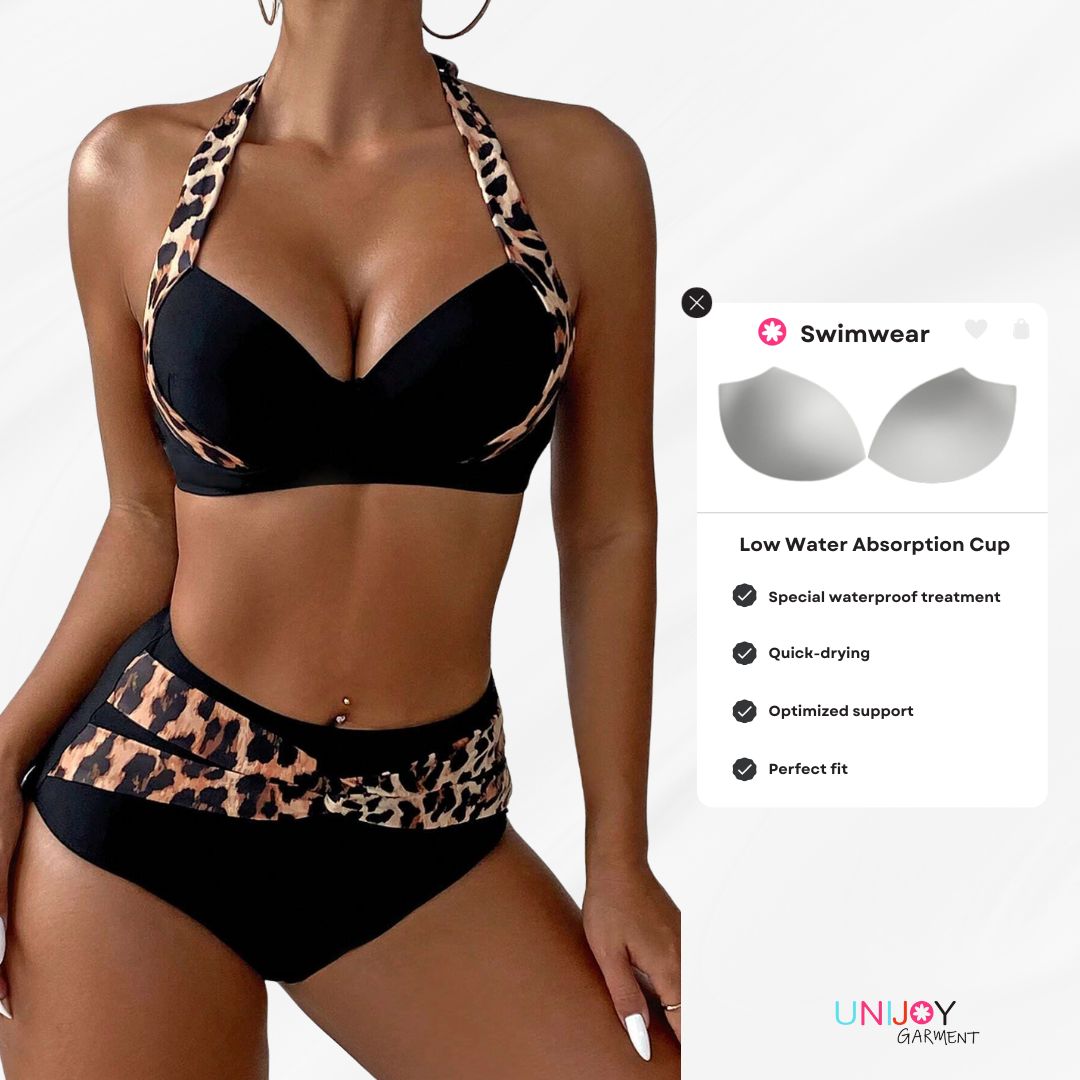
This is where specialized padding comes into play. The goal is to provide shaping and modesty without the liabilities of water absorption. A technical article on manufacturing sports bras for swimming provides valuable insight into the material science.
The Engineering Guide To Sports Bra For Swimming: 2026 Fabric & Tech Specs
This guide deconstructs the technical specifications for high-performance swimwear. We will focus on the section discussing padding.
Under the heading "Engineering Design Features That Improve Performance," locate the bullet point on Padding Dynamics. Pay close attention to the terminology used: "perforated EVA/PU foam cups that drain instantly" and avoiding "hydrodynamic resistance." This is the engineering standard we are aiming for.
As you can see, the industry solution involves not just the cup material (EVA/PU foam is far less absorbent than the soft foam in everyday bras) but also its physical design (perforations to allow water to pass through and drain). By using removable cups, we also give the performer or stylist the option to remove them entirely, and we make the garment easier to wash and dry.
The Construction: Creating the Cup Pocket
To house these removable cups, you need to create a pocket within the lining of the bikini top. The construction builds on the double-layer principle from our last lesson. The pocket is essentially a small opening in the inner lining layer that allows a cup to be slipped in and out.

There are two primary methods to achieve this.
Method 1: The Quick Slit (The Prototype Method)
This is the fastest and simplest method, excellent for creating a quick test garment. It involves creating a double-layered lining and then simply cutting an opening. This video tutorial, while demonstrating a full shelf bra, clearly shows the principle.
Sewing a Reversible One Piece Swimsuit (optional shelf bra!) | Poppy One Piece | Edgewater Avenue
This Edgewater Avenue video tutorial for a one-piece swimsuit includes instructions for an optional shelf bra, which functions as our double-layered lining.
First, watch the segment from cutting two layers. The key takeaway here is that to accommodate pads, you must cut two identical layers of your lining fabric. The cups will sit between these two layers. Next, see how the opening is created from cutting a slit. The presenter simply cuts a small vertical or horizontal slit into the inner layer of the lining. As she notes, most lining fabrics (like power mesh) won't fray, so the cut edge can be left raw.
This method is effective and fast, but the raw edge lacks the refined finish of a high-end garment. For a final production piece, a more integrated construction is preferred.
Method 2: The Integrated Seam Opening (The Professional Method)
This is a more elegant and durable construction method that incorporates the pocket opening into a seam. This conceals the opening, making it less obtrusive and more robust. The most logical place for this opening in a two-part cup design is along the side seam where the cup joins the band.
The following tutorial from Studio Costura, though for a lace bralette, demonstrates the pattern-making and construction logic perfectly. It's a clever sequence of steps that results in a beautifully finished internal pocket. The process is intricate, but your background in procedural analysis will be an asset in following the logic.
This detailed blog post explains how to alter a pattern and construct a bralette to include integrated pockets for removable foam cups. The technique is directly transferable to a bikini top.
The process involves three main stages: pattern alteration, cutting, and construction. Pattern Alteration: Read the section under "Let's go with the tutorial" to understand the core changes. Focus on the paragraphs explaining how to modify the pattern and how to adjust the lining piece to form the pocket. The goal is to create a clean, folded edge for the pocket opening rather than a seam. Cutting the Fabric: Once the pattern is altered, you'll cut additional lining pieces. Read the section that begins For the linings to understand which pieces need to be cut differently to create the pocket layers. Construction Logic: This is the most complex part. The tutorial uses a clever "burrito" method to enclose seams. Take your time to read through the sewing steps. Start with joining the inner cup lining. Next, study the complex layering process that joins one layer of the lining to the main lace (or in our case, swimwear) fabric. Read the section from this explanation carefully. It involves stacking five layers of fabric to sew one seam. Finally, see where the opening is created. The tutorial explains that the pocket opening is formed by leaving the side seam open on the innermost lining layer. This edge is then secured when you attach the bottom band elastic, creating a neat and functional opening.
This integrated method is more time-intensive, but the result is a truly professional garment where the functionality is built into the core design, not added as an afterthought.
Evaluation: A "Design of Experiment" Approach for the Rainfall Scene
With your bikini top constructed, how do you validate its performance for the demanding rainfall scene? We can devise a simple, systematic test protocol that leverages the principles from your background in Design of Experiments.
Objective: To determine the optimal cup and construction combination that minimizes water retention and shape distortion.
Test Setup:
- Garments:
- Control Garment: A top with standard, non-removable foam.
- Test Garment 1: Your new top with removable, non-perforated foam cups.
- Test Garment 2: Your new top with removable, perforated EVA/PU foam cups.
- Procedure:
- Weigh each dry garment (W_dry).
- Place each garment on a dress form.
- Simulate "rainfall" using a showerhead for a fixed duration (e.g., 2 minutes).
- Immediately after, take standardized photos to assess shape retention and sagging. This is your qualitative data.
- Carefully remove the garment and weigh it immediately (W_wet).
- Analysis:
- Water Absorption: Calculate the mass of water absorbed for each garment: . A lower is better.
- Shape Retention: Compare the "after" photos. Score each garment on a scale (e.g., 1-5) for sagging, cup collapse, and overall silhouette integrity.
- Drying Time (Optional): Hang each garment and record the time until it returns to its W_dry (or is functionally dry).
This controlled experiment provides you with quantitative () and qualitative (photos, scores) data to definitively prove which design is superior. You can then confidently present your design to a director or stylist, backed by evidence, explaining why it is engineered to perform flawlessly on screen.
Conclusion
Today, we have moved beyond simple construction to integrate functional engineering into your swimwear designs. You've learned how to create pockets for removable foam cups using both a rapid prototyping method and a professional, integrated technique. More importantly, we have framed this skill within the context of a specific cinematic challenge—the rainfall sequence—and explored the material science of high-performance padding. By designing a simple test protocol, we connected the construction process back to the principles of experimental design, allowing you to validate your choices with data.
Key Takeaways:
- Performance in Water: Standard foam cups fail in aquatic scenes due to water absorption. The professional solution is to use removable, quick-draining perforated foam cups (e.g., EVA/PU).
- Pocket Construction: Pockets for removable cups can be made with a simple slit in a double-layered lining or, for a more professional finish, integrated into a seam during construction.
- Integrated Pocket Method: This advanced technique involves altering the lining pattern and using a precise layering and sewing order to create a clean, hidden opening at the side seam.
- Design Validation: The effectiveness of a design should be tested. A systematic protocol to measure water absorption and shape retention provides the data needed to make informed engineering decisions.
Next Lesson Preview
The evaluation protocol we designed today serves as a perfect introduction to our next module, "Quality Assurance and Stress Testing." In the next lesson, we will formalize this process, learning how to define key stress vectors and potential failure points based on an analysis of acrobatic choreography. You will learn to design standardized testing protocols to measure fabric and seam resilience against multi-directional stress, building a robust quality assurance framework for your designs.