Introduction
In our last lesson, we mastered the art of creating shape and structure using opaque fabric and seaming, culminating in the draft for a traditional Katori choli. You learned how to engineer support through the precise placement of pattern pieces. Today, we venture into a more visually dramatic territory that is central to modern Bollywood glamour: the illusion of support without visible structure.
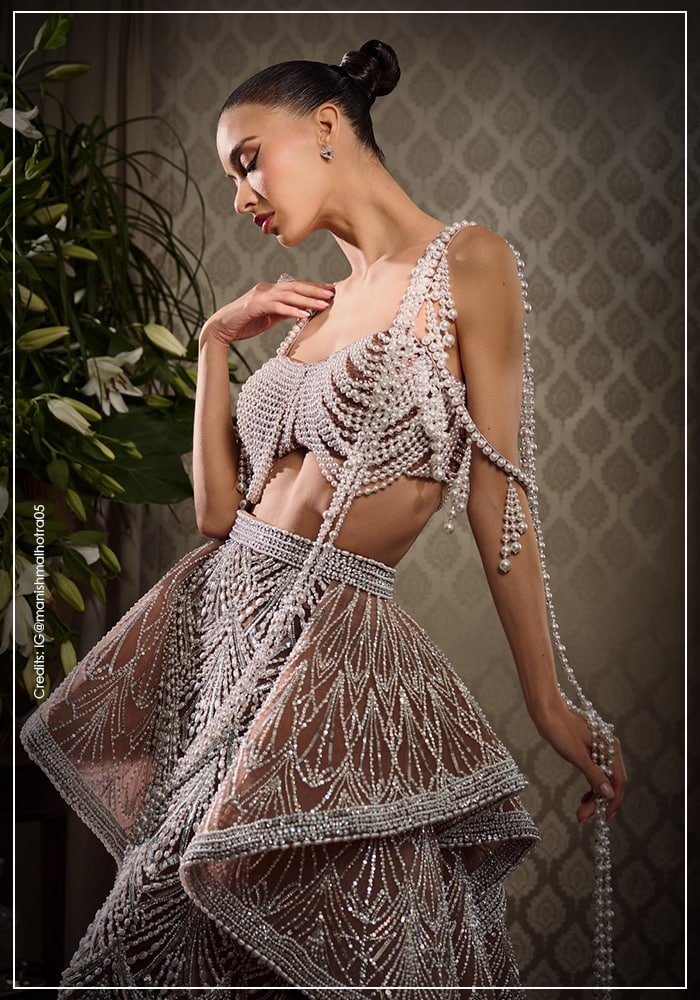
This lesson addresses how to create striking illusion necklines and daring backless effects. These designs, which appear to defy gravity, are not magic; they are feats of meticulous engineering that rely on the integration of sheer, stabilized fabrics into the pattern. You will learn how to replace solid pattern pieces with transparent ones that provide near-invisible support, allowing you to design garments that are both secure and visually spectacular. This technique is the secret behind many of the most memorable high-impact dance costumes and red-carpet looks.

The Core Principle: The Sheer Stability Panel
The fundamental challenge of a deep plunge or a backless design is structural integrity. How do you maintain the shape and support of the bust when the connecting fabric at the center front or back is removed? The answer is to replace it with a material that is visually transparent but mechanically strong. This is the role of the sheer stability panel.
The workhorse for this task is power mesh. Unlike decorative netting like tulle, power mesh is an engineered knit fabric, typically a blend of nylon and spandex, designed for strength and recovery. It provides form-fitting support with four-way stretch, making it ideal for holding garment pieces together while remaining virtually invisible against the skin.
Let's delve into the properties of this critical material.
This guide from Fabrictown provides an excellent overview of power mesh, explaining its properties, types, and uses. Understanding the material is the first step to engineering with it.
Please read through the entire article, paying special attention to the following sections: "What Power Mesh Really Is": Focus on the description of its composition and resilience. "Types of Power Mesh You’ll Love": Note the distinction between standard and heavy power mesh. The choice between these depends on the level of support required versus the desired sheerness. "Using Power Mesh in Projects": The example of a gown's bodice insert is directly analogous to the illusion necklines we are creating. "Sewing Tips From Experience" and "Common Mistakes": Absorb the advice on using a zigzag stitch and avoiding the error of using high heat. These practical details are crucial for a successful outcome.
Case Study: Engineering a Backless, Plunging Bodice
Now that you understand the material, let's analyze how it's integrated into a complex design. We will examine a project that solves both the plunging neckline and the backless challenge simultaneously. This is where your background in operations research is conceptually relevant; we are solving a constrained optimization problem where the constraints are performer mobility and garment stability, and the objective is a specific aesthetic.
The tutorial below, though from the world of cosplay, uses engineering principles directly applicable to Bollywood stage costumes. The creator needed to build a garment that was secure enough for performance and movement, just like a film costume for a dance number.
Making Kraehe’s backless corset
This tutorial by LeafninCosplay is a masterclass in structural problem-solving for costume engineering. We will focus on the two most critical sections that detail the hidden support structure.
First, read the section "Making a stability panel". This is the heart of the technique. Pay close attention to how the author layers power mesh with a stabilizer (duck canvas) to create a panel that is both sheer-looking and incredibly strong. Notice the meticulous process of pinning and hand-sewing to ensure the panel sits flat and invisibly. Next, study the section "Adding straps". A backless design is only as good as its anchoring system. Analyze the author's strapping diagram and explanation. Note the strategic placement of crisscrossing clear straps, sliders, adjusters, and rings to distribute tension and hold the garment securely against the body during movement. This is a complete support system.
This case study demonstrates that an "illusion" garment is actually a hybrid structure: the decorative "fashion fabric" parts are built upon a robust, skin-toned chassis made of stabilized mesh and a network of engineered straps.
Translating Concept to Pattern
With the structural principles established, the next step is to modify your base pattern. This involves drawing your desired illusion shapes and creating new pattern pieces for the sheer sections.
The following video demonstrates this process clearly on a leotard pattern, which is an excellent base for many dance costumes.
How to Make a Custom Dance Costume Pattern
In this video, Rhinestone Queen Costumes shows how to alter a standard pattern to create various illusion effects. We will focus on the pattern drawing stage.
Watch the following segments to see how the 2D pattern is adapted: Drawing the Plunge: Observe from this section how she modifies the front pattern piece to create a deep V-neckline, defining the area that will become the nude mesh inset. The "Strapless" Illusion: From this part, see how a sweetheart neckline is drawn, with the entire upper portion designated as sheer fabric. This creates the illusion of a strapless top while providing the full support of a camisole. Creating the Low Back: Finally, from this segment, watch how she draws a low scoop on the back pattern piece, designating the upper section to be nude mesh for a secure "backless" look.
The Art of Construction: Sewing for Invisibility
Drafting the pattern is only half the battle. The true artistry lies in the construction. Sewing sheer, stretchy power mesh to a stable or embellished fashion fabric requires precision to achieve a clean, sharp line without puckering.
This final video provides a detailed, step-by-step guide to constructing a professional-quality deep plunging neckline with an illusion net. The techniques shown are industry standard for high-end garments.
How to make a deep and neat plunging neckline with a skin illusion net
This tutorial from SEW WITH IJEOMA is an exceptional guide to the technical sewing process. The meticulous approach ensures a flawless finish.
Focus on these key construction stages: Preparation: Watch how the illusion net (or "yoke") is prepared. Note that she doubles the fabric for strength and carefully adds a 0.5-inch seam allowance only to the area that will be joined to the main fabric. The Assembly: This is the most critical part. Watch carefully from this point as she attaches the sheer yoke to the main fabric pieces. Pay attention to how she joins one side, flips and joins the other, and then uses the lining to enclose all the raw edges. Observe the careful notching of the net at the bottom of the 'V' to allow the point to turn cleanly. This multi-step process is what creates a sharp, professional intersection.
The process shown in the video—sewing, turning, and enclosing seams with a lining—is a repeatable algorithm for achieving a perfect illusion neckline every time.
Conclusion
You have now moved beyond conventional pattern-making into the realm of structural illusion. By understanding the properties of materials like power mesh and mastering specific construction techniques, you can design garments that combine dramatic, skin-baring aesthetics with the robust support required for Bollywood performance.
Key Takeaways:
- Illusion effects rely on sheer stability fabrics, with power mesh being the primary choice due to its strength and four-way stretch.
- The "illusion" is often a stabilized panel, sometimes layered with canvas or other materials, that forms a hidden structural chassis for the garment.
- Backless designs are not truly support-free; they depend on a carefully engineered system of clear straps and anchor points to distribute weight and tension.
- Pattern modification involves redrawing necklines and backs, then creating separate pattern pieces for the sheer and opaque sections.
- Construction is key: Success depends on techniques like doubling the mesh, using stretch stitches, precise seam alignment, and careful notching to create sharp, clean transitions between fabric types.
Next Lesson Preview
We have now explored creating structure externally with seams (Katori blouse) and invisibly with sheer panels. In our next lesson, we will take this knowledge of support and apply it inside the garment. We will begin our module on Advanced Support for High-Impact Choreography by learning how to design and integrate internal support slings within bra cups to minimize bounce and provide unparalleled stability for the most vigorous dance routines.