Hello! In our last lesson, we explored how to run multiple cooperative containers within a single Pod using the sidecar pattern. This is perfect for long-running services where you need to augment an application with features like logging or configuration reloading.
However, not all tasks are meant to run forever. As a Platform Engineer, you often need to perform one-off operations: running a database migration, performing a backup, or processing a batch of data. A Deployment isn't suitable for this, as it's designed to keep Pods running continuously.
This is where Kubernetes Jobs come in. A Job is a workload controller that creates one or more Pods and ensures that a specified number of them successfully complete their task and terminate.
In this lesson, you will learn how to create Jobs for one-off batch workloads. We'll cover how to define a Job, control its execution, and manage its lifecycle.
1. What is a Kubernetes Job?
At its core, a Job is designed for tasks with a clear start and end. Unlike a Deployment, which replaces Pods that fail or are terminated to maintain a desired state, a Job's goal is to ensure its Pods run to completion.
Common use cases for Jobs that you'll encounter include:
- Data processing: Running a script to transform and load a batch of data.
- Backups: Triggering an application or database backup.
- Administrative tasks: Running a database schema migration script before deploying a new application version.
- Testing: Executing an end-to-end test suite against a staging environment.
To get a clear overview of what Jobs are and how they differ from other Kubernetes objects, let's watch the beginning of a helpful tutorial.
This video from Peter Jausovec's channel provides a concise introduction to Kubernetes Jobs, explaining their purpose and contrasting them with long-running applications.
Watch the first 1 minute and 32 seconds of the video. Focus on understanding the conceptual difference between a Job and a continuous service.
2. Creating Your First Job
Like other Kubernetes resources, a Job is defined using a YAML manifest. The structure is similar to a Deployment, as it includes a Pod template (spec.template) that defines the container(s) to run.
Let's start with a basic Job that prints a message and then exits.
Kubernetes Jobs: Concepts, Use Cases & Best Practices
This article from groundcover provides a clear, simple example of a Job manifest. We'll use it as our starting point.
Find the section titled 'How to create and configure Kubernetes Jobs'. Review the first YAML example for the 'hello-job'. Note the key fields: apiVersion, kind, and especially restartPolicy.
Here is the manifest from the article for easy reference. Save it as hello-job.yaml:
# hello-job.yaml
apiVersion: batch/v1
kind: Job
metadata:
  name: hello-job
spec:
  template:
    spec:
      containers:
      - name: hello
        image: busybox:1.28
        command: ["echo", "Hello, Kubernetes Job!"]
      restartPolicy: Never
Let's break this down:
apiVersion: batch/v1: Jobs belong to thebatchAPI group, signifying their role in batch processing.kind: Job: This specifies the resource type.spec.template: This is the standard Pod template. It defines the Pod that the Job will create.restartPolicy: Never: This is a crucial field. For Jobs, the Pod's restart policy can only beNeverorOnFailure. It cannot beAlways(the default for Pods created by Deployments), because a Job is expected to terminate. If a Pod in a Job were to restartAlways, the Job would never complete.
Now, run the Job and observe its behavior:
-
Apply the manifest:
kubectl apply -f hello-job.yaml -
Check the Job's status:
kubectl get jobsYou'll see output like this, showing that 1 completion was desired and 1 was achieved.
NAME COMPLETIONS DURATION AGE hello-job 1/1 2s 10s -
Check the Pod created by the Job:
kubectl get podsYou'll notice the Pod has a status of
Completed. The Job controller doesn't delete the Pod, which is useful for inspecting logs and debugging.NAME READY STATUS RESTARTS AGE hello-job-abcde 0/1 Completed 0 25s -
View the logs:
# Replace hello-job-abcde with your actual Pod name
kubectl logs hello-job-abcde
You should see the output:
Hello, Kubernetes Job!.
3. Controlling Job Execution and Parallelism
A Job can be configured to run a task multiple times, either sequentially or in parallel. This is controlled by two fields in the spec:
completions: The number of Pods that must complete successfully for the Job to be considered complete. Defaults to 1.parallelism: The maximum number of Pods that can run concurrently. Defaults to 1.
Let's look at a manifest that uses these fields.
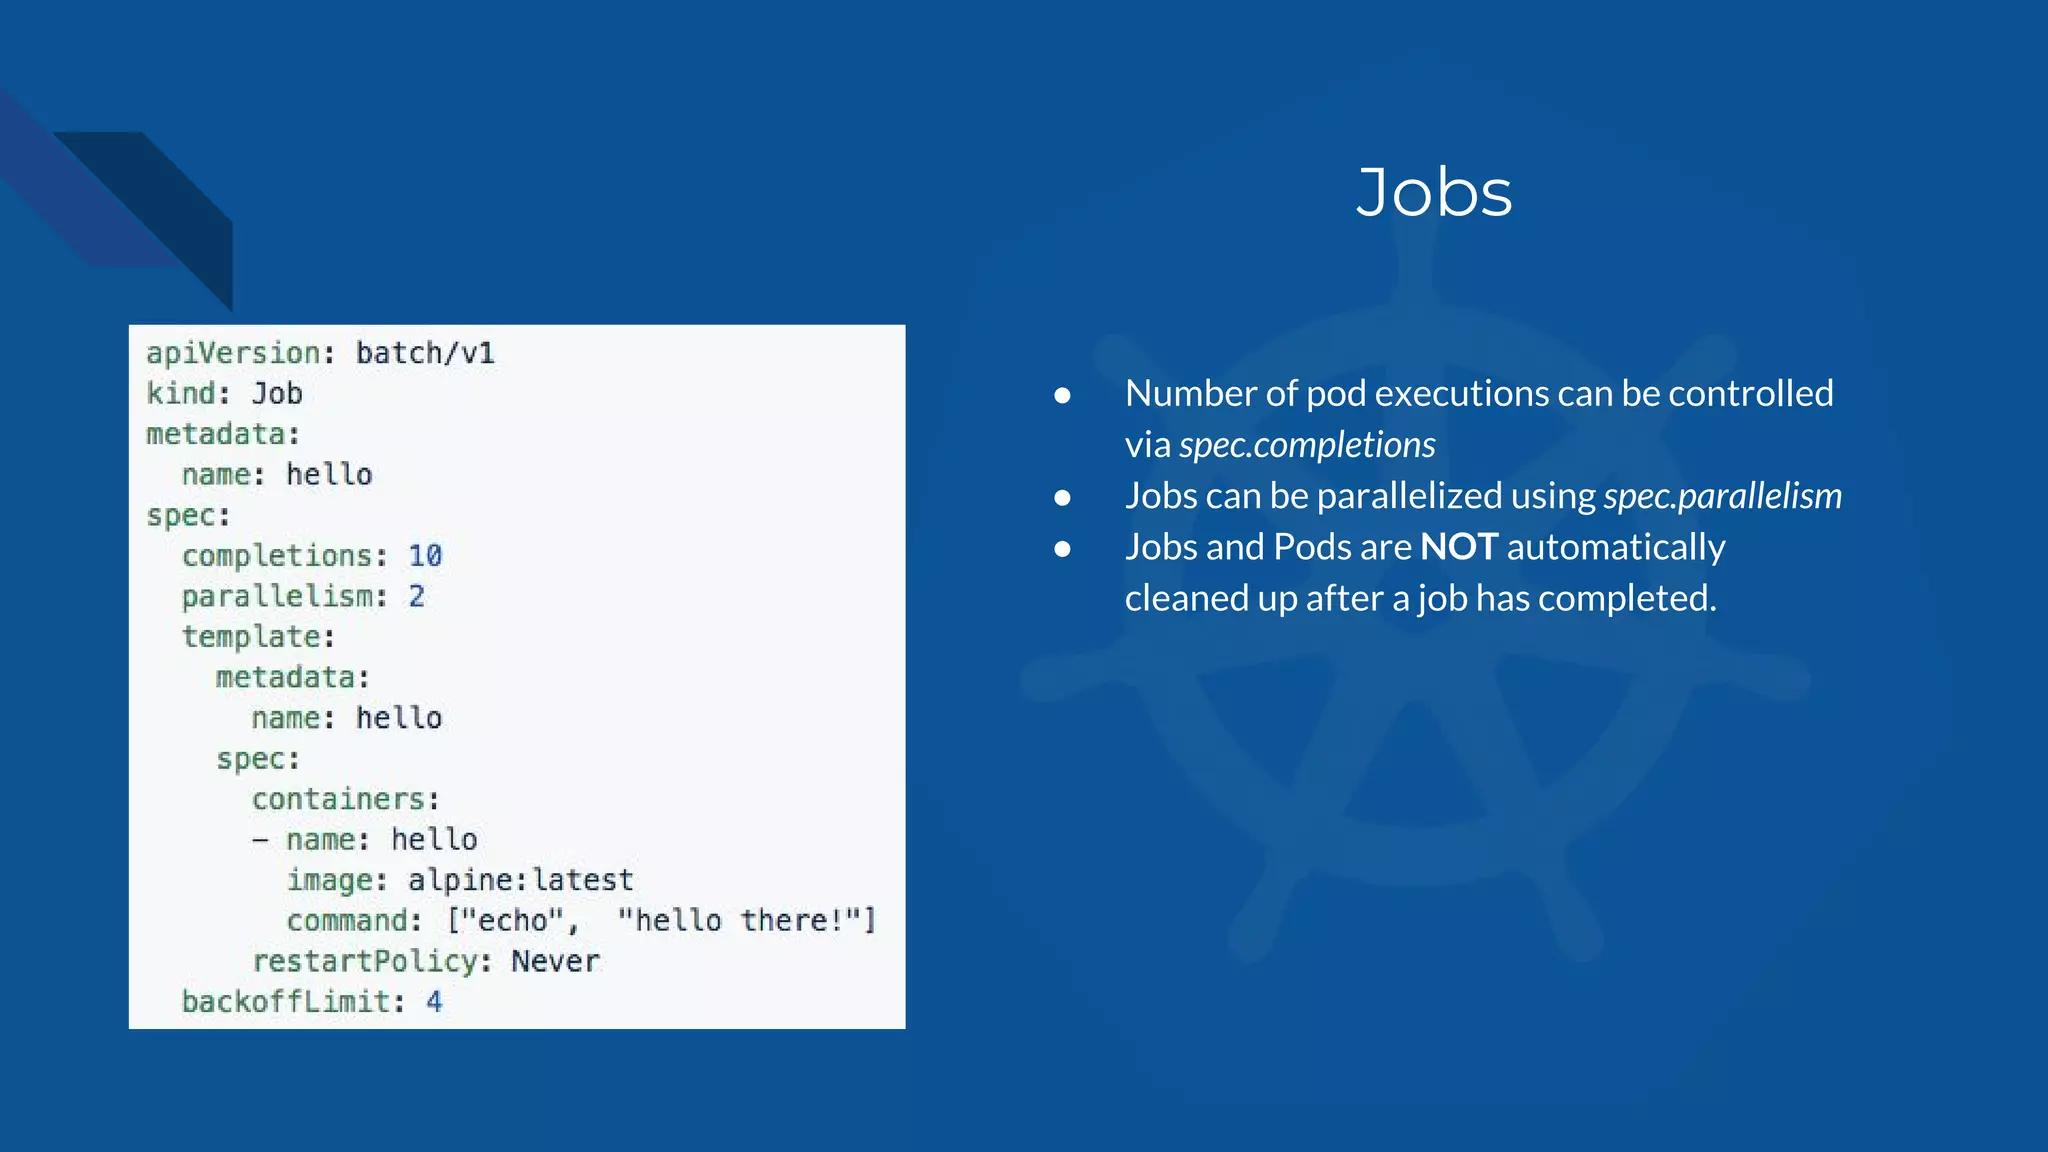
Here is a practical example. This Job will run 6 "tasks" in total, with up to 2 running at any given time.
# parallel-job.yaml
apiVersion: batch/v1
kind: Job
metadata:
  name: parallel-job
spec:
  completions: 6
  parallelism: 2
  template:
    spec:
      containers:
      - name: worker
        image: busybox:1.28
        command: ["sh", "-c", "echo 'Processing item...'; sleep 5"]
      restartPolicy: OnFailure
Apply this manifest (kubectl apply -f parallel-job.yaml) and then watch the Pods get created:
# Watch the pods associated with this job
kubectl get pods -l job-name=parallel-job -w
You will see two Pods start. As one completes, another one will be created to take its place, until a total of six Pods have successfully completed.
Test your understanding!
A Job is configured with completions: 10 and parallelism: 5. When you apply this manifest, what is the expected behavior?
Show answer
Kubernetes will start 5 Pods immediately. As each Pod successfully completes, the Job controller will start a new Pod to replace it, ensuring that no more than 5 Pods are running at once. This will continue until a total of 10 Pods have completed successfully.
4. Handling Failures and Timeouts
In a real-world production environment, tasks can fail. Jobs provide two key mechanisms for building resilience and preventing runaway processes.
Let's return to the video from Peter Jausovec. He provides excellent demonstrations of how to manage Job failures and set deadlines.
Watch from 06:44 to 09:38. Pay close attention to the explanation of backoffLimit for retries and activeDeadlineSeconds for setting a maximum runtime.
As the video explains:
backoffLimit(Default: 6): The number of times a Job will retry a failing Pod before marking the entire Job as failed. The retries are performed with an exponential backoff delay (10s, 20s, 40s...).activeDeadlineSeconds: A hard time limit (in seconds) for the Job. If the Job runs for longer than this, it will be terminated with aDeadlineExceededstatus, regardless of how many completions have been achieved. This takes precedence overbackoffLimit.
Here is an example combining these concepts:
# resilient-job.yaml
apiVersion: batch/v1
kind: Job
metadata:
  name: resilient-job
spec:
  completions: 3
  parallelism: 1
  backoffLimit: 4 # Retry up to 4 times on failure
  activeDeadlineSeconds: 60 # Fail the job if it runs longer than 1 minute
  template:
    spec:
      containers:
      - name: unreliable-worker
        image: busybox:1.28
        # This command will fail occasionally
        command: ["sh", "-c", "echo 'Attempting task...'; exit $((RANDOM % 2))"]
      restartPolicy: OnFailure
5. Job Cleanup and Management
A key operational aspect of Jobs is that completed Jobs and their Pods are not automatically deleted. While this is great for debugging, it can lead to clutter in your cluster over time.
There are two ways to manage this:
1. Automatic Cleanup (Recommended)
You can use the ttlSecondsAfterFinished field in the Job's spec. This tells the controller to clean up the Job (and its Pods) a certain number of seconds after it completes.
# ttl-job.yaml
apiVersion: batch/v1
kind: Job
metadata:
  name: ttl-job
spec:
  ttlSecondsAfterFinished: 100 # Cleanup 100 seconds after completion
  template:
    spec:
      containers:
      - name: short-lived-task
        image: busybox:1.28
        command: ["echo", "This job will self-destruct!"]
      restartPolicy: Never
2. Manual Cleanup
As a Platform Engineer, you'll often need to perform manual cleanup. You can use kubectl with field selectors to delete Jobs based on their status.
How to Run Batch Jobs and CronJobs in Kubernetes
The 'How to Run Batch Jobs and CronJobs in Kubernetes' article provides some very useful commands for managing Jobs.
In the 'Job Management' section, look at the subsection 'Delete Completed Jobs' for some practical commands.
Here are the commands from the article:
# Delete all successfully completed jobs
kubectl delete jobs --field-selector status.successful=1

# Delete all failed jobs
kubectl delete jobs --field-selector status.successful=0
These commands are perfect for incorporating into your own automation or cleanup scripts.
Conclusion
You have now learned how to create, configure, and manage Kubernetes Jobs for running one-off tasks. This is a fundamental workload type for handling many of the automation and operational duties you'll face as a Platform Engineer.
Key Takeaways:
- Jobs are for finite tasks that run to completion, unlike Deployments which are for continuous services.
- A Job's Pod template must have a
restartPolicyofNeverorOnFailure. - You can control execution flow with
spec.completions(how many successes) andspec.parallelism(how many run at once). - Build resilient Jobs using
spec.backoffLimitfor retries andspec.activeDeadlineSecondsto prevent indefinite execution. - Remember to clean up completed Jobs, either automatically with
spec.ttlSecondsAfterFinishedor manually withkubectl delete.
Next Up:
We've seen how to run a task once. But what if you need to run a task on a recurring schedule, such as a daily backup or a weekly report? In our next lesson, we will build directly on what we've learned today to explore CronJobs.