Hello! Welcome back.
In our last lesson, you successfully completed your first 3D print using a pre-loaded file on the Bambu A1. This was a critical step to verify that all the hardware is assembled and calibrated correctly. With the physical setup confirmed, we now need to install the software that will let you print your own designs.
This lesson focuses on setting up that software bridge between your computer and your printer. Our goal is to install Bambu Studio and connect it to your printer. Bambu Studio is a type of program called a "slicer," which translates 3D models into a language of coordinates and commands that the 3D printer can understand and execute.
By the end of this lesson, you will have Bambu Studio installed and will be able to monitor and control your Bambu A1 directly from your computer, setting the stage for printing your own creations.
1. What is a Slicer?
Before we install anything, let's clarify the role of this software. You'll eventually be creating 3D models in Fusion 360, but you can't send a Fusion 360 file directly to the printer. It must first be processed by a slicer.
From your mechanical engineering background, you can think of a slicer as the CAM (Computer-Aided Manufacturing) software for additive manufacturing. It takes a 3D model, "slices" it into hundreds or thousands of thin horizontal layers, and generates the specific toolpath commands (known as G-code) for the printer. These commands dictate every movement, temperature change, and filament extrusion needed to build the part layer by layer.
For a quick overview of why this software is essential, watch the following clip.
Bambu Studio Quick Start Guide - A beginners Guide To Bambu Lab Slicer Software
The video "Bambu Studio Quick Start Guide" by Ricky Impey provides a great explanation of why slicer software is a necessary step in the 3D printing workflow.
Watch from 0:45 to 1:55. The video explains how a slicer converts a 3D model into the detailed instructions your printer needs to function.
2. Download and Install Bambu Studio
First, you need to download the software from the official source and install it on your computer.
- Download: Go to the Bambu Lab download page, which you can find in the resource below. Always use the official site to ensure you're getting the correct and safest version.
- Install: Once downloaded, run the installer. The process is straightforward, but it's helpful to have a visual guide.
The following guide from Obico provides clear, step-by-step instructions with screenshots for both Windows and macOS.
Download, Install, and Setup Bambu Studio – Step-by-Step Guide
Please read this guide to walk you through the download and installation process. It's a simple process, but the screenshots are helpful for confirmation.
First, read the section "How to Download Bambu Studio" to find the link and begin your download. Then, follow the steps under "How to Install Bambu Studio" for your operating system (Windows or macOS).
Upon successful installation, you should see a confirmation screen. It's fine to leave the default file associations checked, as this will make opening 3D printing files more convenient later.

3. Initial Setup Wizard
When you launch Bambu Studio for the first time, it will run a setup wizard to configure the software for your specific hardware.
Here are the steps you'll encounter:
- Select Region: Choose the region where you are located.
- Printer Selection: Select your Bambu Lab A1 and ensure the 0.4mm nozzle is checked. This is crucial as it loads the correct machine profile.
- Filament Selection: You can select all the filament types. This just populates the list of available materials; it's easy to change later.
- Install Bambu Network Plug-in: A pop-up will ask for permission to install this. You must agree to this, as the plugin is required to connect the software to your printer over the network.
The official Bambu Lab documentation provides a good summary of this process.
Bambu Studio Quick Start Guide
Refer to the 'Setup Wizard' section of the official Bambu Studio Quick Start Guide for a written reference of the steps you'll take.
Read the sections from "Select Login Region" through to "Install Bambu Network Plug-in". This will reinforce what you need to select in the wizard.
4. Connecting Your Printer
With the software installed and configured, the final step is to connect, or "bind," it to your printer. This allows you to send print jobs wirelessly and monitor the printer's status.
The process involves two main actions:
- Logging in to your Bambu Lab account within Bambu Studio. If you don't have an account, you'll need to create one for free.
- Using a PIN code generated by your printer to link it to your account.
The following video shows this exact process on the Bambu A1, making it very easy to follow along.
Bambu Lab A1 + AMS Lite Guide, Assembly, Setup, Slicing, Example Prints, Optimizing AMS, and Review!
This clip from Embrace Making's guide to the A1 demonstrates precisely how to bind your printer to Bambu Studio using the PIN code method.
Watch from 14:30 to 14:57. Follow along to log in, navigate to the 'Devices' tab in Bambu Studio, and use the PIN code from your A1's touchscreen to complete the binding.
5. Verifying the Connection
Once the printer is bound, you can confirm the connection was successful.
- In Bambu Studio, click on the "Device" tab on the top menu bar.
- You should now see your Bambu Lab A1 listed. You'll be able to see its status (e.g., "Idle"), the nozzle and bed temperatures, and a live feed from the printer's camera.
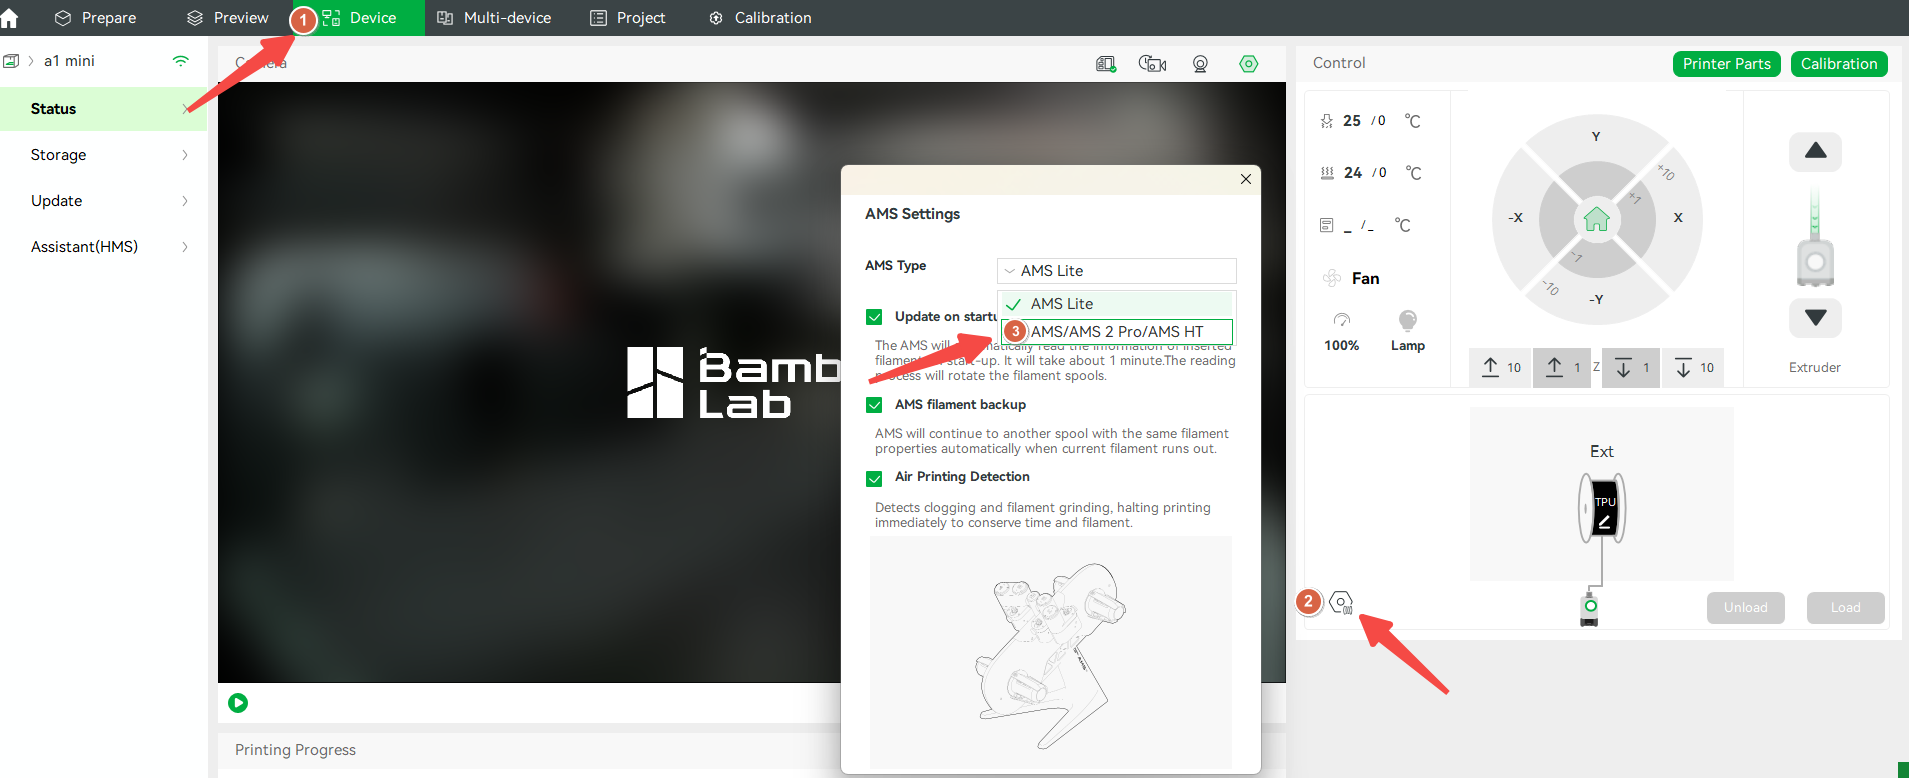
Seeing your printer appear in this tab confirms that the software is installed, configured, and successfully communicating with your hardware.
Conclusion
Excellent work. You have now fully established the digital workflow for your 3D printer. You started with working hardware and have now installed and connected the software "brain" that will operate it.
Key Takeaways:
- Bambu Studio is a slicer that converts 3D models into machine-readable G-code instructions for your printer.
- Installation requires running a setup wizard where you must select your specific printer model (A1) and allow the network plugin to be installed.
- Connecting the printer is done by logging into your Bambu account in the software and binding the printer using a PIN generated on its touchscreen.
- A successful connection is confirmed in the "Device" tab, where you can see the printer's live status.
In the next lesson, we'll put this new setup to use. You will learn to import a 3D model file (STL/3MF) into Bambu Studio and configure the core settings like layer height and infill, preparing your very first self-sliced print job.