Hello! Welcome to the first lesson of our "Preparing for Print" module.
So far, you've built a solid foundation in digital design using Fusion 360, culminating in creating and managing multi-part assemblies. Now, we make the exciting leap from the screen to the physical world. This module is all about bridging that gap and turning your digital models into tangible objects with your new 3D printer.
Today's lesson is focused on getting your Bambu A1 Combo set up and ready for action. By the end of this session, you will have unboxed your printer, correctly identified its key components, completed the physical assembly, and run the essential initial calibration routines.
Let's get started!
1. Unboxing and Component Identification
The first step is carefully unboxing the printer and familiarizing yourself with all the parts. A methodical approach here will make the assembly process much smoother.
Begin by watching the first part of this unboxing video to get an overview of the process and see where all the components are located in the packaging.
How to Unbox & Set Up A Bambu Lab A1 Combo 3D Printer
This video from Micro Center provides a clear and comprehensive guide to unboxing the Bambu Lab A1 Combo. Watching this first will help you visualize the process before you start.
Watch from the beginning to 03:02. Pay close attention to how the parts are removed from the box and what each key component looks like.
Now that you've seen the overview, it's time to unbox your own printer. As you take everything out, lay the components out and identify the following key items. You can use the official Bambu Lab Wiki page as a checklist.
Unboxing Guide for A1 Combo | Bambu Lab Wiki
The Bambu Lab Wiki provides an official, detailed guide with images. Use this to double-check that you have all the required accessories.
Read through "Step 1: Unbox and take out A1..." and "Step 2: Check the accessories...". Use the list in Step 2 to identify your main components and accessories.
By now, you should have these main components laid out and identified:
- A1 Printer Frame
- A1 Base Housing
- AMS lite Body and Stand
- Textured PEI Build Plate
- Purge Wiper
- Accessory Box (containing tools, screws, etc.)
- PTFE tubes for the AMS lite
Your workspace should look something like this:

2. Printer Assembly: From Parts to Machine
With all the components identified, it's time for assembly. This process involves a series of mechanical and electrical connections. Work carefully and avoid forcing any parts together.
The video you watched earlier continues with a step-by-step assembly guide. We'll follow it, supported by a second video and the official wiki for additional clarity.
Step 2.1: Main Frame and Base Assembly
First, you'll remove the shipping restraints and attach the main printer frame to the base housing. This forms the core structure of the printer.
How to Unbox & Set Up A Bambu Lab A1 Combo 3D Printer
Let's return to the Micro Center video to guide the main assembly. Follow along with your own printer.
Watch from 03:02 to 06:42. This section covers unlocking the heatbed, mating the frame and base, securing them with screws, and connecting the internal cables. Pay close attention to the color-coding of the cable connectors.
For an alternative view of this process, especially the cable connections underneath the printer, you can also refer to the "Bambu Lab A1 Assembly Guide" video by Thinkable. Some people find seeing the process from a different angle helpful.
Step 2.2: Purge Wiper and Build Plate Installation
Next, you will install the purge wiper and the magnetic build plate. The purge wiper is a clever mechanism that cleans the nozzle between filament changes, and the build plate is the surface your models will be printed on.
Step 2.3: AMS lite Assembly and Connection
The final assembly step is for the Automatic Material System (AMS). Since you have the Combo version, you'll assemble the AMS lite unit, attach it to its stand, and connect it to the printer with the PTFE tubes and the data cable.
How to Unbox & Set Up A Bambu Lab A1 Combo 3D Printer
This last assembly segment covers the purge wiper, build plate, and the full AMS lite setup. It's crucial for enabling multi-color or multi-material printing.
Watch from 06:42 to 10:34. Follow the steps to install the purge wiper and then assemble and connect the AMS lite. Note the different lengths of the PTFE tubes and how they correspond to the AMS ports.
At this point, your Bambu A1 should be fully assembled and ready to be powered on.
3. Power-On and Initial Calibration
This is the final and most important step. The initial calibration tunes the printer for high-quality, reliable printing. Do not skip this process. Before you begin, ensure the printer is on a stable, sturdy surface, as it will vibrate intentionally during calibration.
After plugging in and turning on the printer, the touchscreen will guide you through the setup.
How to Unbox & Set Up A Bambu Lab A1 Combo 3D Printer
The video guide will now walk you through the on-screen setup, including Wi-Fi connection and the critical calibration sequence.
Watch from 10:34 to 12:21. Follow the on-screen prompts on your own printer to select your language, connect to Wi-Fi, and start the self-test and calibration.
The printer will automatically perform three key calibrations:
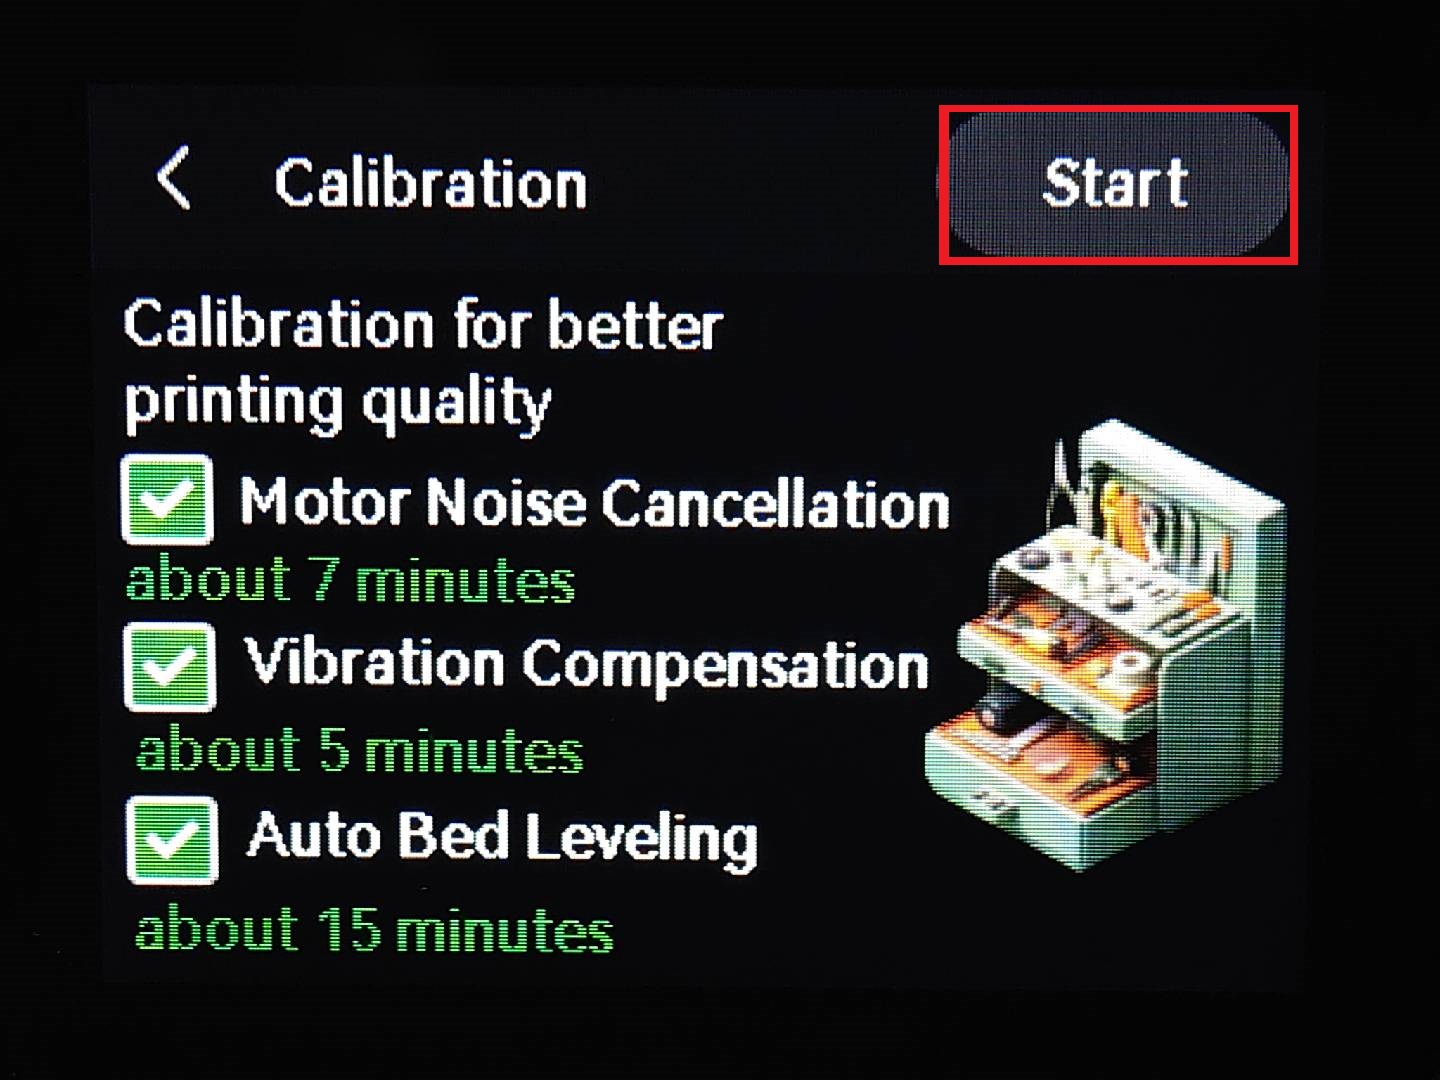
- Motor Noise Cancellation: This tunes the stepper motors to run as quietly as possible.
- Vibration Compensation: Given your engineering background, you might know this as input shaping. The printer intentionally vibrates at different frequencies to measure its own structural resonance. It then creates a digital filter to counteract these vibrations during printing, which is key to preventing "ghosting" or "ringing" artifacts at high print speeds.
- Auto Bed Leveling: The nozzle will probe multiple points on the build plate to create a digital "mesh" of its surface. This allows the printer to compensate for any minor variations in the plate's flatness, ensuring a perfect first layer every time.
Once the calibration is complete, the printer may prompt you for a firmware update. Always accept updates to ensure you have the latest features and bug fixes.
Conclusion
Congratulations! You have successfully unboxed, assembled, and calibrated your Bambu A1. Your printer is now a fully functional and tuned machine, ready to start bringing your digital designs to life.
Key Takeaways:
- A methodical unboxing and component check is the best way to start.
- Careful assembly, especially with cable connections, prevents damage and ensures correct operation.
- The initial calibration is a mandatory, one-time process that is critical for print quality. It tunes the printer's motors, compensates for vibration, and maps the build surface.
In our next lesson, we'll complete the setup process by loading filament into the AMS and running your very first test print to verify that everything is working perfectly.