Hello! Welcome back to the course.
In our last lesson, we built the generateVisualAsset function, a powerful tool that transforms structured data points into polished, ready-to-use image files. We now have a folder of .png images, one for each slide of our carousel.
Today, we'll complete the assembly process. Our goal is to take those generated visuals, combine them with the narrative content we planned earlier, and generate relevant hashtags to create a final, structured Instagram post object. This lesson directly addresses the learning outcome: Compose final Instagram posts by combining generated visuals, captions, and relevant hashtags.
By the end of this lesson, you will have a function that produces a complete data payload, ready to be handed off to a publishing agent in our final automated workflow.
The Anatomy of an Automated Instagram Post
Before we write the code, let's understand the destination. We aren't just creating a post; we're creating a structured object that an API can understand and publish. The Instagram Graph API has a specific, multi-step process for publishing content, especially carousels. Understanding this process will inform how we structure our final data.
The core logic for publishing via the API involves two main phases:
- Containerization: You first upload your media (images/videos) to Instagram's servers. The API returns an ID for each media "container."
- Publishing: You then make a second API call, referencing the container ID(s) to publish the content to your feed.
For carousels, this is slightly more complex. You must first create a container for each individual image and then create a final carousel container that lists the IDs of all the child images. This final carousel container is what you publish.
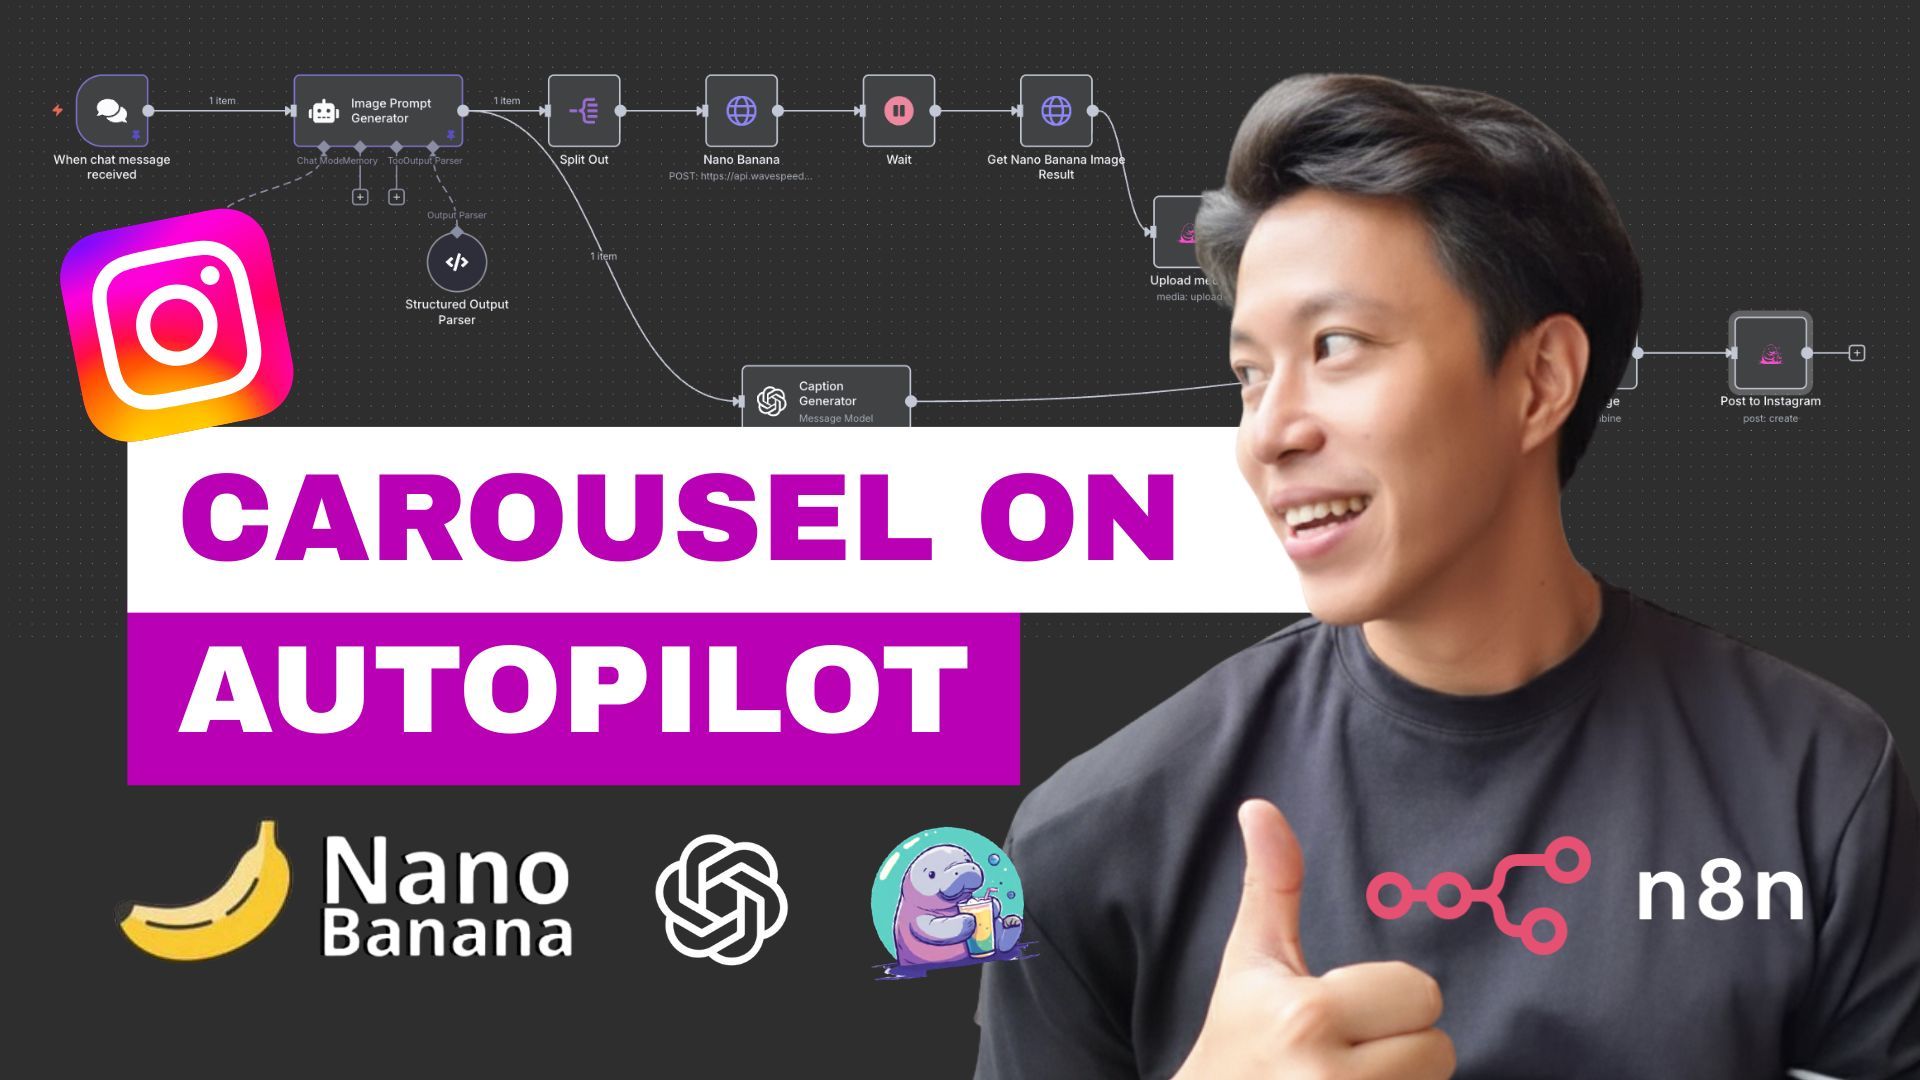
The following video explains this flow with excellent clarity.
Automate Every Instagram Post Type (Reels, Stories, Carousels) with n8n + Official API
The video 'Automate Every Instagram Post Type' provides a clear, conceptual walkthrough of the Instagram API's publishing flow. While it uses the n8n automation tool, the API logic it describes is universal.
Please watch these two crucial segments: How the API Works (08:14 - 08:49): This short clip perfectly explains the two-step containerization and publishing process. The Carousel Flow (22:31 - 24:23): This is the most important part. Pay close attention to how it first creates individual containers for two separate images, gets their IDs, and then creates a new carousel container using those IDs in the children parameter. This is the exact logic our system will eventually need to execute.
Two critical takeaways from this process are:
- We need a list of media assets (our images).
- We need one primary caption for the entire carousel.
There's one more crucial requirement mentioned in the official documentation and other tutorials: the media assets must be accessible via a publicly accessible URL. You cannot upload a local file directly.
Publish Content - Instagram Platform - Meta for Developers
The official Meta documentation, 'Publish Content', is the source of truth for the API. Let's confirm the requirements.
First, read the 'Requirements' section. Note the very first point: 'Media on a public server'. Then, review the section 'Create a carousel container' to see the API parameters, including media_type: CAROUSEL and the children array of container IDs.
This means that a step in our final automated pipeline will be to take the images we generated locally, upload them to a cloud storage service like Azure Blob Storage or AWS S3, and get their public URLs. For today's lesson, we will simulate this by using placeholder URLs, but it's an important engineering constraint to keep in mind.
Activity Part 1: Generating Relevant Hashtags
A great post needs great hashtags for discovery. Manually brainstorming them is tedious and contrary to our goal of automation. Instead, we can leverage an LLM to generate them based on the post's content.
Let's create a function that takes our original trend narrative and asks an LLM to produce a strategic mix of hashtags.
Here is the implementation. You can add this to a new file, src/composePost.ts, or an existing utility file.
// in src/composePost.ts
import OpenAI from 'openai';

const openai = new OpenAI({
  apiKey: process.env.OPENAI_API_KEY,
});

/**
 * Generates relevant hashtags for a social media post using an LLM.
 * @param trendNarrative The full text content of the trend analysis.
 * @returns A promise that resolves to an array of hashtags.
 */
export async function generateHashtags(trendNarrative: string): Promise<string[]> {
  const prompt = `
    Based on the following tech trend analysis, generate a list of 15-20 relevant Instagram hashtags.
    Include a mix of:
    1.  Broad category hashtags (e.g., #SoftwareDevelopment, #TechTrends).
    2.  Niche-specific hashtags related to the core topic (e.g., #EventDrivenArchitecture, #TypeScript).
    3.  Community-focused hashtags (e.g., #DevCommunity, #WomenInTech).

    Analyze the text for key technologies, concepts, and themes. Do not include the '#' symbol in your output. Return the list as a JSON array of strings.

    Trend Analysis:
    ---
    ${trendNarrative}
    ---
  `;

  try {
    const response = await openai.chat.completions.create({
      model: "gpt-4-turbo-preview", // Or your preferred model
      messages: [{ role: "user", content: prompt }],
      response_format: { type: "json_object" },
    });

    const result = JSON.parse(response.choices[0].message.content || '{}');
    // Assuming the LLM returns an object like { "hashtags": ["tag1", "tag2"] }
    const hashtags = result.hashtags || [];

    console.log('[HashtagGen] Generated hashtags:', hashtags);
    return hashtags;
  } catch (error) {
    console.error('[HashtagGen] Error generating hashtags:', error);
    return []; // Return an empty array on failure
  }
}
This function provides the LLM with clear instructions and context, using JSON mode to ensure we get a clean, parsable array of strings back.
Activity Part 2: Assembling the Final Post Payload
Now we have all the ingredients:
- The per-slide narrative from our
CarouselPlan. - A list of generated image file paths from
generateVisualAsset. - A list of hashtags from
generateHashtags.
Let's define the structure of our final post payload with a TypeScript interface and then write the function to assemble it.
// in src/composePost.ts (continued)

import { CarouselPlan } from './planCarousel'; // Assuming this is our interface from a previous lesson

export interface InstagramPostPayload {
  caption: string;
  mediaUrls: string[];
  // We can add more metadata for tracking
  sourceTrendId: string;
}

/**
 * Composes the final Instagram post payload from all generated assets.
 * @param plan The original carousel plan containing the narrative.
 * @param imagePaths An array of local file paths for the generated images.
 * @returns A promise that resolves to the final InstagramPostPayload object.
 */
export async function composeInstagramPost(
  plan: CarouselPlan,
  imagePaths: string[]
): Promise<InstagramPostPayload> {
  // Step 1: Generate hashtags from the main narrative
  const hashtags = await generateHashtags(plan.narrative);

  // Step 2: Format the main caption
  // Combine the introduction, slide contents, and a conclusion into one string.
  const slideContent = plan.slides
    .map(slide => `-> ${slide.slideTitle}: ${slide.content}`)
    .join('\n\n');

  const formattedHashtags = hashtags.map(tag => `#${tag}`).join(' ');

  const caption = `${plan.title}\n\n${slideContent}\n\nWhat are your thoughts on this trend? Let me know in the comments! 👇\n\n${formattedHashtags}`;

  // Step 3: Simulate uploading images and getting public URLs
  // In a real system, you'd upload each file in imagePaths to cloud storage.
  // For now, we'll use placeholders.
  const mediaUrls = imagePaths.map((p, i) => `https://your-cdn.com/image-${plan.trendId}-${i}.png`);

  console.log('[PostComposer] Final caption length:', caption.length);
  console.log('[PostComposer] Media URLs:', mediaUrls);

  // Step 4: Assemble the final payload
  const payload: InstagramPostPayload = {
    caption: caption,
    mediaUrls: mediaUrls,
    sourceTrendId: plan.trendId,
  };

  return payload;
}
Deconstructing the Code
InstagramPostPayloadInterface: This defines the clean, structured output of our composition process. It contains exactly what the next stage of our pipeline needs: a single caption and a list of media URLs.composeInstagramPostFunction:- It orchestrates the final assembly, calling
generateHashtagsto get the tags. - It constructs a single, coherent
captionstring. A good practice is to combine the key points from each slide into the main post body, followed by a call to action and the hashtags. - The placeholder logic for
mediaUrlsis a crucial part. It highlights the need for a public hosting step that your full-stack experience will be valuable in implementing later. - Finally, it returns a neatly packaged
InstagramPostPayloadobject.
- It orchestrates the final assembly, calling
For a more robust system, especially one you'd build as a service, persisting post data is key. The following Gist provides an excellent example of a database model for an Instagram post, which is something you might consider in a production architecture.
Instagram Platform API Integration Guide (Oct 2025) - GitHub Gist
This GitHub Gist, 'Instagram Platform API Integration Guide', contains a complete backend implementation. Let's look at its data model for inspiration.
Review the 'Instagram Post Model' section. Notice fields like status, instagram_media_id, scheduled_for, and error_message. This shows how you would extend our simple payload into a full-fledged database entity to track the entire lifecycle of a post, from 'pending' to 'posted' or 'failed'.
Conclusion
Excellent work! You've now built the final assembly line for your content factory. You have a process that takes all the semi-finished parts—narrative, visuals, and trend data—and composes them into a complete, publish-ready Instagram post payload.
Key Takeaways:
- The Instagram Graph API uses a multi-step process for publishing carousels, which requires a list of media URLs and a single caption.
- All media must be hosted on a publicly accessible server before making API calls.
- LLMs are highly effective for automating the generation of relevant and strategic hashtags from a body of text.
- The final step in the content generation pipeline is to compose a structured data payload containing the caption and media URLs, ready for the publishing stage.
Preview of the next lesson:
We have now completed almost all the core "generation" steps of our content pipeline. The next module is where we bring it all together into an autonomous agentic workflow. In the upcoming lesson, "Design the primary state graph for the content pipeline using LangGraph," you will architect the master process. The InstagramPostPayload we created today will be the final artifact produced by the generation part of your graph, which will then be passed to a "publishing" node for the last step.