Hello! Welcome back to our course on building a production-grade rate limiter.
In the last lesson, you successfully created your first REST API endpoint using @RestController and @GetMapping. Your /greeting endpoint currently returns a Greeting object, and Spring Boot automatically translates this into a JSON response with a 200 OK HTTP status code. This is great for simple success scenarios, but a robust API needs to communicate more than just success.
This lesson focuses on giving you explicit control over the entire HTTP response. We'll explore how to set different status codes and customize the response body, a skill that is absolutely critical for our rate limiter, which will need to tell clients when they've sent too many requests.
Your learning outcome for this lesson:
Handle HTTP requests and responses, including returning appropriate status codes.
1. The Importance of HTTP Status Codes
Before we dive into the code, let's establish why this matters. HTTP status codes are a standardized way for a server to tell a client the outcome of its request. Using them correctly is fundamental to building predictable and reliable APIs.
While there are many status codes, they fall into five main categories:
- 1xx (Informational): Request received, continuing process. (Rarely used in APIs)
- 2xx (Successful): The request was successfully received, understood, and accepted.
- 3xx (Redirection): Further action needs to be taken to complete the request.
- 4xx (Client Error): The request contains bad syntax or cannot be fulfilled.
- 5xx (Server Error): The server failed to fulfill an apparently valid request.
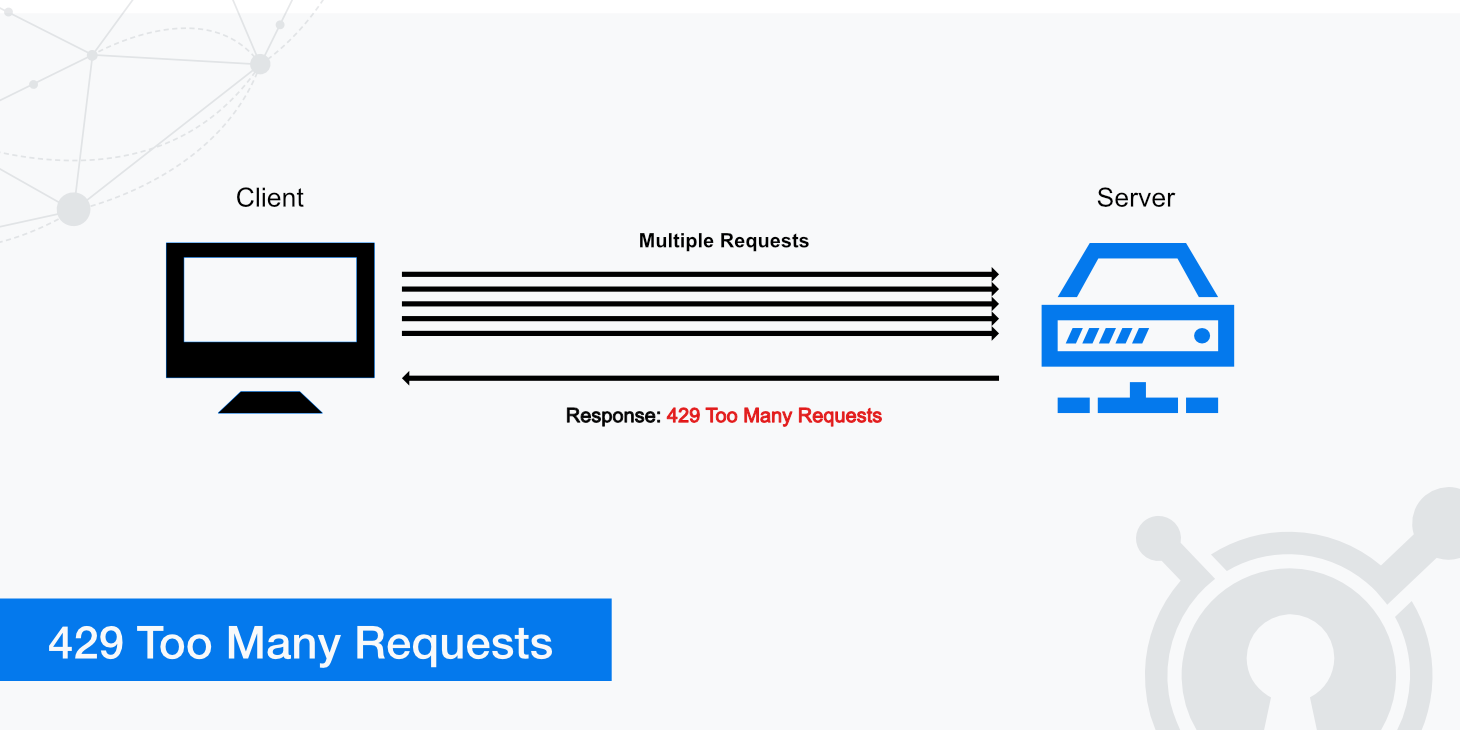
For our rate limiter, and for most APIs, you'll frequently work with codes from the 2xx, 4xx, and 5xx series. One of the most important codes for our project will be 429 Too Many Requests.
2. Introducing ResponseEntity
In the previous lesson, you returned a Greeting object directly from your controller method. Spring's "magic" handled the rest. To gain full control, we use the ResponseEntity class.
ResponseEntity<T> is a generic class that represents the entire HTTP response. You can use it to specify:
- The status code (e.g.,
200 OK,404 Not Found). - The response body (your data, which will be serialized to JSON).
- HTTP headers (which we'll explore later in the course, for example, to add a
Retry-Afterheader).
When Should You Use ResponseEntity?
It's tempting to use ResponseEntity for every method to be explicit, but that's not always necessary. The following video offers a great perspective on when to use it versus when a simpler return type is better.
Spring ResponseEntity - How to customize the response in Spring Boot
The video 'Spring ResponseEntity' by Dan Vega provides an excellent discussion on the purpose of ResponseEntity and the scenarios where its use is most appropriate.
Please watch these key sections: Introduction (00:00 - 01:21): Understand the core idea behind the video's premise. Unnecessary Usage (04:27 - 06:08): See an example of where ResponseEntity might be overkill. Consistency Argument (09:39 - 10:48): Listen to the discussion on consistency and why ResponseEntity is best used when you truly need to customize the response.
The key takeaway is this: Use ResponseEntity when your method needs to dynamically change the response based on some logic. For example, if you need to return a 200 OK with data on success but a 404 Not Found if the data doesn't exist, ResponseEntity is the perfect tool.
3. Constructing Responses with ResponseEntity
ResponseEntity provides a flexible "builder" pattern that makes constructing responses clean and readable. You can chain method calls to build the exact response you need.
Returning Status Codes with ResponseEntity
The article 'Returning Status Codes with ResponseEntity' from CodeSignal Learn has a great section that explains this builder pattern and lists the most common helper methods.
Read the sections that explain the builder pattern and the frequently used static methods. Start from the text 'The ResponseEntity class in Spring Boot uses the builder pattern...' and continue to the end of the list of methods (ending with 'ResponseEntity.unprocessableEntity().body(Object body)').
As you read, you'll see common static helper methods like:
ResponseEntity.ok(body): For a200 OKresponse.ResponseEntity.notFound().build(): For a404 Not Foundresponse with no body.ResponseEntity.badRequest().body(errorDetails): For a400 Bad Requestwith an error message in the body.ResponseEntity.status(HttpStatus.CREATED).body(newItem): For a201 Createdresponse.
4. Practical Application: A Tour of Status Codes
Let's see how these are used in a typical CRUD (Create, Read, Update, Delete) application. The following video walks through implementing various status codes for different API operations. This will solidify your understanding of which status code to use in which scenario.
ResponseEntity in Spring Boot | How to handle HTTP Status Codes in Spring Boot | @javacodeex
The video 'ResponseEntity in Spring Boot' by Java Codeex provides a detailed, practical demonstration of handling different HTTP status codes for a REST API.
Watch from 04:49 to 09:56. This covers four key scenarios: Returning 400 Bad Request for invalid input (04:49). Returning 201 Created on successful creation (06:49). Returning 200 OK for successful updates (07:33). Returning 404 Not Found when a resource doesn't exist (08:41).
5. Exercise: Refactor Your GreetingController
Now, let's apply this to your own code. We'll refactor the GreetingController from the last lesson to use ResponseEntity and add some simple logic.
-
Modify the method signature: Change the return type of your
greetingmethod fromGreetingtoResponseEntity<Object>. We useObjectas the generic type because we might return aGreetingon success or aStringmessage on error. -
Implement the logic: Add a check to see if the
nameparameter is blank.- If the name is valid, return a
200 OKwith theGreetingobject. - If the name is blank, return a
400 Bad Requestwith an error message.
- If the name is valid, return a
Your updated GreetingController.java should look like this:
package com.example.ratelimiter.controller;

import com.example.ratelimiter.dto.Greeting;
import org.springframework.http.HttpStatus;
import org.springframework.http.ResponseEntity;
import org.springframework.web.bind.annotation.GetMapping;
import org.springframework.web.bind.annotation.RequestParam;
import org.springframework.web.bind.annotation.RestController;

import java.util.concurrent.atomic.AtomicLong;

@RestController
public class GreetingController {

    private static final String template = "Hello, %s!";
    private final AtomicLong counter = new AtomicLong();

    @GetMapping("/greeting")
    public ResponseEntity<Object> greeting(@RequestParam(value = "name", defaultValue = "World") String name) {
        // Simple validation logic
        if (name == null || name.trim().isEmpty()) {
            return ResponseEntity
                    .status(HttpStatus.BAD_REQUEST)
                    .body("The 'name' parameter cannot be empty.");
        }

        // Success case
        Greeting body = new Greeting(counter.incrementAndGet(), String.format(template, name));
        return ResponseEntity.ok(body);
    }
}
Test your changes:
- Run your application.
- Navigate to
http://localhost:8080/greeting?name=Student. You should see the familiar JSON success response and a200 OKstatus in your browser's developer tools. - Now, navigate to
http://localhost:8080/greeting?name=. You should see the error message "The 'name' parameter cannot be empty." and a400 Bad Requeststatus.
You have now successfully implemented dynamic response handling! In a future lesson, we'll see how to manage this kind of error handling more cleanly using a global exception handler, but this direct approach is perfect for understanding the core mechanics of ResponseEntity.
Key Takeaways
ResponseEntityis the primary Spring class for gaining full control over an HTTP response, including the status code, body, and headers.- Using standard HTTP status codes is essential for building clear and predictable APIs.
- The
ResponseEntitybuilder pattern (.ok(),.status(),.body(),.build()) provides a clean and readable way to construct responses. - You can dynamically return different responses from the same controller method based on your application's logic.
- Returning an HTTP
429 Too Many Requestsis the standard way to signal that a rate limit has been enforced.
Next Steps
Now that you can create API endpoints and control their responses, the next step is to make your application's behavior configurable. Hardcoding values like "Hello, %s!" is fine for an example, but a real application needs flexibility.
In our next lesson, we will explore using Spring Boot's application.yml for basic application configuration. This will allow us to define settings outside of our Java code, a crucial step toward building the configurable rate limiter.