Hello! Welcome to the first lesson in our module on testing.
In our previous session, we focused on application observability by setting up structured logging with SLF4J and Logback. Observing how your application behaves in production is critical, but it's equally important to proactively verify that its logic is correct before it ever gets there. This brings us to the topic of automated testing.
This lesson addresses the learning outcome: Write a basic unit test for a Java class using JUnit 5 and Mockito. As an experienced software engineer, you're undoubtedly familiar with the principles of unit testing. Our goal today is to translate those principles into the standard Java ecosystem tools. We'll cover how to write and run tests using JUnit 5 and how to use Mockito to isolate the code you're testing from its dependencies.
1. Unit Testing and the Need for Mocks
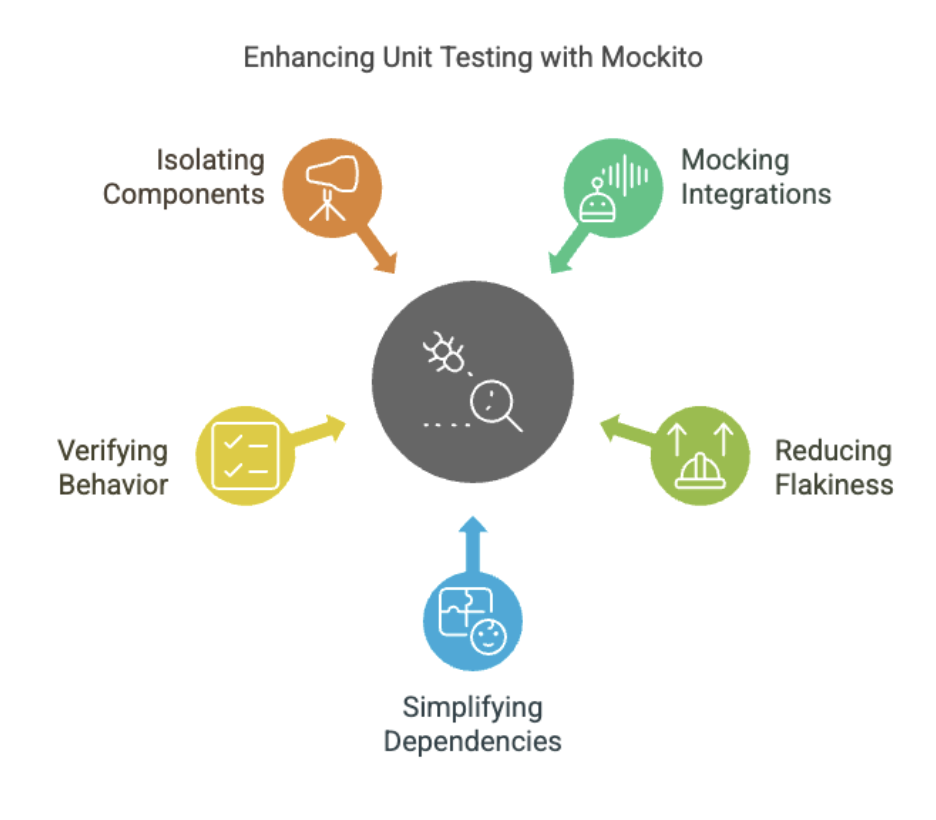
A unit test is designed to verify the correctness of a small, isolated piece of code—a "unit," which is typically a single method or class. The key word here is isolated. If the class you want to test (the "unit under test") depends on other components like a database, a network service, or even another complex class, your test is no longer isolated. It becomes an integration test, which is slower, more brittle, and can fail for reasons outside the unit's control.
To achieve true isolation, we use mock objects. A mock is a dummy implementation of a dependency that you control completely within your test. It doesn't connect to a real database or make a real network call. Instead, you instruct it on how to behave (e.g., "when your findById method is called with ID 5, return this specific user object").
This allows you to:
- Test your class's logic in isolation.
- Simulate specific scenarios, like error conditions from a dependency.
- Run tests quickly and reliably without external systems.
In the Java world, the two dominant tools for this are:
- JUnit 5: The test framework that discovers, runs, and reports the results of your tests.
- Mockito: The mocking framework used to create and configure mock objects.
2. Writing Your First Test with JUnit 5
Let's start with a simple, dependency-free Java class to see how JUnit 5 works. Imagine a Calculator class:
public class Calculator {
    public int add(int a, int b) {
        return a + b;
    }
}
To test this, we'll create a corresponding CalculatorTest class. The video below provides an excellent crash course on the fundamentals of JUnit 5.
Java Testing - JUnit 5 Crash Course
This video, 'Java Testing - JUnit 5 Crash Course' from freeCodeCamp.org, will walk you through setting up a project and writing your first tests. It covers the core annotations and assertion methods.
Watch from the beginning to 13:53. Pay close attention to: Setting up dependencies in pom.xml (04:50). Writing a basic test method with the @Test annotation and using assertEquals (06:30). Testing for exceptions with assertThrows (08:32). Using lifecycle annotations like @BeforeEach and @AfterEach for setup and teardown logic (10:09).
Here's a summary of the key takeaways from the video, applied to our Calculator example.
A typical JUnit 5 test class looks like this:
import org.junit.jupiter.api.BeforeEach;
import org.junit.jupiter.api.Test;
import static org.junit.jupiter.api.Assertions.*;

class CalculatorTest {

    private Calculator calculator;

    // A method annotated with @BeforeEach runs before EACH @Test method.
    // This is perfect for setting up a clean state for every test.
    @BeforeEach
    void setUp() {
        calculator = new Calculator();
        System.out.println("New Calculator created.");
    }

    // A method annotated with @Test is a test case.
    @Test
    void shouldAddTwoPositiveNumbers() {
        // Arrange: (Already done in setUp)

        // Act: Call the method under test
        int result = calculator.add(2, 3);

        // Assert: Verify the outcome
        assertEquals(5, result, "2 + 3 should equal 5");
    }

    @Test
    void shouldAddPositiveAndNegativeNumber() {
        // Act
        int result = calculator.add(5, -3);

        // Assert
        assertEquals(2, result, "5 + (-3) should equal 2");
    }
}
This structure follows the common Arrange-Act-Assert pattern, which is a best practice for writing clear and understandable tests.
3. Integrating Mockito to Handle Dependencies
Now, let's evolve our example. Suppose we have a ReportService that depends on a UserRepository to fetch data.
// The dependency (an interface)
public interface UserRepository {
    String findUsernameById(int id);
    boolean userExists(int id);
}

// The class we want to test (the "unit under test")
public class ReportService {
    private final UserRepository userRepository;

    public ReportService(UserRepository userRepository) {
        this.userRepository = userRepository;
    }

    public String generateReportForUser(int userId) {
        if (!userRepository.userExists(userId)) {
            throw new IllegalArgumentException("User not found");
        }
        String username = userRepository.findUsernameById(userId);
        return "Report for " + username;
    }
}
To test ReportService in isolation, we must provide a mock UserRepository. Manually creating mocks is possible, but Mockito, when combined with JUnit 5, provides a much more elegant solution using annotations.
The following guide and video explain the modern, recommended approach.
How to use Mockito with JUnit 5: A Beginner's Guide
First, let's read about the key Mockito annotations from the article 'How to use Mockito with JUnit 5'. This will give you the 'why' behind the annotations we're about to use.
Read section 'Core Annotations in Mockito' to understand @Mock and @InjectMocks. Then, skim the section 'Integration Mockito with JUnit 5' and focus on part 4, 'Mockito JUnit 5 Extension', which describes the most current and streamlined approach.
Now, let's see this in action. The next video demonstrates the evolution from manual mock creation to the elegant extension-based model.
The video 'Using Mockito with JUnit 5' by Code With Arho provides a great visual progression of different Mockito integration styles.
Watch from 01:14 to 04:56. While the video shows several methods, pay closest attention to the final one using @ExtendWith(MockitoExtension.class). This is the standard practice you should adopt.
Applying this approach to our ReportService, the test class would look like this:
import org.junit.jupiter.api.Test;
import org.junit.jupiter.api.extension.ExtendWith;
import org.mockito.InjectMocks;
import org.mockito.Mock;
import org.mockito.junit.jupiter.MockitoExtension;

import static org.junit.jupiter.api.Assertions.*;

// 1. Enable the Mockito extension for JUnit 5
@ExtendWith(MockitoExtension.class)
class ReportServiceTest {

    // 2. Create a mock instance of the dependency
    @Mock
    private UserRepository mockUserRepository;

    // 3. Create an instance of the class under test and inject the mocks into it
    @InjectMocks
    private ReportService reportService;

    @Test
    void testSomething() {
        // Now 'reportService' has the 'mockUserRepository' injected into it.
        // We are ready to define the mock's behavior and write our test.
    }
}
This setup is clean and declarative. @ExtendWith hooks Mockito into the JUnit 5 test lifecycle. @Mock creates the dummy object, and @InjectMocks performs dependency injection, just like Spring would, but for our test environment.
4. Controlling and Verifying Mock Behavior
Creating the mock is just the first step. Now we need to tell it how to behave (stubbing) and, after the test runs, check that our code interacted with it as expected (verifying).
How to use Mockito with JUnit 5: A Beginner's Guide
Let's return to the 'How to use Mockito with JUnit 5' guide to learn about stubbing and verification.
Read the section 'Common Mockito Features'. Focus on 'Stubbing Methods' (when...thenReturn) and 'Verifying Interactions' (verify). These are the two most fundamental Mockito operations.
Let's complete our ReportServiceTest using these concepts.
Test 1: The "Happy Path"
@ExtendWith(MockitoExtension.class)
class ReportServiceTest {

    @Mock
    private UserRepository mockUserRepository;

    @InjectMocks
    private ReportService reportService;

    @Test
    void generateReportForUser_shouldReturnReport_whenUserExists() {
        // Arrange: Define the mock's behavior
        when(mockUserRepository.userExists(1)).thenReturn(true);
        when(mockUserRepository.findUsernameById(1)).thenReturn("JohnDoe");

        // Act: Call the method under test
        String report = reportService.generateReportForUser(1);

        // Assert: Check the result and verify interactions
        assertEquals("Report for JohnDoe", report);

        // Optional but good practice: Verify that the findUsernameById method was called exactly once with the argument 1.
        verify(mockUserRepository, times(1)).findUsernameById(1);
    }
}
Test 2: Handling an Error Case
We also need to test what happens when a user doesn't exist.
    // ... inside ReportServiceTest class

    @Test
    void generateReportForUser_shouldThrowException_whenUserDoesNotExist() {
        // Arrange: Define the mock's behavior for a non-existent user
        when(mockUserRepository.userExists(99)).thenReturn(false);

        // Act & Assert: Verify that the correct exception is thrown
        assertThrows(IllegalArgumentException.class, () -> {
            reportService.generateReportForUser(99);
        });

        // Optional: Verify that findUsernameById was NEVER called, because the logic should have short-circuited.
        verify(mockUserRepository, never()).findUsernameById(99);
    }
In these examples, when(...).thenReturn(...) is used in the Arrange step to set up the test conditions. verify(...) is used in the Assert step to confirm that the ReportService behaved correctly internally.
Conclusion
In this lesson, we established the foundation for testing Java applications. You now have a repeatable pattern for writing isolated unit tests for any Java class, regardless of its dependencies.
Key Takeaways:
- JUnit 5 provides the framework for writing and running tests using annotations like
@Test,@BeforeEach, and assertion methods (assertEquals,assertThrows). - Mockito is used to create mock objects for a class's dependencies, allowing the class to be tested in isolation.
- The modern standard for integration is annotating your test class with
@ExtendWith(MockitoExtension.class). - Use
@Mockto declare a mock dependency and@InjectMocksto inject it into your unit under test. - The Arrange-Act-Assert pattern provides structure:
- Arrange: Set up the test, primarily by stubbing mock behavior with
when(...).thenReturn(...). - Act: Execute the method you are testing.
- Assert: Check the outcome with JUnit assertions and verify mock interactions with
verify(...).
- Arrange: Set up the test, primarily by stubbing mock behavior with
In our next lesson, we will apply these exact skills to the world of Spring. We'll tackle the learning outcome: Write a unit test for a @Service class by mocking its repository dependencies. You'll see that testing a Spring component is no different from testing a plain Java object once you understand today's core concepts.