Welcome back. In our previous lesson, you learned how to methodically deconstruct the needs of an image and create a quantitative "print map." This blueprint is your guide, detailing exactly where to apply local adjustments and for how long. With this plan in hand, we now turn our attention from the what to the how.
This lesson focuses on creating the physical tools required to execute your print map. For someone with a background in industrial engineering, the process of designing and fabricating simple, effective, and purpose-built tools should be quite familiar. We will explore how to select the right materials and construct tools for both dodging and burning, transforming everyday items into instruments of photographic precision.
The Universal Tool: Your Hands
Before we build anything, it's important to recognize the most versatile and readily available tools you have: your hands. For many adjustments, especially those near the edges of the print, your hands are perfectly suited for the job.
Dodge, Burn and Other Heresies – Darkroom Technique ...
This section from the article on 35mmc discusses the effectiveness of using your hands for local adjustments.
Please read the section titled "Hands". The author explains how hands can be used for both dodging near the frame's edge and for burning central areas by cupping them to create an aperture for light.
Your hands are free, always with you, and infinitely adaptable. By changing their shape, you can block light (dodge) or channel it (burn). The main limitation is that it can be difficult to dodge a small, specific area in the middle of a print without your arm casting an unwanted shadow. For that, we need more specialized tools.
Crafting Dodging Tools
A dodging tool's function is to block light from a specific area of the print during the main exposure, effectively subtracting time from that spot. The classic design is a small shape attached to a thin, rigid handle.
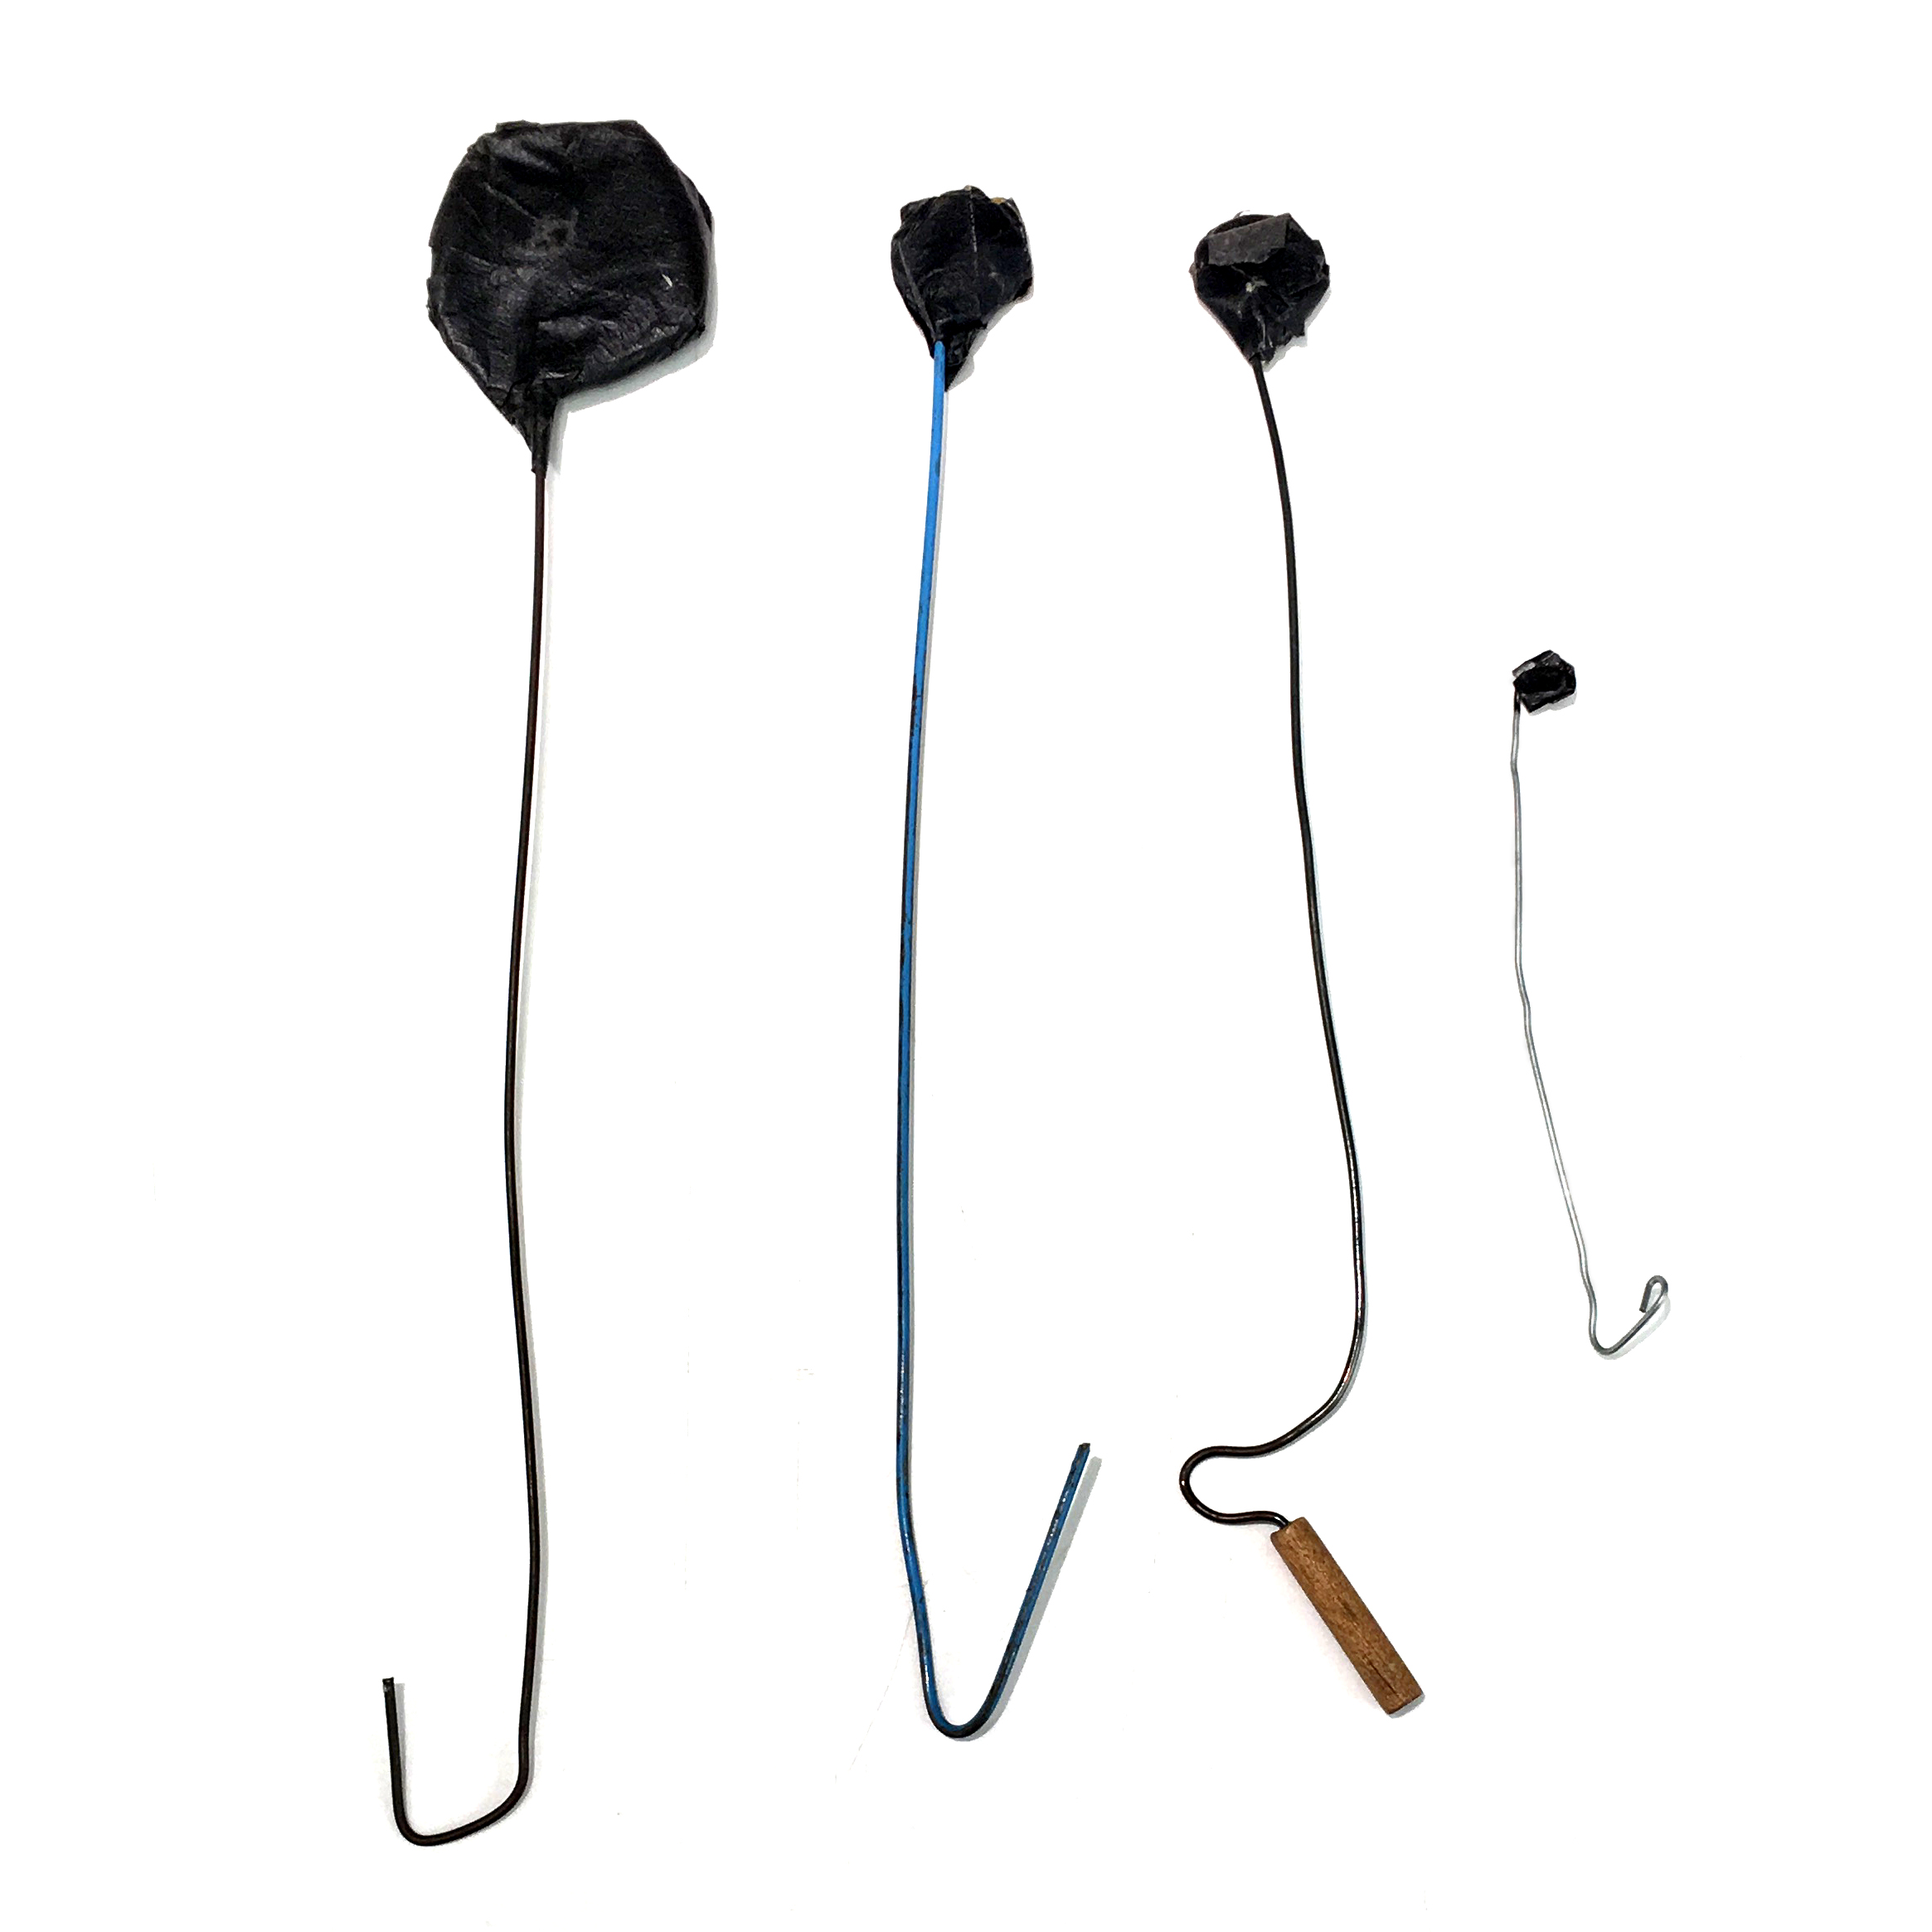
The design of these tools follows a key principle: effectiveness with minimal interference. The handle must be thin enough that it doesn't cast its own noticeable shadow on the print, a common flaw in poorly made tools.
The following video provides an excellent demonstration of how to construct and use these tools from simple, inexpensive materials.
Making Dodging and Burning Tools For Your Darkroom
This segment from The Naked Photographer shows the simple construction of dodging wands.
Please watch the portion from the demonstration. Notice the materials used: a bicycle spoke for the handle and black card for the dodging shape. The optional wooden peg handle is a nice ergonomic touch, but the core components are the wire and the card.
As you saw, the construction is straightforward. For materials, you have several options, each suited for different scales of work:
- Bicycle Spokes: Inexpensive, rigid, and readily available. They are a great all-around choice.
- Flower Arranging Wire: As mentioned in the article "The Power of Split Grade Printing," this is another excellent option. It's thin and easily bent to shape.
- Blow Dart Tips: One of the videos we will watch shortly suggests these for smaller prints (e.g., 8x10). Their thinner profile is less intrusive when working at a smaller scale.
The key is to attach a piece of black card, cut to the approximate shape of the area you need to dodge, to the end of your wire. You can use tape for a temporary tool or a stronger adhesive for a permanent one. It's wise to build a small collection of different shapes and sizes over time.
Crafting Burning Tools
Burning-in is the inverse of dodging. Here, the goal is to add extra light to a specific area after the main exposure is complete, while shielding the rest of the print. The most common tool for this is a large, opaque card with a hole cut in it.
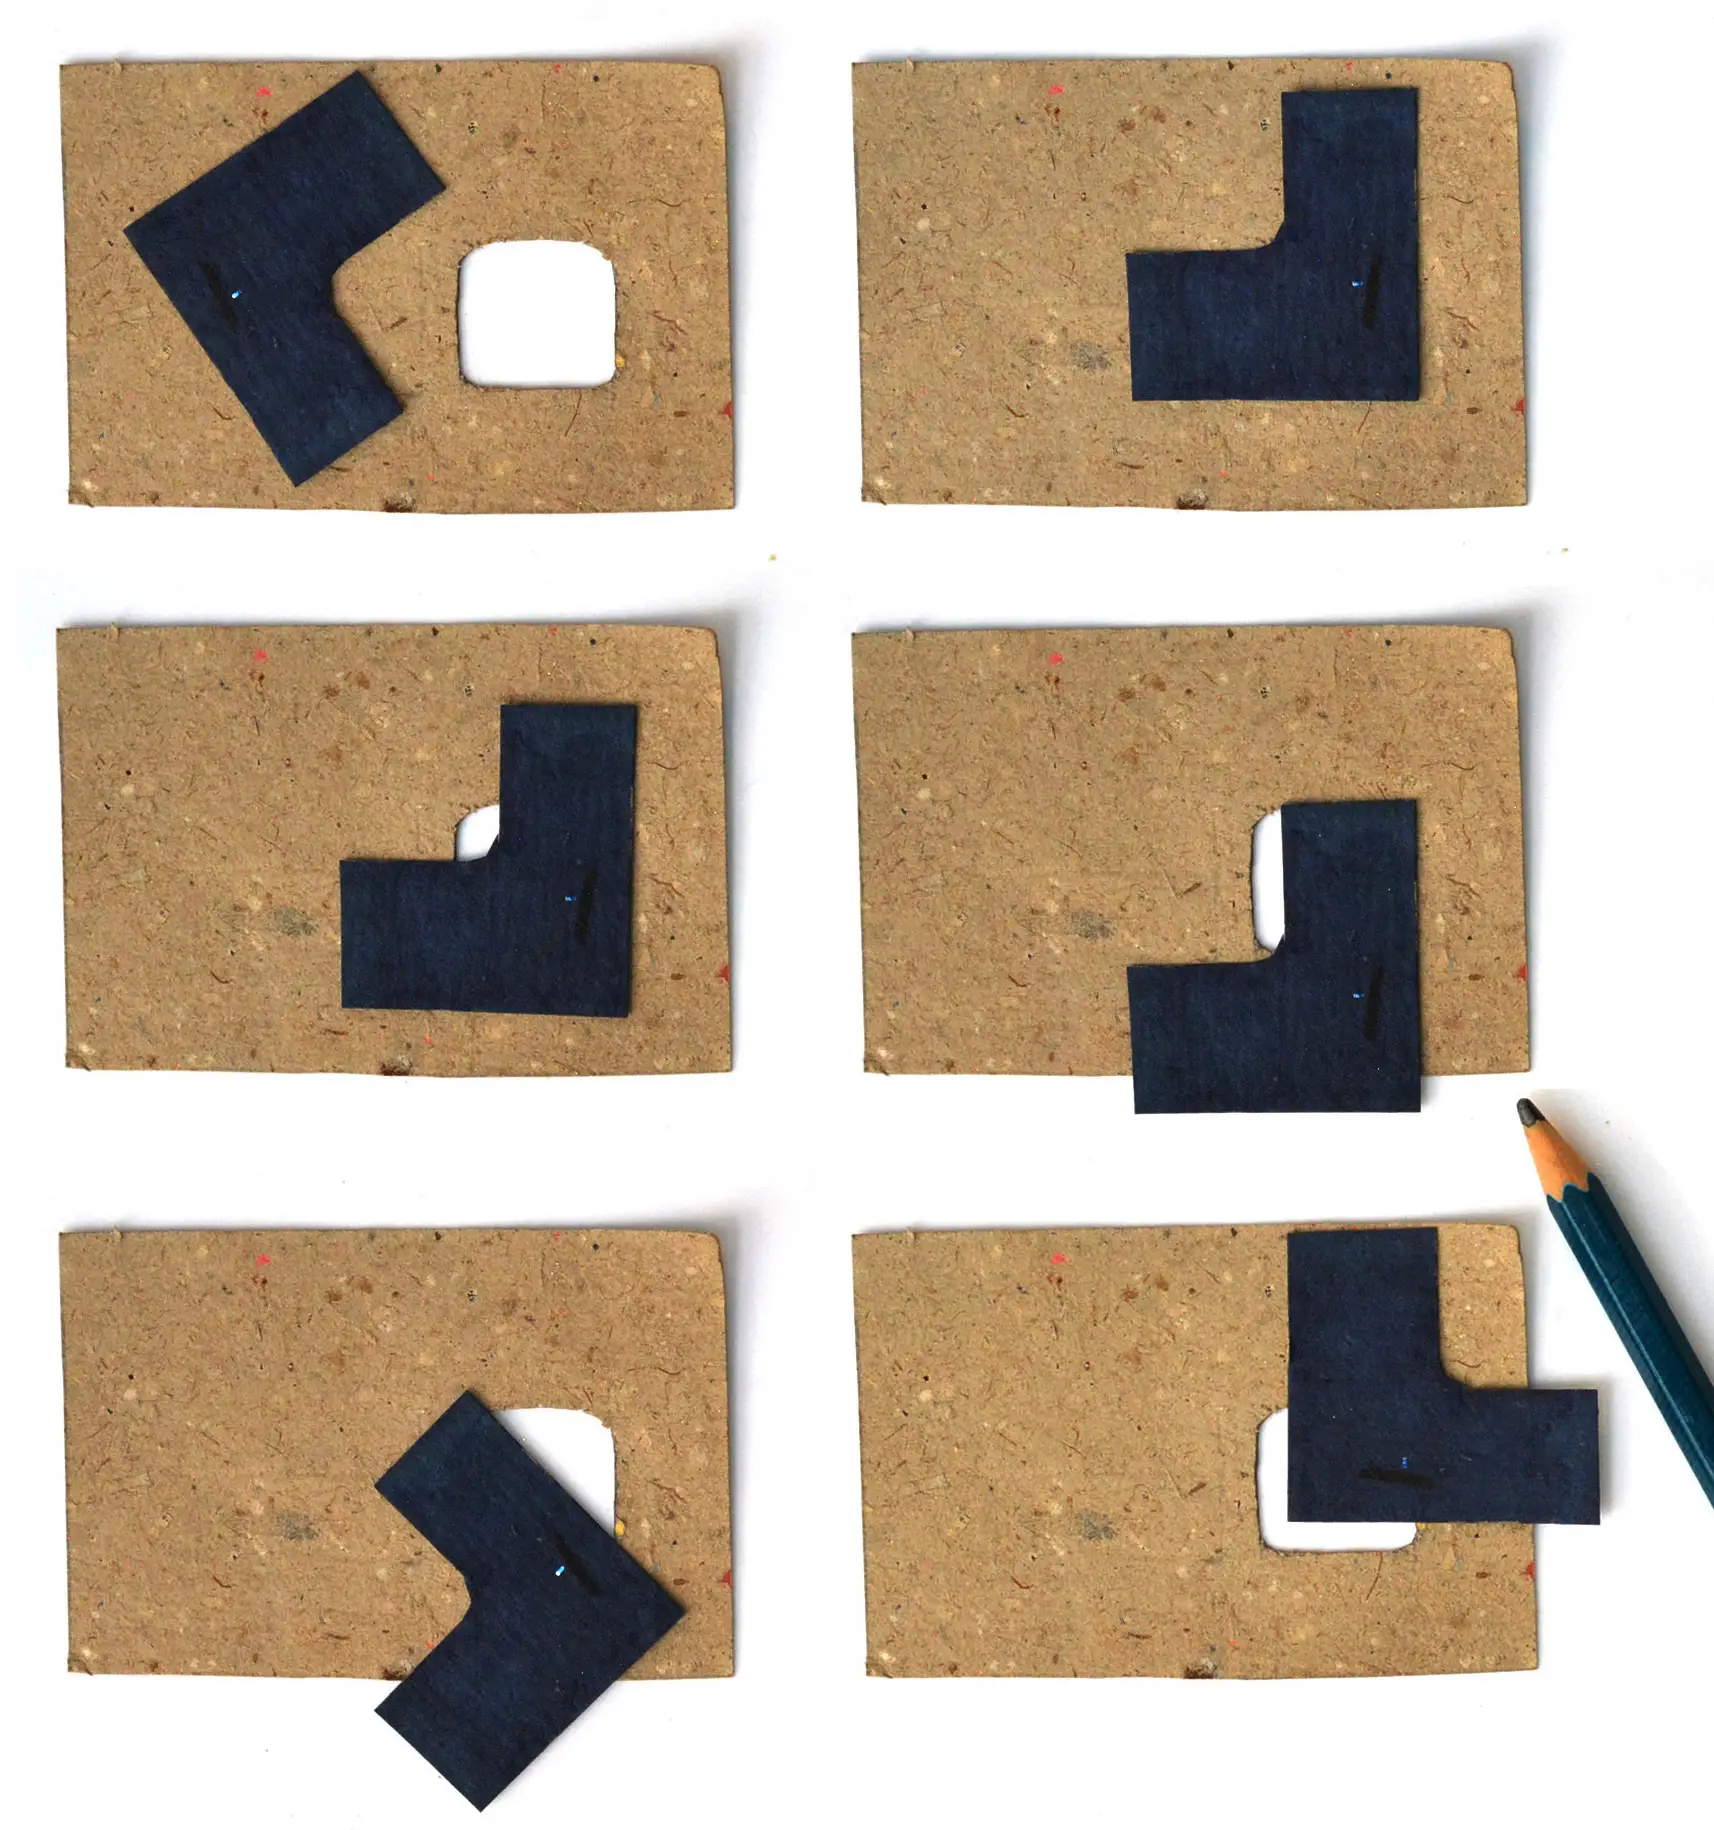
While a simple black card with a hole works, we can engineer a more effective tool. A brilliant and simple design improvement is to use a card that is white on one side and black (or a safelight-red color) on the other.
Top 5 Tips - Dodging and Burning In The Darkroom
The creator at DistPhoto explains the rationale behind a two-colored burning card.
Watch the first tip from the beginning. The logic is twofold: The white top side allows the projected image to be clearly visible on the card, so you can position the hole precisely over the area you want to burn. The dark underside prevents stray light from reflecting off the card, through the lens, and back down, which could fog your print. A reddish color mimics the safelight and is even safer.
This is a perfect example of simple design choices having a significant impact on usability and process control.
For maximum precision, you can create a custom burning tool for a specific print. This involves tracing the outline of the area you want to burn directly onto your card while it's on the easel under the enlarger.
Top 5 Tips - Dodging and Burning In The Darkroom
This next tip in the same video demonstrates how to create a highly precise, custom-made burning tool.
Now, watch the second tip from creating precise tools. This technique of tracing the projected image ensures that your burning mask is a perfect match for the area you need to adjust. For an engineer, this method of creating a custom jig for a specific task is a familiar concept.
The Science of Seamless Adjustments: The Penumbra
You now know how to build the tools. However, the tool is only half the story. The technique of using it is what separates a masterful adjustment from a clumsy, obvious one. The guiding principle is to "leave no trace." The key to this is understanding a bit of basic optics.
When you hold an object in a beam of light, its shadow isn't perfectly sharp. It has a soft, fuzzy edge. This zone of partial shadow is called the penumbra. In the darkroom, we use this effect to our advantage.
- Holding a tool close to the paper creates a small penumbra and a sharper-edged shadow.
- Holding a tool higher, closer to the lens, creates a larger penumbra and a softer-edged shadow.
To create a seamless, feathered transition, you must constantly keep your tool in gentle motion and hold it at a height that produces a soft enough edge to blend into the surrounding tones.
The Power of Split Grade Printing and Post Flashing
This blog post from OnlineDarkroom provides a concise explanation of using the penumbra effect.
Please read the section titled "Tips for burning and dodging". The author explicitly mentions holding the tools near the enlarging lens to create a soft-edged penumbra, allowing the adjustment to be "feathered" smoothly into the print.
This constant, gentle motion—whether a slight jiggle, a circular movement, or a vertical bob—averages the exposure at the edges of the tool, ensuring there is no hard line that gives the manipulation away.
Conclusion
You are now equipped with the knowledge to create a complete, customized toolkit for dodging and burning. These simple, homemade devices are the physical interface between your artistic plan and the final print. By applying sound design principles, you can craft tools that are not only functional but also a pleasure to use.
Key Takeaways:
- Your hands are the first and most versatile tools for dodging and burning.
- Dodging tools are typically wands made from a thin wire handle and a shaped card, designed to block light from small areas during the base exposure.
- Burning tools are cards with holes that allow extra light to reach specific areas. A white top surface for positioning and a dark underside to prevent fogging is an optimal design.
- For ultimate precision, you can trace the projected image to create custom-fit tools.
- The key to an invisible adjustment is technique: keeping the tool in constant motion and using its height to control the penumbra, or softness of the shadow's edge.
Next Lesson Preview:
You have the blueprint (your print map) and you know how to fabricate the tools. In the next lesson, we will put it all together. You will learn the step-by-step process of performing the dodge and burn operations on a print, turning your plan into a finished, refined work of art.