Hello! Welcome back to your graphic design course.
In our last lesson, you learned how to source high-quality, license-free images and import them into Figma. We established that Figma treats images as a fill property for shapes, which is a fundamental concept for what we're covering today.
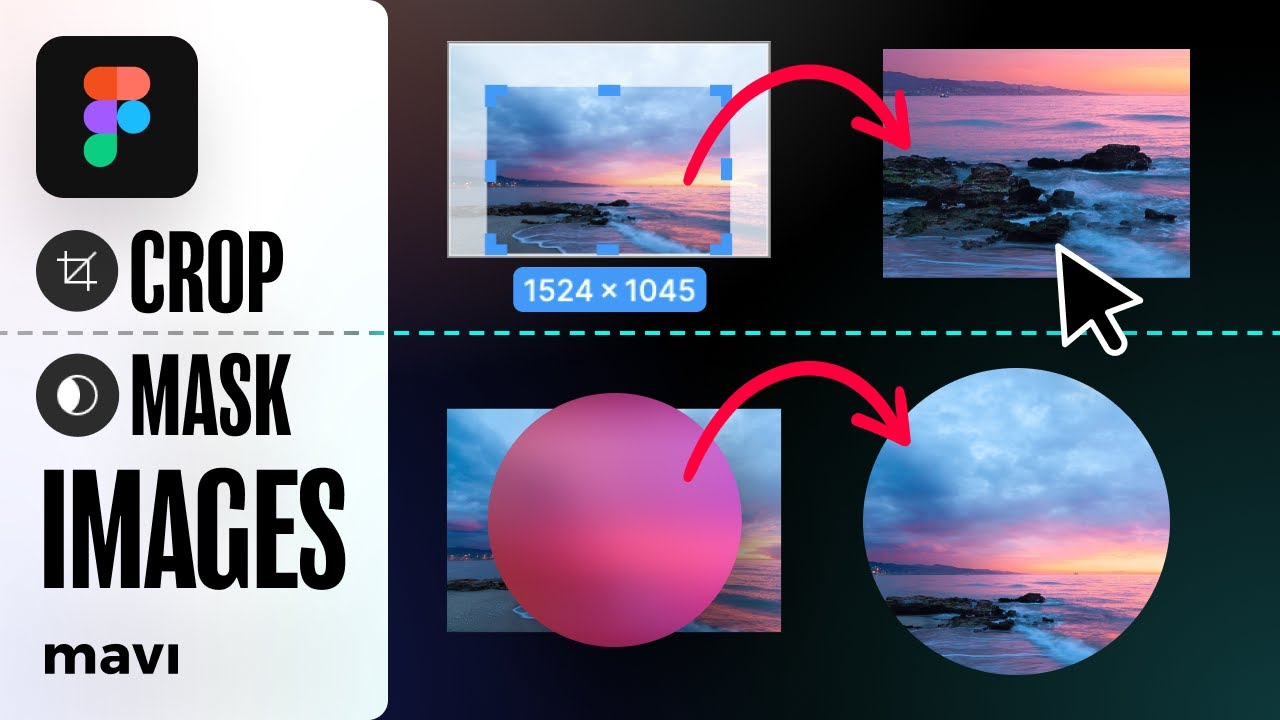
This lesson is all about taking control of those images. You will learn how to crop, resize, and mask images using frames and shapes. Mastering these techniques is essential for any designer, as it allows you to precisely control how images fit into your layouts, from simple rectangular containers to creative, custom shapes.
1. Basic Image Manipulation: The Fill and Crop Tools
Since Figma treats images as fills, your first level of control comes from adjusting the fill properties. You also have a dedicated tool for quick, visual cropping.
Adjusting the Image Fill
When you select a shape with an image fill, you can find the image in the Fill section of the right-hand Design panel. Clicking on the image thumbnail opens the fill settings.
Let's review the main options, which are covered in the official Figma guide.
Let's read a short section from the 'Working with images in Figma' guide we used in the last lesson. This will explain the different ways an image can fill a shape.
Please read the section titled 'Manipulating images in Figma'. Focus on understanding the difference between 'Fill', 'Fit', 'Crop', and 'Tile'. This will give you a solid foundation for the next steps.
To summarize those key settings:
- Fill: Stretches the image to cover the entire shape, potentially cropping parts of the image that don't fit the shape's aspect ratio. This is the default.
- Fit: Resizes the image to be fully visible inside the shape, potentially leaving empty space.
- Crop: Allows you to manually move and scale the image within the shape's boundaries.
- Tile: Repeats the image to create a pattern.
The Dedicated Crop Tool
While the Crop setting in the fill panel works well, Figma provides a faster, more intuitive tool for direct manipulation. This is often the quickest way to adjust a rectangular crop.
This video demonstrates the crop tool and its shortcut, which is a core skill you'll use constantly.
Figma Basics: How To CROP and MASK Images (Tutorial)
Let's watch the first part of the 'Figma Basics: How To CROP and MASK Images' video from Mavi Design. It clearly demonstrates the dedicated crop tool.
Watch from the beginning until 01:19. Pay attention to the two methods shown: using the 'Crop image' button in the top toolbar, and the much faster shortcut: holding Alt (on Windows) or Option (on Mac) and double-clicking the image.
As you saw, you can grab the blue handles to change the crop area or click and drag the image itself to reposition it within the crop. Press Enter to confirm your changes.
2. Creative Control with Image Masking
What if you want an image to be in the shape of a circle, a star, or a custom blob? That's where masking comes in. A mask uses one object's shape to reveal portions of another object.
The process is simple:
- Place a vector shape (like a circle, star, or a custom shape drawn with the pen tool) on top of your image.
- Select both the shape and the image.
- Click the "Use as Mask" icon in the top toolbar, or use the shortcut
Ctrl+Alt+M(Windows) /Cmd+Option+M(Mac).
The following video segment demonstrates this process perfectly.
Figma Basics: How To CROP and MASK Images (Tutorial)
Let's continue with the 'Figma Basics' video to see how masking works.
Watch from 01:19 to the end (03:20). The creator shows how to use a star and a custom shape as masks. Notice how a 'Mask Group' is created in the Layers panel, allowing you to move and edit the image and the mask shape independently.
The key takeaway is that masking is non-destructive. The original image and shape are still there inside the Mask Group, and you can adjust them at any time. This gives you incredible flexibility.
Test your understanding!
Let's practice cropping and masking.
- Find an image of your choice (using Unsplash, Pexels, or a plugin).
- Task 1 (Cropping): Place the image on your canvas. Use the Crop tool (
Alt/Option+ double-click) to change the image from a landscape orientation to a portrait orientation (taller than it is wide). - Task 2 (Masking):
- Place a new copy of the image on your canvas.
- Create a star shape using the shape tools (find it in the dropdown next to the rectangle tool).
- Place the star over the image, select both layers, and apply a mask so the image is visible only within the star shape.
Show answer
For Task 1, you should have an image that has been visibly cropped into a vertical rectangle.
For Task 2, you should have an image that is shaped like a star. In your Layers panel on the left, you should see a "Mask Group" containing both the star vector and the original image. You should be able to click into this group and move the image around inside the star mask.
3. Cropping with Frames: The "Clip Content" Property
There's one more essential technique that functions like cropping, especially when building layouts: using Frames.
As we've learned, Frames are containers for your designs. By default, anything you place inside a frame that extends beyond its boundaries is automatically hidden. This behavior is controlled by a simple checkbox: Clip content.
When "Clip content" is checked, the frame acts as a window, and you only see what's inside it. This is extremely useful for:
- Creating clean layouts where images or elements don't spill out.
- Containing elements in UI design (like a phone screen).
- Creating scrollable areas (which we will cover later).
This short video explains the feature clearly.
How to Clip Contents to Frame in Figma
Let's watch 'How to Clip Contents to Frame in Figma' from Pixel & Bracket to understand this important property.
Watch the entire video (it's only 2 minutes). Pay attention to the 'Clip content' checkbox in the Design panel on the right. Also, note the useful tip about holding the Spacebar to move an object outside a frame's boundaries while keeping it inside the frame's layer group.
While the Crop tool modifies the image fill itself, Clip content simply hides parts of objects that are outside the frame's edges. Both are forms of cropping, but you'll use them in different contexts. For general layout work, using frames with "Clip content" is often the standard practice.
Conclusion
You've just added three powerful image manipulation techniques to your Figma toolkit. Being able to crop and mask effectively is the difference between an image that looks "placed" on a design and one that feels fully integrated.
Here are the key takeaways:
- The Crop Tool: Use it for quick, rectangular adjustments to an image fill. The
Alt/Option+ double-click shortcut is your best friend here. - Masking: Use it when you need to crop an image to a custom shape (circle, icon, blob, etc.). It's a non-destructive and highly creative tool.
- Frames & "Clip Content": Use this as your standard method for containing elements within a defined layout area, like a poster, social media post, or a screen design.
In our next lesson, we will build on this by learning how to apply basic image adjustments and effects like overlays and shadows. Now that you can control the shape and size of your images, you'll learn how to control their look and feel.