Hello! Let's get started on the next step of building your professional portfolio.
In our last lesson, you learned the "Problem, Process, Solution" framework, which is the essential blueprint for structuring a design case study. You now have a solid understanding of how to organize your project's story.
Today, we're moving from the blueprint to the actual words. A good structure is vital, but it's the writing that turns a simple project summary into a compelling narrative that grabs a potential client's attention. This lesson will teach you how to write a compelling project description for one of your portfolio pieces, focusing on storytelling techniques that showcase your value as a designer.
This is a critical skill for your goal of finding freelance work, as it's how you'll convince people that you're not just a designer, but a strategic problem-solver.
1. From Structure to Story
Recruiters and clients look at dozens of portfolios. They don't just want to see pretty pictures; they want to understand your thinking. The best way to do this is by telling a story. In the previous lesson, we established the structure (Problem, Process, Solution). Now, let's focus on filling that structure with an engaging narrative.
A great way to start is by framing the problem around a person or a scenario, rather than just stating technical details. This makes your work instantly more relatable.
Designing a solid design portfolio
The article 'Designing a solid design portfolio' by Rongfei Geng on UX Collective offers a fantastic piece of advice on this. It shows the difference between a dry debriefing and an engaging story.
Please read the sections '1. Lead with a problem, not the solution' and '2. Tell a story'. Pay close attention to the 'Not so good example' versus the 'Better example'. Notice how the better example creates a character and a situation, which is much more interesting to read.
As the article demonstrates, starting with a story about "Richard, the homeowner" is much more compelling than a generic description of a web app. Even for your conceptual projects from this course, you can invent a simple client persona or scenario to frame your story.
2. A Practical Framework for Storytelling: PAR
To help you write your story, let's use a simple and effective framework: P-A-R, which stands for Problems, Actions, and Results. This is very similar to our "Problem, Process, Solution" model, but the language is more focused on the act of writing.
How to create a compelling design portfolio companies will notice
This article from the Design Bootcamp publication on Medium breaks down the PAR framework very clearly. It's a highly practical guide for writing case studies that companies will notice.
Read the section 'How to Showcase Your Greatest Hits,' focusing on the three sub-headings: 'P: Share the Problems,' 'A: Share Your Actions,' and 'R: Share the Results.' This will give you a clear definition for each part of your project description.
Let's break down how to write each of these sections for your own projects.
3. Writing Each Section of Your Story
A. The Hook and the Problem
You have very little time to make an impression. Your project description needs a "hook"—a powerful opening statement that makes someone want to keep reading. This is often followed by a clear and concise summary of the problem you were trying to solve.
Let's watch a video that explains how to prepare this content and generate a great hook.
Create Killer Case Studies for Your Online Design Portfolio
In his video 'Create Killer Case Studies,' experienced agency owner Michael Janda explains the exact information you need to gather before you start writing and how to create a powerful opening hook.
First, watch from 01:31 to 03:05. This part covers the key questions you need to answer for your 'Problem' section: What was the project? Who was the client (even a fictional one)? What problem did it solve? What services did you provide? Then, watch from 04:57 to 06:19 to see how you can craft a compelling 'hook' to lead your case study.
For your Problem section, clearly state:
- The Project/Client: e.g., "A brand identity for a new, eco-friendly coffee shop called 'Sprout.'"
- The Challenge: e.g., "The challenge was to create a logo and color palette that felt fresh, organic, and modern, appealing to environmentally-conscious millennials."
B. Describing Your Actions (The Process)
This is where you describe what you did. Instead of writing long paragraphs, focus on being concise. Your visuals (sketches, mood boards, iterations) will do most of the heavy lifting here. Your text should act as a caption, guiding the reader through your process and explaining your decisions.
Create Killer Case Studies for Your Online Design Portfolio
Let's return to Michael Janda's video, where he explains how to write brief descriptions for each step of your process.
Watch from 03:05 to 04:00. Notice his advice to write just a one-to-three sentence paragraph for each service or action, accompanied by a strong visual.
For your Actions section, you might have short segments like:
- Typography Exploration: "I explored various serif and sans-serif typefaces to find a balance between readability and personality. The chosen font, [Font Name], provides a clean yet friendly feel."
- Color Palette Development: "The color palette was inspired by nature. The deep green represents growth, while the earthy brown provides a sense of warmth and stability."
C. Showcasing Your Results (The Solution)
This section explains the outcome. For professional projects, this often includes business metrics or client testimonials. Since your projects are conceptual, you can frame the "results" differently but just as effectively.
Your goal here is to prove that your design solved the problem you stated at the beginning.
- Connect back to the brief: Directly explain how your final design meets the original project goals.
- Explain the impact: Describe the intended effect of your design. For example, "The final poster uses a clear Z-pattern layout to guide the viewer's eye from the event title to the date and call-to-action, ensuring all key information is communicated effectively."
- Reflect on your learning: Briefly mentioning what you learned or what you might do differently next time shows maturity and a commitment to growth.
Test your understanding!
Choose one project you created during this course (e.g., the digital poster from Module 4, or the logo from Module 6). Using the PAR framework, write one concise sentence for each part:
- Problem: What was the core challenge or goal of the project?
- Action: What is one key step you took in your design process?
- Result: How did your final design solve the initial problem?
Show answer
Here's an example for the digital poster project:
- Problem: The challenge was to design a visually engaging poster for a music festival that clearly communicated the headliners, date, and location without feeling cluttered.
- Action: I experimented with several grid layouts in Figma to organize the large amount of text and create a strong visual hierarchy.
- Result: The final design uses a bold, condensed typeface for the festival name and a three-column grid for the artist lineup, resulting in a balanced and easy-to-read poster that captures the event's energetic feel.
4. Bringing It All Together
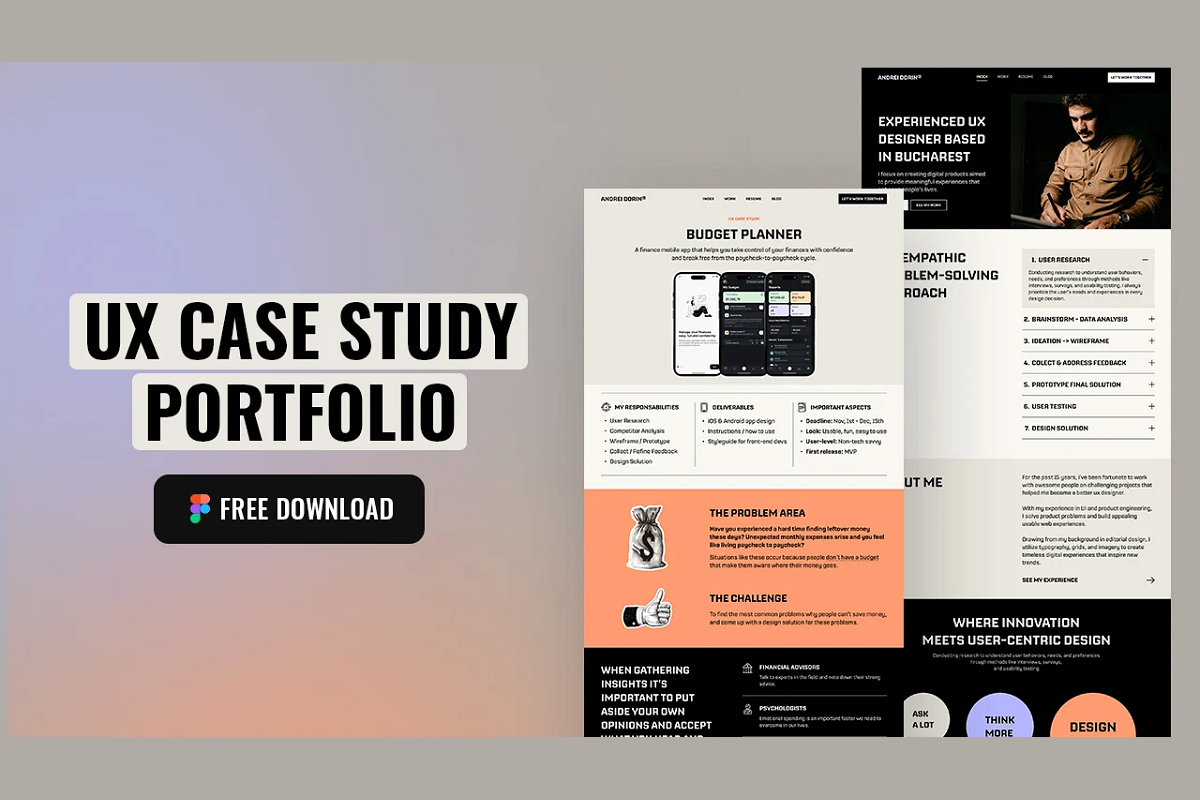
A project description is more than just text; it's a combination of writing and visuals laid out on a page. The goal is to create a flow that guides the reader through your story.

The complete structure often looks like this:
- Hero Section: Your best mockup image with the project title and your hook.
- Overview: A short paragraph stating the problem and your role.
- Process/Actions: A series of visuals (sketches, mood boards, iterations) with short text descriptions explaining your decisions.
- Solution/Results: High-quality mockups of the final design, with text explaining how it solved the initial problem.
Conclusion
You're now equipped to turn your project's history into a compelling story. Remember that a great project description doesn't just list facts; it guides a potential client or employer through your creative and strategic journey.
Key Takeaways:
- Tell a story, don't just report. Frame your project around a relatable problem.
- Use a hook to grab attention immediately.
- Structure your narrative using the Problem, Actions, Results (PAR) framework.
- Keep your writing concise. Let your visuals do the talking, and use text to explain your why.
- For conceptual projects, "results" mean demonstrating how your solution masterfully solves the project brief.
Up Next:
Now that you know how to write about your work, it's time to create another key portfolio piece: your own brand identity! In the next lesson, you will design a personal logo or monogram. This will not only be a great project to add to your portfolio but also a crucial asset for establishing yourself as a professional designer.