Hello! Welcome back to the final module of your graphic design course.
In our last lesson, you took the crucial first step of curating your best work, selecting 4-6 projects that you're proud of and that represent the kind of designer you want to become. This was a strategic decision, and now we're going to build on it.
Simply showing images of your finished designs isn't enough to convince a potential client or employer. They want to understand how you think and why you made the decisions you did. This is where a case study comes in.
Today's lesson will teach you how to outline the structure of a design case study using the 'Problem, Process, Solution' framework. By the end, you'll have a clear blueprint for turning each of your selected projects into a compelling story that showcases your value as a designer.
1. What is a Case Study and Why Does it Matter?
Think of a case study as the story behind your design. While a gallery shows the final product, a case study reveals the journey—the thinking, the challenges, and the creative problem-solving that led to the result. This is what sets you apart and demonstrates your professionalism.
To start, let's get a formal definition and understand the value a case study adds to your portfolio.
How To Write A Case Study For Your Design Portfolio - Format
The article 'How To Write A Case Study For Your Design Portfolio' by Format provides a great introduction to the concept. It will help you understand what a case study is and why it's a powerful tool in your portfolio.
Please read the section under the 'Getting Started' heading. Focus on the definition of a case study and its core components: outlining the problem, showing the solution, and explaining your approach.
As the article states, a case study outlines the problem, shows off your solution, and explains your approach. This simple three-part structure is the foundation for telling a powerful project story. It transforms you from someone who just makes things look good into a strategic thinker who solves problems.
2. The Core Structure: Problem, Process, Solution
This framework is your storytelling blueprint. Nearly every effective design case study follows this narrative arc. Let's break it down.
- Problem: This is the beginning of the story. You set the stage by defining the challenge. What was the goal? Who was it for? What were the constraints?
- Process: This is the middle of the story, where you show your work. You walk the reader through your journey, including your research, brainstorming, sketches, and iterations. This is where you reveal your design thinking.
- Solution: This is the end of the story. You present the final design and, most importantly, explain how it successfully solves the problem you outlined at the beginning.
This structure is widely used. The following short reading provides a similar five-step version that fits perfectly within our framework.
An Introduction to Case Studies for Designers | TylerD&I
The article 'An Introduction to Case Studies for Designers' offers a concise breakdown of a case study's structure. It's a great high-level overview before we dive into the details of each section.
Read the section 'A Basic Case Study Structure.' Notice how their five steps (Introduction, Reframe the problem, Explain your approach, Show the final deliverables, Conclusion) map directly to our Problem, Process, Solution framework.
Now, let's explore each of these three sections in detail.
3. The 'Problem': Setting the Stage
Every design project starts with a need. Your case study must begin by clearly explaining this need. For the conceptual projects you created in this course, you can frame the "problem" as the project brief you were working from.
Your 'Problem' section should answer questions like:
- Who is the client/brand? (e.g., a local coffee shop, a new tech startup).
- What was the objective? (e.g., to create a logo that appeals to a younger audience, to design a poster for a music festival).
- What were the specific requirements or challenges? (e.g., the logo had to work in black and white, the flyer needed to include a lot of information while remaining uncluttered).
This template gives you a great idea of what information to include.
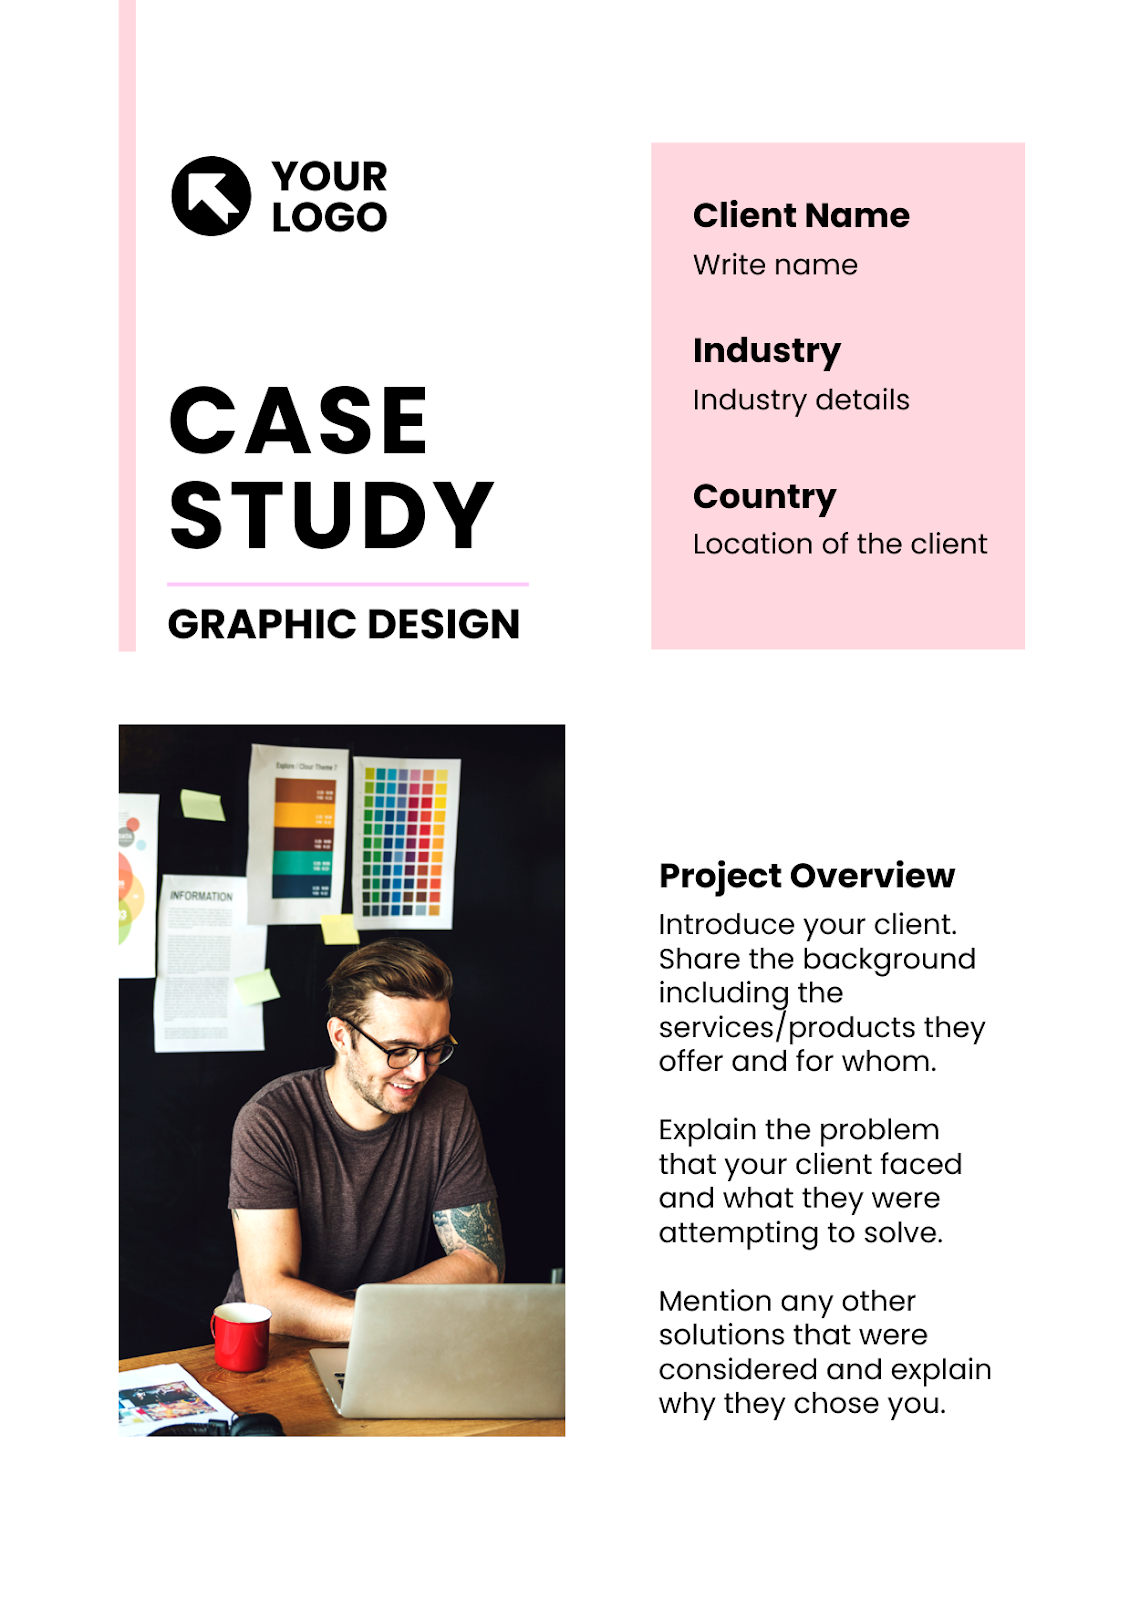
To see how this works in a real example, let's watch the first part of a detailed case study walkthrough.
How To Create A Design Case Study (With A Perfect Example)
In this video, 'How To Create A Design Case Study', designer Arnau Ros analyzes an excellent portfolio piece. He starts by highlighting how the case study immediately establishes the problem and the brief.
Watch from the beginning to 02:19. Pay close attention to how the case study first outlines the 'problem' and then defines the 'brief' and the designer's role. This is the foundation of the entire story.
4. The 'Process': Showing Your Work and Your Thinking
This is the heart of your case study. Here, you pull back the curtain and show the reader how you got from the problem to the solution. This is your chance to demonstrate your skills, creativity, and strategic thinking.
Don't just show the final design. Instead, include things like:
- Research & Inspiration: Mood boards, competitor analysis.
- Ideation: Early sketches, mind maps, different concepts you explored.
- Development: Wireframes (for web/app design), low-fidelity mockups, different versions of a logo.
- Challenges & Decisions: Talk about why you discarded one idea in favor of another. Explaining your reasoning is crucial.
Let's continue with the video to see what this 'Process' section looks like.
How To Create A Design Case Study (With A Perfect Example)
Continuing with Arnau Ros's analysis, this next segment dives deep into the 'process' part of the case study, showing research, user understanding, and early design phases.
Watch from 02:19 to 10:10. Notice the different types of 'process' work shown: research (surveys, interviews), user personas, user flows, and low-fidelity sketches. The most important part is at 09:20, where he points out how the designer reflected on their own work and made improvements—this shows critical thinking.
As you can see, the process isn't always a straight line. Showing that you can reflect, iterate, and improve on your ideas is a sign of a mature designer.
Test your understanding!
Imagine you're writing a case study for the digital poster you designed in Module 4. What are two "process" items you could include to show your thinking?
Show answer
Here are a few possibilities:
- Inspiration/Mood Board: A collection of images, colors, and fonts that inspired the poster's style.
- Initial Sketches: A photo of your notebook showing a few different layout ideas you tried before moving to Figma.
- Layout Variations: Screenshots of two or three different grid structures or arrangements of text and image you explored in Figma before choosing the final one.
5. The 'Solution': Presenting the Final Design
This is where you proudly present your finished work. But don't just post the images. Your 'Solution' section should do two things:
- Showcase the final design beautifully. Use high-quality mockups to present your work in a real-world context (e.g., an app design on a phone screen, a logo on a business card, a poster on a wall).
- Connect it back to the 'Problem'. Explicitly state how your design solves the initial challenge. Revisit the goals you outlined at the start and explain how your solution meets each one. This provides a satisfying conclusion to your story.
Let's watch the final part of the case study analysis to see this in action.
How To Create A Design Case Study (With A Perfect Example)
In this final clip from Arnau Ros's video, you'll see how the case study presents the high-fidelity mockups and, crucially, summarizes how the design solved the problems identified at the start.
Watch from 10:10 to 11:38. See how the presentation of the final mockups is followed by a clear 'Problem Solved' section. This closes the loop and proves the design's effectiveness.
This final step is what makes a case study so much more powerful than just a picture. It proves that your design has a purpose.
Conclusion
Today you've learned the essential storytelling structure that will turn your projects into compelling portfolio pieces. By framing your work within the Problem, Process, Solution framework, you're not just showing what you made; you're showing how you think.
Key Takeaways:
- A design case study tells the story of your project to showcase your problem-solving skills.
- The Problem section sets the context, defines the brief, and outlines the goals.
- The Process section is the core of your story, revealing your research, ideation, and decision-making. Show your messy work!
- The Solution section presents the final, polished design and explains how it successfully met the project's goals.
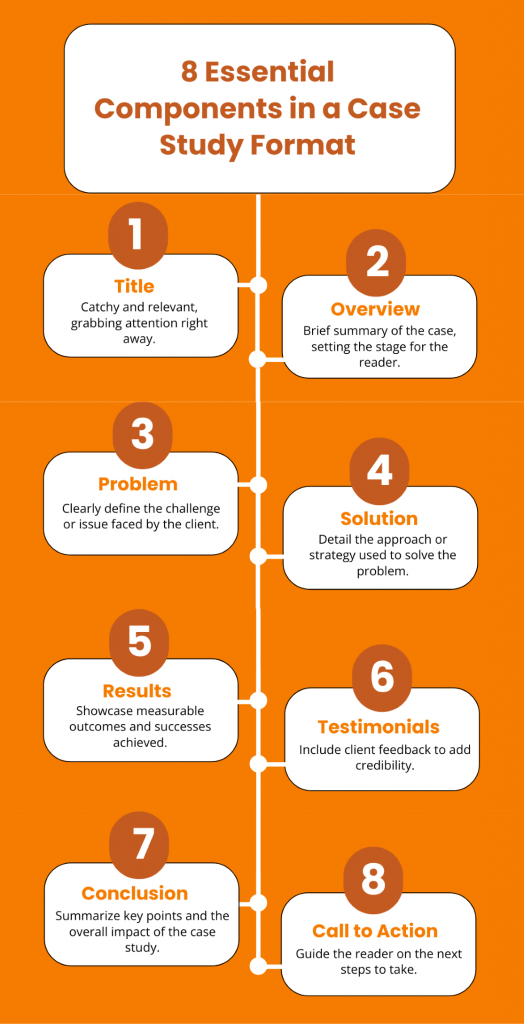
Up Next:
You now have the blueprint for a great case study. In the next lesson, you'll put this knowledge into practice. You will choose one of the projects you curated and write a compelling project description for it, applying the Problem, Process, Solution framework.