Introduction
In the last lesson, you produced a full technical handoff package—the annotated workflow, README.md, and maintenance runbook. That documentation was created for a technical audience: the next developer, the IT team, or your future self. It answered the "how" and "why" of the system's construction.
This lesson addresses the final piece of professional delivery: Record a clear video walkthrough demonstrating system functionality for client training. We pivot from speaking to engineers to training end-users. The audience is no longer concerned with API endpoints and JSON structures; they care about how this system makes their job easier, faster, and more effective.
Creating a polished, easy-to-follow training video is not just a courtesy—it's a high-value deliverable that significantly improves client onboarding, reduces your post-delivery support burden, and reinforces your position as a professional. It's the final, tangible proof of the value you've delivered.
Part 1: The Blueprint for a Flawless Training Video
A professional training video is engineered, not improvised. Before you hit record, you must architect the experience, just as you architect a workflow. A failure to plan guarantees a rambling, confusing video that wastes the client's time and undermines your credibility.
We will use the following resource as our guide for planning and preparation.
Screen Recording for Training: Create Engaging Tutorials
This article, 'Screen Recording for Training', provides a rigorous framework for producing professional training videos. We will focus on the pre-production steps, which are the most critical.
Read the first major section of the article, from the start down to the heading 'Your Guide to a Perfect Recording Session'. Focus on three key areas: Define Your Core Learning Objectives: Internalize the difference between a vague goal ('show the feature') and a specific one ('demonstrate how to generate a report and export it'). This is the foundation. Scripting vs. Storyboarding: Understand the trade-offs. For your purposes, a hybrid approach is most efficient: script the intro and outro verbatim, and use a bullet-point outline for the core demonstration. Prepare Your Digital Environment: Pay close attention to the pre-flight checklist. A clean desktop, closed notifications, and prepared sample data are non-negotiable.
From Engineer to Educator: The Narrative Shift
Your video's narrative must shift from technical implementation to business value. Every action you demonstrate must be tied to a benefit for the user.
- Instead of: "Here, the data is passed to the Google Sheets node."
- Say: "Once you submit the form, the client's information is automatically and instantly saved to your project tracker, so you never have to manually copy-paste data again."
This principle, covered in the "Show Value Before Features" section of the "Customer Onboarding Video Best Practices" guide, is crucial for client adoption.
Part 2: Professional Execution and Recording
With your blueprint complete, you can move to execution. The quality of your recording directly reflects the quality of your work. Amateurish audio or a chaotic screen will distract from the excellent system you've built.
Technical Setup
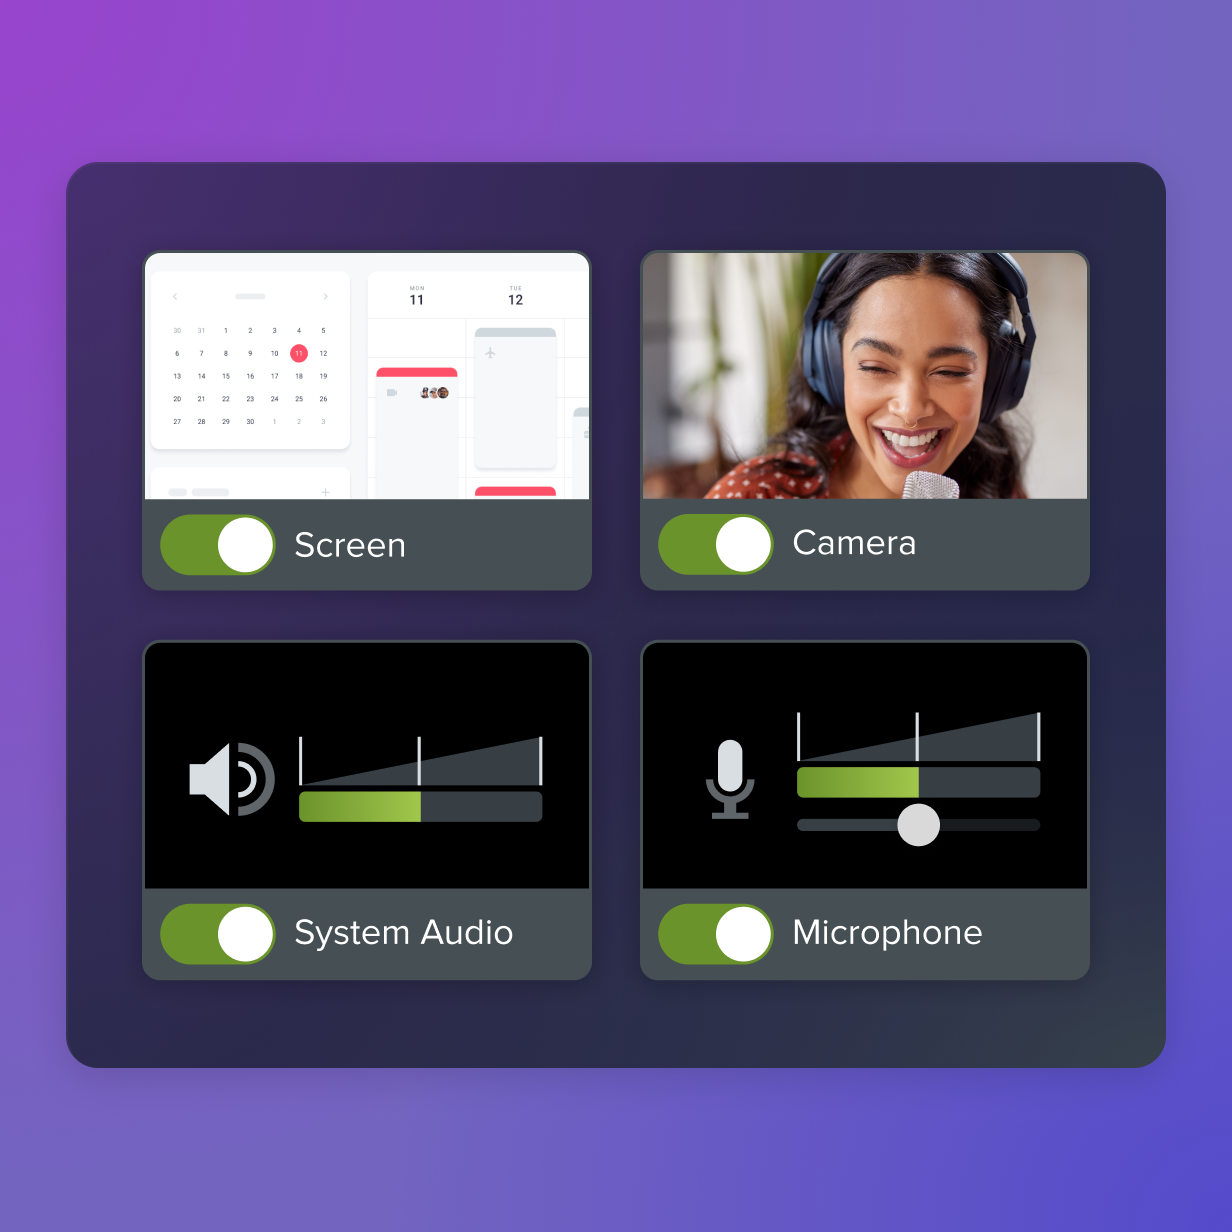
Your technical setup should be simple but deliberate.
- Software: Use a free tool like Loom. It's fast, cloud-based, and has the essential features we need.
- Resolution: Record at 1920x1080 (1080p) to ensure all text is crisp and legible.
- Audio: An external USB microphone is mandatory. Your laptop's built-in mic is unacceptable for client-facing work. Test your audio levels with a short recording first.
The resource "Screen Recording for Training" has an excellent Essential Pre-Recording Checklist table in its second section. Commit it to memory.
Mastering On-Screen Presence
Your narration and cursor movements guide the user's attention.
- Narration: Speak clearly and at an even pace. Don't rush. The goal is clarity, not speed.
- Cursor Movement: Your cursor is your pointer. Move it deliberately. Let it rest for a second on a button before you click. Avoid frantic, jerky movements.
- Annotations: Use on-screen drawing tools sparingly to highlight a key area when narration alone isn't sufficient.
This video provides excellent, actionable tips for using Loom to create a professional recording.
Loom Tutorial: 12 Best Screen Recorder Tips and Tricks Our 8-Figure Company Uses
The 'Loom Tutorial' by Ravi Abuvala provides several tips that directly apply to our no-cost, high-quality approach. We'll focus on the techniques that enhance clarity and professionalism.
Watch the following two segments: Selective Screen Recording (00:36 - 01:11): This is critical. It allows you to have your script or notes open on one side of your screen while only recording the application window, keeping your process clean and professional. Drawing and Annotation (03:41 - 04:02): Understand how to use this tool to draw attention to specific UI elements during your demonstration.
Part 3: Post-Production and Polishing
Raw footage is rarely perfect. A few minutes of editing elevates your video from a casual screen share to a polished training asset.
- Trim Mistakes: Cut out any long pauses or moments where you stumbled over your words.
- Remove Filler Words: Loom has a powerful feature to automatically remove "ums" and "ahs." Use it. This instantly makes you sound more confident and professional.
- Add Visual Polish: Use zooms to draw attention to small details. A well-placed zoom forces the viewer to focus on what's important, cutting out visual noise.

Let's return to the Loom tutorial to see how to execute these polishing steps.
Loom Tutorial: 12 Best Screen Recorder Tips and Tricks Our 8-Figure Company Uses
Now, let's look at the post-production features in Loom that will polish your final video.
Watch these two segments: Edit Out Filler Words (04:02 - 05:07): This is a non-negotiable step. See how to access and use this feature to clean up your audio. Video Editing Features (07:47 - 08:52): Learn how to use Loom's basic Split and Trim functions to remove mistakes or entire sections without needing external software.
The goal of these edits, as summarized in the "Customer Onboarding Video Best Practices" guide (LINK), is to create a short, focused video (under 3-5 minutes per topic) that is easy to consume.
Practical Task: The Client Training Video
You have completed the "Client Onboarding Automation System" (Portfolio Project 3). The system is live. Now, you must create the primary training asset for the client's team.
Scenario:
The client is a small agency. Their project managers will be the primary users of the system you built. They need to understand how to use the intake form and how to track the onboarding progress in the Google Sheet you designed. They are busy and not technically savvy. Your video must be clear, concise, and focused on their workflow.
Your Task:
Create a client-facing training video that demonstrates the core functionality of the "Client Onboarding Automation System."
Deliverables
-
Video Outline (Markdown): Create a brief outline for your video. It should include a word-for-word script for your introduction and conclusion, and 3-5 bullet points for the main demonstration. The intro must state the video's purpose and the value to the user.
-
Loom Video:
- Record a 3-5 minute video demonstrating the "happy path" of the onboarding system from the user's perspective.
- Start by showing the intake form and filling it out with sample data.
- Narrate what you are doing from the user's point of view, emphasizing the benefits.
- Show the results: the automatically generated tasks in the Google Sheet, the welcome email being sent (you can show a test inbox), and any notifications.
- The video must be polished: clean audio, no on-screen distractions, trimmed mistakes, and filler words removed.
- Upload the video to Loom and provide the shareable, unlisted link.
Evaluation Criteria
- Audience Focus: Is the language and demonstration tailored to a non-technical user? Is the focus on value and outcomes, not technical details?
- Professionalism: Is the audio clear and free of background noise? Is the screen clean and free of distractions? Is the video free of filler words and mistakes?
- Clarity & Brevity: Is the video concise and easy to follow? Does it achieve its learning objective in under 5 minutes?
- Guidance: Do your narration and cursor movements effectively guide the viewer's attention through the process?
Conclusion
You have now completed the full professional delivery package. You can architect a system, document it for a technical successor, and create polished training materials for the end-user. This trifecta of skills—architect, technical writer, and educator—is what distinguishes a top-tier freelance automation engineer from a mere implementer. A great training video reduces future support requests, increases client satisfaction, and serves as a powerful testament to the quality of your work.
Key Takeaways:
- Architect Your Video: Plan your objectives, script your key points, and prepare your environment before you record.
- Professionalism is Non-Negotiable: Use an external mic, record in 1080p, and maintain a clean digital workspace.
- Polish the Final Product: Edit out mistakes, remove filler words, and use visual aids like zooms to guide the user.
- Speak the Client's Language: Always frame your demonstration in terms of value, benefits, and outcomes.
Preview of the Next Phase:
This lesson concludes the "Professional Delivery and Client Management" module. You have built production-grade portfolio projects and have created all the documentation and training assets expected of a senior consultant. You are technically ready.
The next module, "Freelance Business Strategy," marks a major shift. We will move from building systems to building your business. Your first lesson will focus on crafting a specialist positioning statement for your profile on a platform like Mostaql to attract the right clients and command premium rates.