Recommended resources
The freely available resources this lesson will direct you to.
In the last lesson, you successfully deployed and ran your application on a physical iOS device, a significant milestone that involved configuring code signing and establishing your developer identity with Apple. Now that the app is running, it's time to give it a unique identity by replacing the default placeholder icon and splash screen.
This lesson will guide you through customizing your app's branding for iOS. You'll learn how to use @capacitor/assets, a powerful command-line tool designed to automate the generation of all the required icon and splash screen sizes from a single set of source images. We will integrate this tool into your existing bun and Turborepo workflow, creating a repeatable script for managing your app's assets.
The Challenge of Native Image Assets
Before we dive into the solution, it's important to understand the problem @capacitor/assets solves. A modern iOS application doesn't use a single icon. It requires a multitude of different sizes to look sharp in various contexts: on the Home Screen, in Spotlight search, in the Settings app, and in notifications. Manually creating, sizing, and placing each of these images would be a tedious and error-prone process.
The image below gives you a sense of this complexity, showing the various icon sizes and resolutions required just for iPhones and iPads.
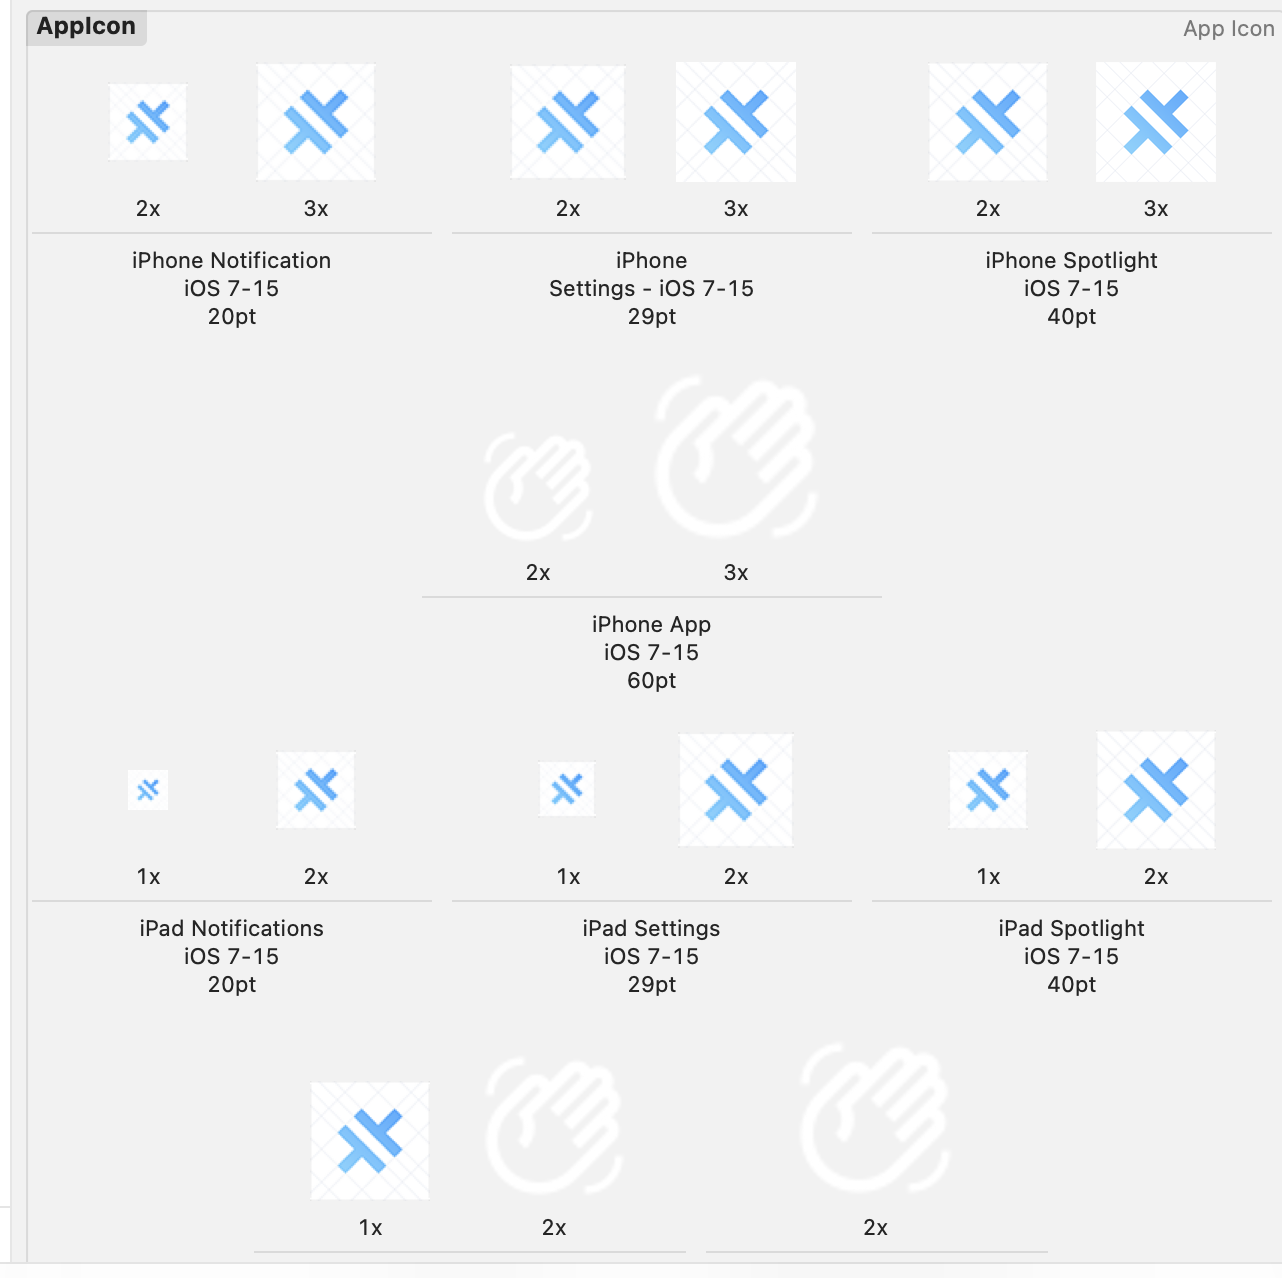
This is precisely the kind of repetitive work that is best left to automation.
Introducing @capacitor/assets
The @capacitor/assets tool is the official solution for this problem. It takes a high-resolution source image for your icon and splash screen and automatically crops, resizes, and places all the necessary variants into your native iOS and Android projects.
Installation
First, let's install the tool as a development dependency in your Turborepo workspace. From the root of your monorepo, run the following command:
bun add -d @capacitor/assets
Asset Generation Modes
The tool offers two primary modes for generating assets. To understand them, let's consult the official documentation.
capacitor-assets/README.md at main · ionic-team/capacitor-assets · GitHub
The capacitor-assets README provides the most detailed information on its usage. It outlines the two main modes of operation.
Read through the section titled Usage - Easy Mode. Pay attention to the required source files (logo.png) and the available command-line flags like --iconBackgroundColor and --iosProject. This mode is ideal for getting started quickly.
As you've read, the two modes are:
- Easy Mode (Recommended): You provide a single
logo.png(or.svg). The tool uses this logo and a specified background color to generate all icons and the splash screen. This is the fastest way to get a consistent look across the app. - Custom Mode: You provide separate, pre-designed images for the icon's foreground and background, as well as a full splash screen image. This offers maximum control but requires more design work upfront.
For our goal of a "minimal viable wrap," Easy Mode is the perfect fit.
Step 1: Prepare Your Source Asset
Before running the tool, you need to prepare the source image.
- At the root of your monorepo, create a new directory named
assets. - Inside this
assetsdirectory, place your primary app logo. The file should be namedlogo.png(orlogo.svg). - Ensure your logo image is of high quality. A resolution of 1024x1024 pixels is the recommended minimum, as it will be scaled down to all smaller sizes. A transparent background is ideal.
Your project structure should now look something like this:
/
├── apps/
│   └── web/            (Your React SPA)
├── packages/
├── mobile/
│   ├── android/
│   └── ios/
│       └── App/        (The Xcode project)
├── assets/
│   └── logo.png
├── package.json
└── bun.lockb
Step 2: Generate the iOS Assets
With the source asset in place, you can now run the generator. We will target only the iOS project for now.
The basic command is capacitor-assets generate. We will add flags to customize it for our project:
--ios: Specifies that we are only generating assets for the iOS platform.--iosProject mobile/ios/App: Tells the tool where to find your Xcode project. This path is relative to your monorepo root. Adjust this path if your native project is located elsewhere.--iconBackgroundColor '#ffffff': Sets the background color for the app icon. The tool will place yourlogo.pngon top of this color.--splashBackgroundColor '#ffffff': Sets the background color for the splash screen.
Putting it all together, the command you'll run from your monorepo root is:
bunx capacitor-assets generate --ios --iosProject mobile/ios/App --iconBackgroundColor '#ffffff' --splashBackgroundColor '#ffffff'
Go ahead and run this command. You should see output indicating that the iOS assets were generated successfully. The tool has now populated the Assets.xcassets directory inside your Xcode project with all the necessary image files.
Step 3: Create a bun Script for Automation
To make this process easily repeatable, let's add it as a script to your root package.json file. This is good practice and aligns with your preference for a script-driven workflow.
Open the package.json at the root of your monorepo and add the following line to the scripts object:
"scripts": {
  "dev": "...",
  "build": "...",
  "assets:ios": "capacitor-assets generate --ios --iosProject mobile/ios/App --iconBackgroundColor '#ffffff' --splashBackgroundColor '#ffffff'",
  "...": "..."
}
Now, you can regenerate your iOS assets at any time by simply running:
bun run assets:ios
This ensures that if you ever update your logo, you can update all app icons and splash screens with a single, consistent command.
Step 4: Verify in Xcode and Run the App
The final step is to verify the changes and see your new branding in action.
- Open your iOS project in Xcode:
bunx cap open ios - In the Xcode Project navigator on the left, find and expand the
App->App->Assets.xcassetsfolder. - Click on
AppIconandSplash. You will see that the previously empty or placeholder slots are now filled with variants of your logo. - Build and run the app on either the iOS Simulator or your physical device.
You should now see your custom app icon on the Home Screen. When you launch the app, your new splash screen will be displayed briefly before your React application loads.
Conclusion
You have now successfully replaced the default Capacitor branding with your own, giving your application a professional and unique identity. This is a crucial step in preparing an app for users.
Here are the key takeaways from this lesson:
- The
@capacitor/assetstool automates the tedious process of generating the many required icon and splash screen sizes for native platforms. - Easy Mode provides a quick and effective way to generate all assets from a single high-resolution
logo.pngand a background color. - The tool is configured using command-line flags, such as
--iosProject, to point it to your native project within a monorepo structure. - Integrating the command into a
bunscript in yourpackage.jsoncreates a robust, repeatable workflow for managing assets.
In the next lesson, we will move on to another essential aspect of native integration: configuring your app to request permissions from the user. You will learn how to edit the Info.plist file to add usage descriptions for features like the camera or biometrics, a mandatory requirement for iOS apps that access sensitive user data or hardware.