Recommended resources
The freely available resources this lesson will direct you to.
In our last lesson, we deconstructed the core philosophy of Neurofunk sound design, identifying its reliance on iterative processing, complex modulation, and aggressive filtering. Today, we transition from theory to practice. Your objective is to build a metallic, modulated Neurofunk lead from the ground up in Serum, applying the principles we've discussed.
We will focus on three specific techniques that are pillars of this sound:
- Warp Modes: To generate harmonically rich and aggressive source material.
- Comb and Formant Filters: To impart the iconic metallic and vocal-like character.
- Fast LFOs: To drive the relentless, intricate movement that defines the genre.
By the end of this lesson, you will have synthesized a complete Neurofunk lead and understood the strategic decisions behind each component.
1. The Foundation: Aggressive Timbre with Warp Modes
As we established, Neurofunk often starts with simple waveforms that are then mangled into something complex. Serum's oscillator Warp Modes are a primary tool for this initial transformation, adding harmonic complexity before the signal even hits the filter.
25 Essential Serum Sound Design Tips - CFA-Sound
The article "25 Essential Serum Sound Design Tips" from CFA-Sound offers a concise overview of why warp modes are so powerful.
Read section #05 WARP EXPERIMENTS. Focus on the author's point that the variety of modes (Bend, Sync, FM, etc.) combined with LFO modulation opens up "completely new worlds of sound." This is our starting point: generating a rich, moving sound source.
Your Task (in Serum):
- Initialize a patch in Serum.
- Set Oscillator A to a basic shape, like a Saw or Square wave from the Analog wavetable category.
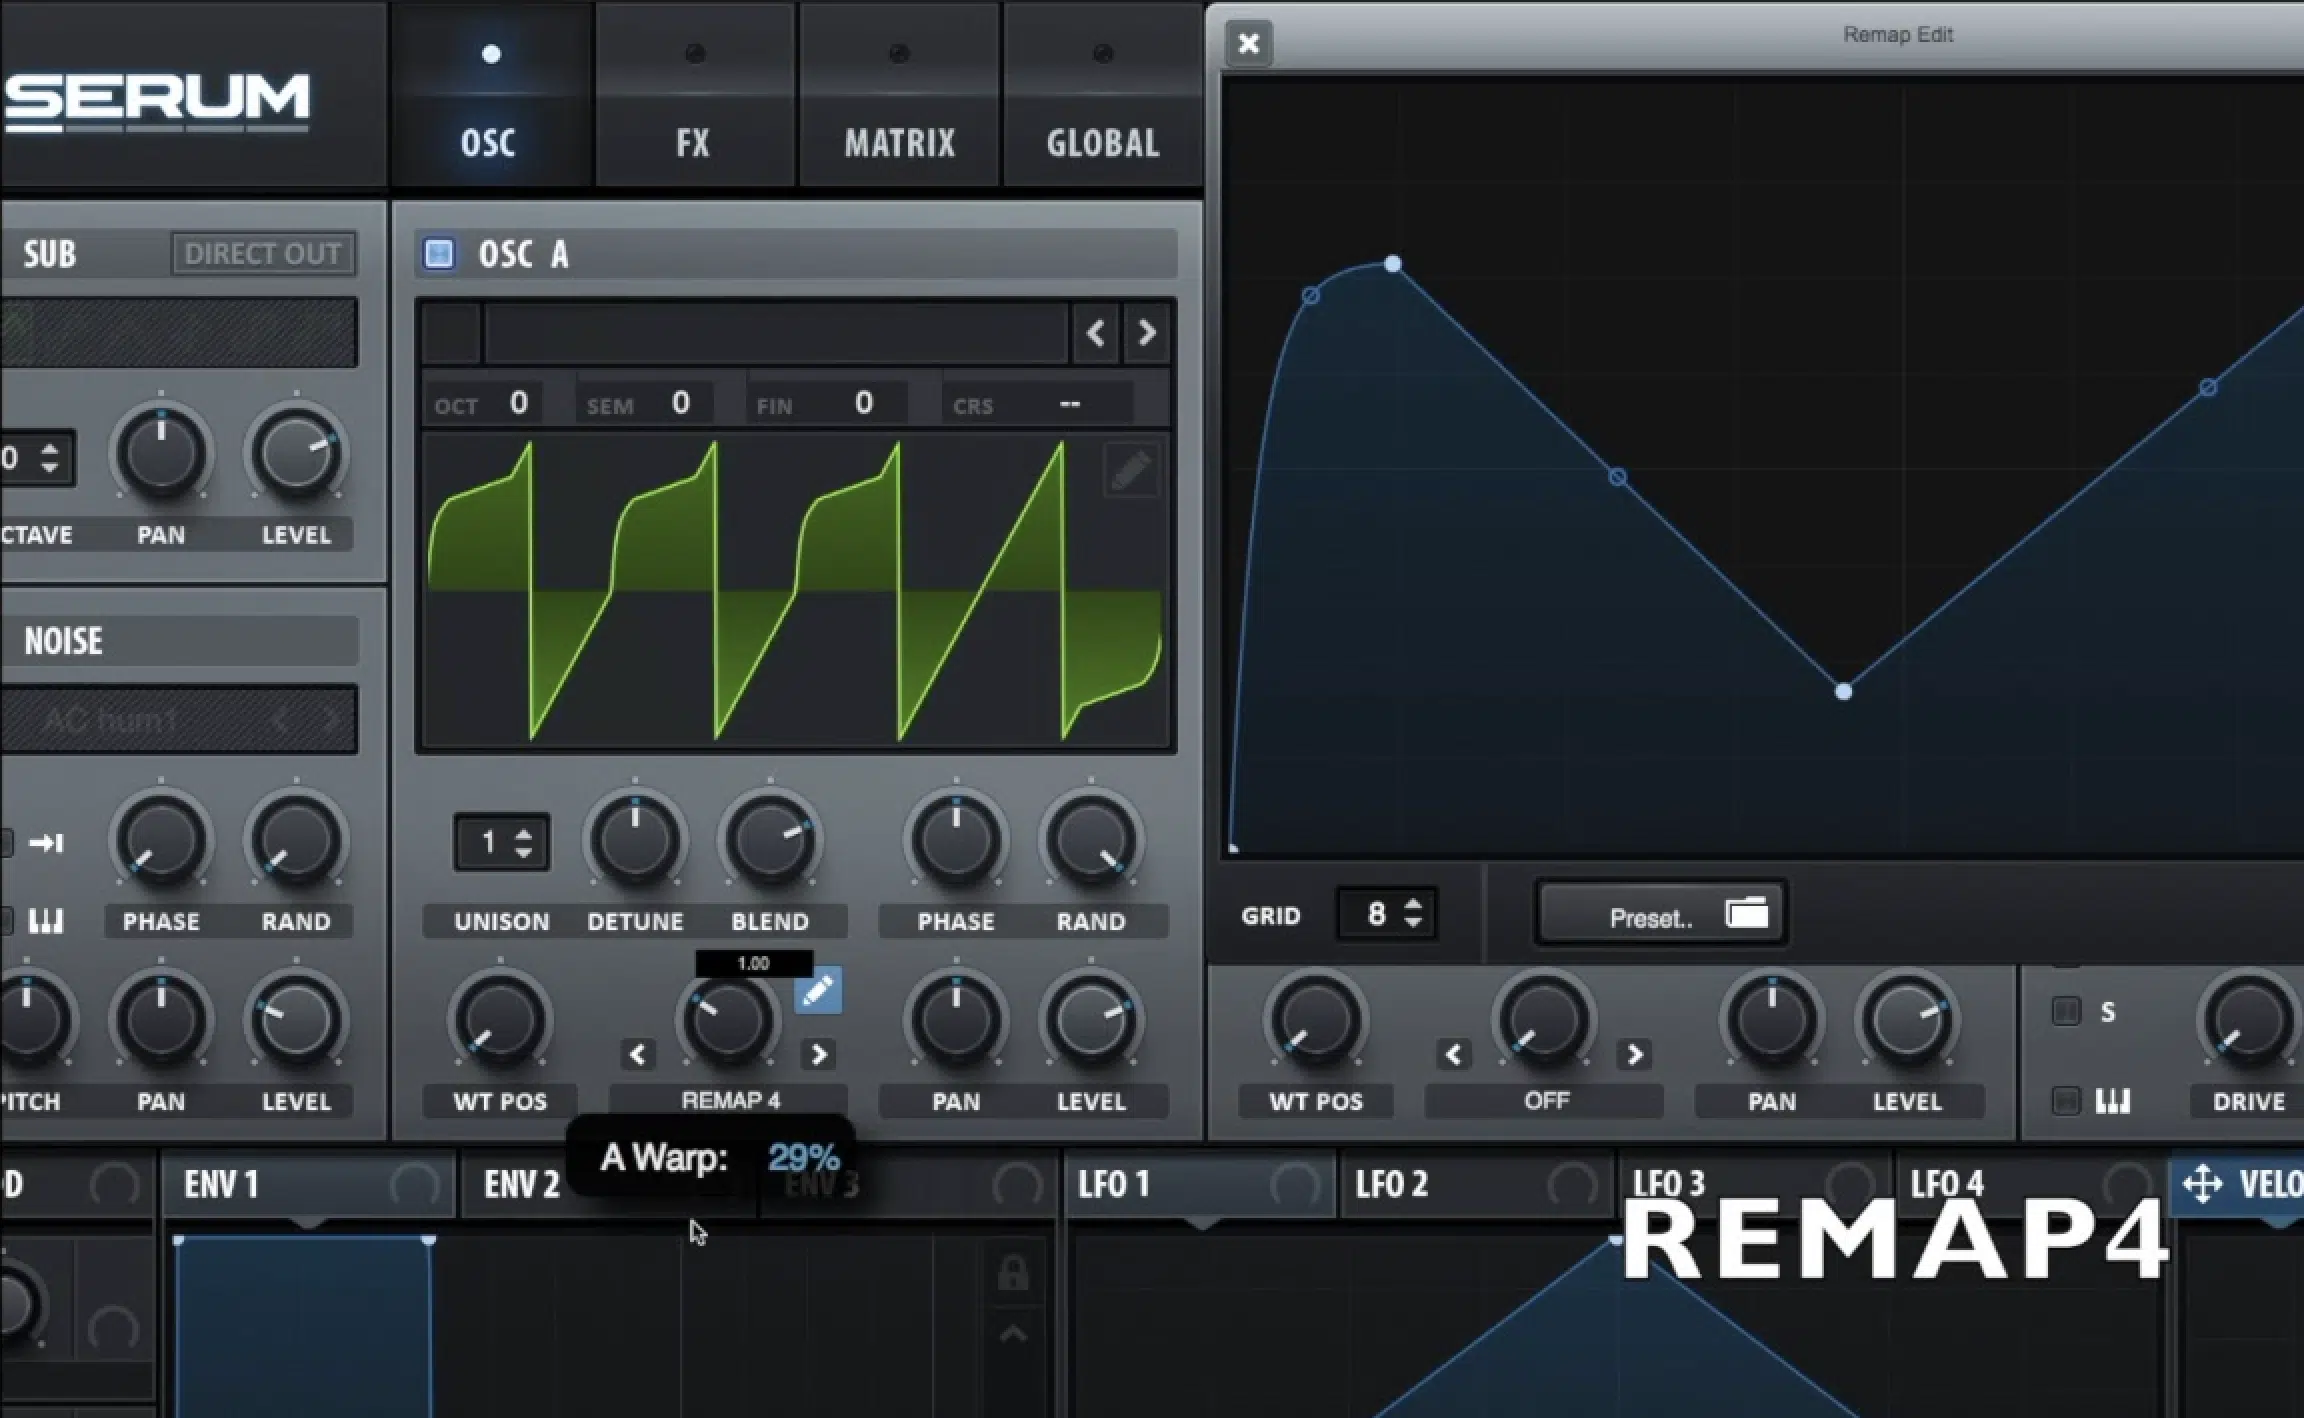
- In the Warp Mode menu for OSC A, experiment with modes like Bend +/-, Sync, or Asym +/-.
- Modulate the Warp knob with a slow LFO (e.g., a sine or triangle shape at a rate of 1/2 bar).
- Listen to how the warp mode transforms the basic waveform.
- Why?
Synccreates sharp, metallic sweeps.Bendcan create thinner, more nasal tones.Asymintroduces even-order harmonics, changing the fundamental character. By modulating this, we create a source that is already evolving, providing a richer signal for the filters to process.
- Why?
2. The Character: Metallic Textures with Comb & Formant Filters
This is where the Neurofunk "screech" and "growl" are born. Instead of a standard low-pass filter that simply removes high frequencies, we'll use filters that add their own unique resonant character.
- Comb Filters: These create a series of very sharp, harmonically-related peaks and notches. When driven with a harmonically rich source and high resonance, they produce a pitched, metallic, or "tearing" sound.
- Formant Filters: These mimic the resonant peaks of the human vocal tract, allowing you to create sounds that seem to form vowel shapes ("A-E-I-O-U").
The following video is an excellent demonstration of using a comb filter to create a classic Neuro screech.
Lead Design 4: Neuro Screeches
The video "Lead Design 4: Neuro Screeches" by ARTFX provides a clear, step-by-step guide to this essential technique.
Watch from the beginning to the end of the filter section. As you watch, pay close attention to the following strategic choices: The Source: He starts with two saw waves, one heavily detuned and one plain. This creates a thick, phasey source to feed the filter. The Comb Filter: Note how he selects a Comb H6+ filter and immediately pushes the Resonance to 100%. This is the key to creating the pitched, resonant tone. The Drive adds extra harmonics and aggression. Tuning the Screech: Critically, he explains that the filter's Cutoff frequency now determines the pitch of the metallic screech. You need to tune this cutoff to match the key of your track or the note being played.
Your Task (in Serum):
- Continuing with your patch, enable the Filter module and route OSC A to it.
- Select a Comb filter from the Misc category (e.g.,
Comb HP6+or similar). - Turn the Resonance up high (above 80%). Add some Drive (around 30-50%).
- Sweep the Cutoff knob slowly. You should hear a distinct pitched, metallic tone emerge. Modulating the
HighPassfrequency (within the comb filter) or theCutoffitself with a fast LFO will create that classic ripping sound. - Now, switch the filter to a Formant filter (also in Misc). Modulate the Cutoff with an LFO. Notice how the sound takes on a vocal, "talking" quality. The
Formantknob (or X/Y pad) allows you to morph between different vowel sounds.
Why this works: Both comb and formant filters are essentially highly resonant cavities. By feeding them a complex signal and pushing the resonance, you're exciting those resonant frequencies, making the filter itself a primary source of the sound's character, rather than just a subtractive tool.
3. The Movement: Driving the Sound with Fast LFOs
The final piece of the puzzle is creating the complex, rhythmic animation. In Neurofunk, this is achieved by using fast, tempo-synced LFOs to modulate multiple parameters at once.
13 Advanced Sound Design Techniques for INNOVATIVE Producers
The Unison Audio article on advanced techniques has an excellent section on this. It breaks down the strategy of using multiple LFOs with different shapes and rates.
Read section #6: Creating Movement with Multi-LFO Routing. Focus on the concept of stacking different LFO shapes (e.g., a smooth triangle on the filter, a faster saw on the warp amount) to create layered, non-repetitive movement. Also, note the tip about using phase offsets to prevent all modulations from peaking at the same time.
In Serum, you can achieve this easily. The key is to think rhythmically. Instead of slow, sweeping LFOs, think in terms of 1/8th, 1/16th, or even 1/32nd note rates. You can also use the LFO grid editor to draw your own percussive, complex shapes.
Your Task (in Serum):
- In your patch, you likely already have an LFO on your warp mode. Now, let's add more.
- Use LFO 2. Set its rate to a fast, rhythmic value like 1/8 or 1/16. Draw a jagged, percussive shape in the LFO editor (holding Shift allows you to draw steps, like a step sequencer).
- Assign this fast LFO to your filter's Cutoff knob. Set the modulation amount to be quite high. You should now hear a rhythmic, stuttering filter movement.
- Use LFO 3. Set it to a different rate (e.g., 1/4 triplets) and a different shape. Assign it to another parameter, like the oscillator's Pan or the filter's Resonance.
- The goal is to have multiple layers of modulation running at different speeds, creating a sound that feels alive and constantly shifting.
4. Synthesis in Action: A Complete Neuro Lead
Now let's watch a full patch being created from scratch. This will reinforce all the concepts we've discussed and show how they are combined with effects to create a finished sound.
Secrets of NEURO sound design | Serum + resampling
The video "Secrets of NEURO sound design" from PHENOMSOUND demonstrates the creation of a powerful, modern Neuro sound. It's fast-paced and assumes a high level of comfort with Serum, which is perfect for you.
Watch the synthesis portion from the patch creation. As you watch, identify the techniques we've covered: Oscillators & Timbre (Oscillator Setup): Notice the use of FM From B and Sync warp modes to generate initial complexity. He uses two different LFOs to modulate the wavetable positions and levels, creating layered movement from the very start. Filtering & Distortion (Filter & FX): He uses a High 12 filter with a fast LFO modulating the cutoff, and then adds Tube Distortion before the next processing stage. Complex Modulation (EQ & Second Filter): This is a great example of advanced Neuro design. He uses the EQ effect as a modulated filter, automating the frequency of a peak filter with an LFO. He then adds a second filter (High Notch 12) and modulates its cutoff, resonance, and drive simultaneously with the same LFO. Final Polish (Final FX): He finishes with multiband compression (OTT), a flanger, and a phaser to control dynamics and add final stereo movement.
The video goes on to discuss resampling, which is a powerful, classic Neurofunk technique. While outside our immediate scope of pure synthesis, it's the logical next step: treating your synthesized sound as a new sample to be chopped, stretched, and re-processed.
Conclusion
Today you have built a Neurofunk lead, moving beyond simple subtractive synthesis into the realm of aggressive timbral shaping and complex modulation. You have learned how to use Serum's advanced features intentionally to achieve a specific sonic goal.
Key Takeaways:
- Warp Modes are for Harmonic Generation: Use modes like Sync, Bend, and FM to create a rich, evolving source signal before it hits the main filter.
- Comb and Formant Filters Create Character: These filters are not just for removing frequencies; they add the pitched, metallic, and vocal-like textures that define Neuro leads. High resonance is key.
- Fast LFOs Provide Rhythmic Drive: Use multiple LFOs at different rhythmic subdivisions (1/8, 1/16, triplets) to modulate timbre, filtering, and panning, creating the signature complex movement of the genre.
- The Chain Matters: The sequence of oscillators, warp modes, filters, and effects is crucial. A common Neurofunk pattern is
Warp -> Distort -> Filter -> Modulate -> Compress.
In our next two lessons, you will put these skills to the test in a series of synthesis challenges. You'll be tasked with deconstructing and recreating leads from both the Neurofunk and Liquid DnB subgenres, solidifying your ability to analyze a sound and build it from scratch.