Recommended resources
The freely available resources this lesson will direct you to.
Hello and welcome back!
In our last lesson, you mastered the crucial step of exporting clean, animation-ready SVG code from your Figma designs. You learned how to organize your layers and use the Include "id" attribute setting to create the "hooks" we'll need to control our animation. You now have the raw material for your scene.
Today, we'll bring that design into the browser for the first time. The goal of this lesson is to use Claude to write the HTML and CSS required to compose a static scene from your exported SVG assets. You will act as the creative director, providing Claude with your asset (the SVG code) and a clear brief (your prompt) to build the stage where your animation will perform.
The Director's Brief: Prompting Claude
Your primary skill in this new workflow is translating your visual intent into clear, unambiguous instructions for Claude. Think of it like writing a creative brief. You need to provide two things:
- Context: The assets to be used. In our case, this is the SVG code you exported from Figma.
- Instructions: What to do with those assets. For example, "place this SVG in the center of a page with a dark grey background."
The more specific your instructions, the closer Claude's first attempt will be to your vision.
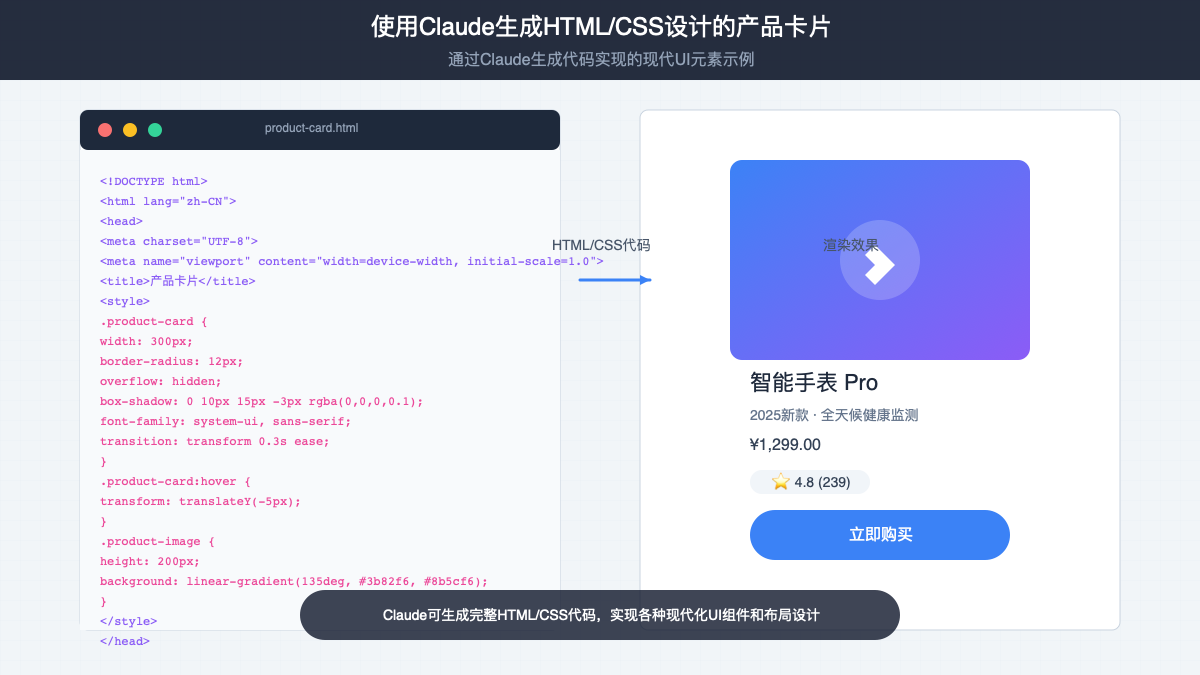
A simple but effective prompt for our task would look something like this:
PROMPT TEMPLATE
Here is my SVG code:
<svg width="500" height="500" viewBox="0 0 500 500" ...>
  <!-- Your entire SVG code here -->
</svg>
Please create a single HTML file that displays this SVG.
Requirements:
- The background of the page should be
#111111.- The SVG should be centered both horizontally and vertically on the page.
- Include all CSS inside a
<style>tag in the HTML head.
This structure—providing the asset and then a bulleted list of requirements—is a reliable starting point for getting predictable results.
Learning from Examples
This pattern of providing assets and then instructions is a fundamental workflow in AI-assisted development. While the following tutorial is about creating a game, its core process is identical to ours.
Create an HTML5 web game with Claude
This tutorial perfectly illustrates the workflow we'll use. It shows how to give Claude SVG assets and then prompt it to assemble them into a single HTML file.
Read 'Step 4: Auto-animate the game with HTML5'. Don't worry about the animation part itself. Focus on the prompt structure: the user has assets (a character, a background) and then gives a clear instruction ('Inline these into a simple side-scrolling game with HTML5'). This is the same pattern we will use: providing our SVG and telling Claude how to 'inline' it into an HTML page.
Improving Your Prompts with Structure
For more complex scenes or to gain more precise control, you can provide an even more detailed, structured prompt. Since you have a background in product design and strategy, you can think of this as defining the technical specifications for a feature.
This next resource is a fantastic example of a highly-structured, "industrial-strength" prompt used to generate an entire website.
LLM SVG Generation Benchmark - About
To see what a professional, highly-structured prompt looks like, let's examine a real-world example. This webpage documents how a complex benchmark site was generated entirely by an LLM. The prompt itself is a masterclass in clarity.
Read the section titled '3. Claude Code Implementation Prompt'. Focus on the part called 'Step 3: Build Static Website'. Notice how it gives explicit instructions for the HTML (index.html), CSS (styles.css), and layout (CSS Grid or Flexbox). This level of detail is how you get precise results from Claude for complex tasks.
The key takeaway is that you can be very specific about file names, layout methods, and other technical requirements. This moves you from simply asking for a result to directing the entire implementation.
A Smarter Workflow: Separating Context from Instruction
Pasting your SVG code into the chat window every time can be cumbersome, especially for large SVGs. A more efficient workflow is to save your SVG as a file and have Claude reference it as context. This keeps your prompts clean and your assets neatly organized in your project folder.
This technique is analogous to how developers use a "style guide" to ensure consistency, a concept that should be familiar from your design systems work.
Create Beautiful UI with Claude Code
This video explains a 'style-guide' trick that we can adapt for our SVG assets. The core idea is to separate your assets and styles from your direct instructions.
Watch from 03:54 to 05:00. The key concept is creating a separate file with all the styles (in our case, it will be a file with our SVG code) and then telling Claude to 'reference the context of this page' when building something new. In VS Code, this is done by '@-mentioning' the file.
Practical Exercise: Composing Your Scene
Now, let's put this all together and build your static scene.
-
Prepare Your Asset: In the VS Code project you set up earlier, create a new file named
scene.svg. Paste the SVG code you exported from Figma in the previous lesson into this file and save it. -
Open Claude: In VS Code, open the Claude chat panel.
-
Provide Context: Start a new chat. The first thing you should do is reference your asset. Type
@and a file picker will appear. Selectscene.svgto add it to the chat's context. -
Write Your Prompt: Now, give Claude its instructions. You can use the detailed prompt below. Copy and paste it into the chat window after adding the file context.
Hi Claude. Using the context from the attached
@scene.svgfile, please create a single HTML file namedindex.html.Requirements:
- The HTML
<body>should have a background color of#2a2a2e. - The SVG from the context should be perfectly centered, both horizontally and vertically, within the viewport.
- All CSS required for the layout and background color should be contained within a
<style>tag in the<head>of the HTML document. - Do not add any extra text or elements. The final output should only be the colored background and the centered SVG.
- The HTML
-
Generate and Review: Claude will generate the complete HTML code. Copy the entire code block.
-
Create the HTML File: In your VS Code file explorer, create a new file named
index.html. Paste the code from Claude into this file and save it. -
Preview Your Scene: Right-click on the
index.htmlfile and select "Open with Live Server". Your default browser should open, displaying your Figma design, perfectly centered on a dark background.
You have successfully composed your static scene!
Key Takeaways
- Prompting is a design skill: Break down your visual goal into a clear, specific, written brief for your AI partner.
- Context then instruction: The most effective workflow is to first provide the assets (like your SVG file) and then give clear instructions on what to do with them.
- Structure enhances precision: A structured prompt with headers and bullet points helps Claude understand your requirements accurately and produces better code.
- Composition complete: You can now reliably take any SVG asset from Figma and use Claude to place it into a web page, ready for the next step.
Next Up
Your static scene is now composed and live in the browser. But what if a spacing is slightly off, or an element isn't positioned exactly where you want it? In our next lesson, we will begin refining the output. You'll learn how to inspect the browser output and make minor positional adjustments directly in the CSS, giving you pixel-perfect control over your composition before we bring it to life with animation.