Recommended resources
The freely available resources this lesson will direct you to.
Introduction
In our previous lesson, we established the fundamental architectural patterns of monolithic and microservices systems. We saw that in a microservices architecture, services need a clear and reliable way to communicate. This lesson dives into the most prevalent standard for that communication: Representational State Transfer, or REST.
Your goal is to transition from implementing features to designing robust systems. A critical part of that is defining the public contracts—the APIs—that connect different parts of an application. Today, you will learn how to design RESTful API resources and endpoints, complete with proper versioning and error handling. Mastering these principles is a hallmark of a senior developer, as it ensures the APIs you build are predictable, scalable, and easy for other developers to consume.
1. The Core Principles: Resources and Actions
At its heart, REST is an architectural style that treats every piece of information as a resource. A user, a product, an order—these are all resources. An API endpoint simply exposes these resources to be manipulated. The actions you can perform on these resources are defined by a standard set of HTTP methods.
This creates a simple, powerful grammar for your API:
- URIs (Uniform Resource Identifiers) are the nouns, identifying the resources (e.g.,
/users,/users/123). - HTTP Methods are the verbs, defining the action to be taken (e.g.,
GET,POST,DELETE).
Let's watch a video that covers these foundational design principles, including how to name resources and use HTTP methods correctly. Since you work with Java, the examples provided will be particularly relevant.
9 Must-Know REST API Design Principles for Developers
This video from ByteMonk provides a concise overview of the core principles of REST API design, focusing on the correct use of HTTP methods and how to structure URIs to represent resources.
Watch the first two sections of the video: Use HTTP Methods Correctly: Pay close attention to the definition of each verb (GET, POST, PUT, PATCH, DELETE) and the concept of idempotence. Structure Your URLs: Focus on the principle of using nouns for resources and how to represent hierarchical relationships.
To solidify these rules, let's look at some clear "good" vs. "bad" examples for naming your resources. Consistency in naming is crucial for API usability.
REST API Design Best Practices for Production Services - OneUptime
This article provides a set of excellent, pragmatic best practices for designing production-grade APIs.
Read the section on Resource Naming Conventions. The key takeaways are: Use plural nouns (e.g., /users instead of /user). Keep URLs lowercase. Avoid verbs in the URL (e.g., /users not /getUsers). Keep nesting shallow to avoid overly complex and rigid URLs.
2. Communicating Outcomes: HTTP Status Codes
Once a client makes a request, the server must communicate the outcome. Was it successful? Did the client mess something up? Did something break on the server? This is the job of HTTP status codes. Using them correctly is non-negotiable for a well-designed API.
The status codes are grouped into five classes, but for API development, you'll primarily use three:
- 2xx (Success): The request was successfully received, understood, and accepted.
- 4xx (Client Error): The server believes the client has made an error (e.g., malformed request, requesting a non-existent resource, insufficient permissions).
- 5xx (Server Error): The server failed to fulfill a valid request due to an unexpected issue on its end.
Let's return to the ByteMonk video for a quick review of the most common codes you'll use.
9 Must-Know REST API Design Principles for Developers
This section quickly covers the essential status codes every developer should know.
Watch the segment on status codes. Make a mental note of the distinction between 401 Unauthorized (you aren't authenticated) and 403 Forbidden (you are authenticated, but you don't have permission).
3. Planning for Evolution: API Versioning
APIs evolve. Business requirements change, leading to new data fields, different response structures, or retired endpoints. If you simply change an existing API, you risk breaking all the client applications that depend on it. This is why versioning is essential from day one.
The most common and explicit way to version an API is through the URL path. This makes it immediately clear to any consumer which version of the API they are interacting with.

Other strategies exist, like using custom request headers, but URL-based versioning is straightforward and widely understood. The following video explains these approaches using Spring examples, which should map directly to your experience.
9 Must-Know REST API Design Principles for Developers
This section explains why versioning is necessary and demonstrates the most common implementation strategies.
Watch the section on versioning. Notice how separate controllers or request mappings can be used in Spring to handle different API versions, allowing old and new versions to coexist.
4. Designing for Failure: Robust Error Handling
Returning the correct status code is the first step in good error handling. But for a client developer to effectively debug an issue, a status code alone is often not enough. A 400 Bad Request is a good start, but why was the request bad? Was a required field missing? Was the email format invalid?
Mature APIs provide a consistent, structured error message in the response body to answer these questions.
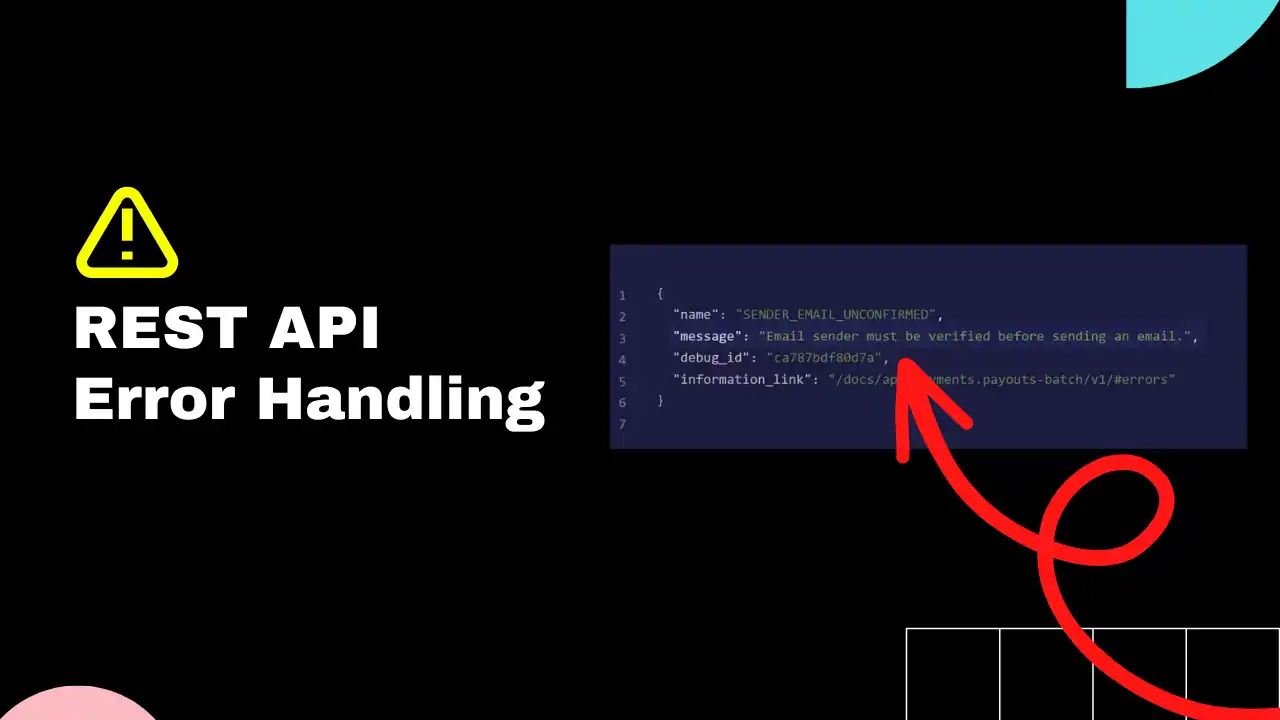
For a Java/Spring developer, the Baeldung blog is an authoritative source. Let's dive into their guide on error handling to understand how to design and implement this in a Spring Boot application. This is where your backend experience will be a significant advantage.
Best Practices for REST API Error Handling
This Baeldung article provides a comprehensive guide to designing and implementing error handling in a REST API, with a focus on Spring.
Please read the following sections: Start with a quick review of Basic Responses. This reinforces the importance of using specific status codes, like returning a 404 for a missing resource instead of a generic 500. Next, read More Detailed Responses. This is the core of this section. Focus on the recommended fields for a custom error object: an application-specific error code, a user-friendly message, and technical details for the developer. Finally, read about Standardized Response Bodies. This introduces RFC 7807, or "Problem Details," a standard format for error responses. Adopting a standard like this makes your API more predictable and easier to integrate with.
As you've just read, the goal is to create an error response that is both machine-readable (for automated handling) and human-readable (for debugging). In Spring Boot, you can achieve this globally using a @ControllerAdvice class to catch exceptions and transform them into your standard error response object. This centralizes your error handling logic, a much cleaner approach than littering your controllers with try-catch blocks.
To get another perspective on this, Milan Jovanović offers a pragmatic take on structured errors.
8 Pragmatic REST API Design Tips (From Real Projects)
This video offers practical advice from real-world projects. The section on error handling is particularly relevant.
Watch the section on using a structured error format. The key takeaway is consistency. Whether you adopt the Problem Details standard or your own custom format, stick to it for all failure responses.
Conclusion
In this lesson, we have established the fundamental rules for designing clean, predictable, and robust RESTful APIs. By applying these principles, you ensure that the services you build are not just functional but also maintainable and easy for other developers to integrate with—a key responsibility as you move toward a senior role.
Key Takeaways:
- Resource-Oriented Design: Structure your API around resources (nouns) identified by URIs, and use HTTP methods (verbs) to specify actions.
- Naming Conventions: Use plural, lowercase nouns for resource collections (e.g.,
/api/v1/orders). Avoid deep nesting. - Use HTTP Verbs and Status Codes Semantically: Use
GET,POST,PUT,PATCH, andDELETEfor their intended purposes, and return specific status codes (e.g.,201 Createdon successful creation,404 Not Foundfor a missing resource). - Version Your API: Include a version in your URL path (e.g.,
/v1/) from the beginning to allow your API to evolve without breaking clients. - Provide Structured Error Responses: Go beyond status codes. Return a consistent JSON error object with a unique code, a clear message, and helpful details to aid debugging.
In our system design journey, we've now defined the interface layer. The next logical step is to consider what sits behind that interface: the data. In our next lesson, we will explore the persistence layer by learning to explain how relational and NoSQL databases differ and how to select the appropriate type for a given use case.