Recommended resources
The freely available resources this lesson will direct you to.
Hello! In our last lesson, you rolled up your sleeves and learned to manually edit the CSS code that Claude generates, tweaking parameters like duration, easing, and transformations to polish your animation. This gave you the fundamental vocabulary of code-based motion.
Today, we're going to transition you from the role of a hands-on code editor to that of a creative director. The goal of this lesson is to learn how to iterate on an animation by providing targeted feedback and refinements in subsequent prompts to Claude. Instead of changing the code yourself, you'll guide the AI to make the changes for you. This conversational, iterative process is the core of leveraging AI as a creative partner, a central part of your overall goal.
By the end of this lesson, you'll be able to effectively steer Claude through multiple revisions to transform a basic animation into a polished piece of motion design that matches your vision.
1. The Iterative Prompting Cycle
The most effective way to work with an AI like Claude is not to expect a perfect result from your first prompt. Instead, think of it as a conversation. You provide an initial idea, the AI provides a first draft, and then you collaborate through a cycle of feedback and refinement.
This process can be visualized as a simple loop:
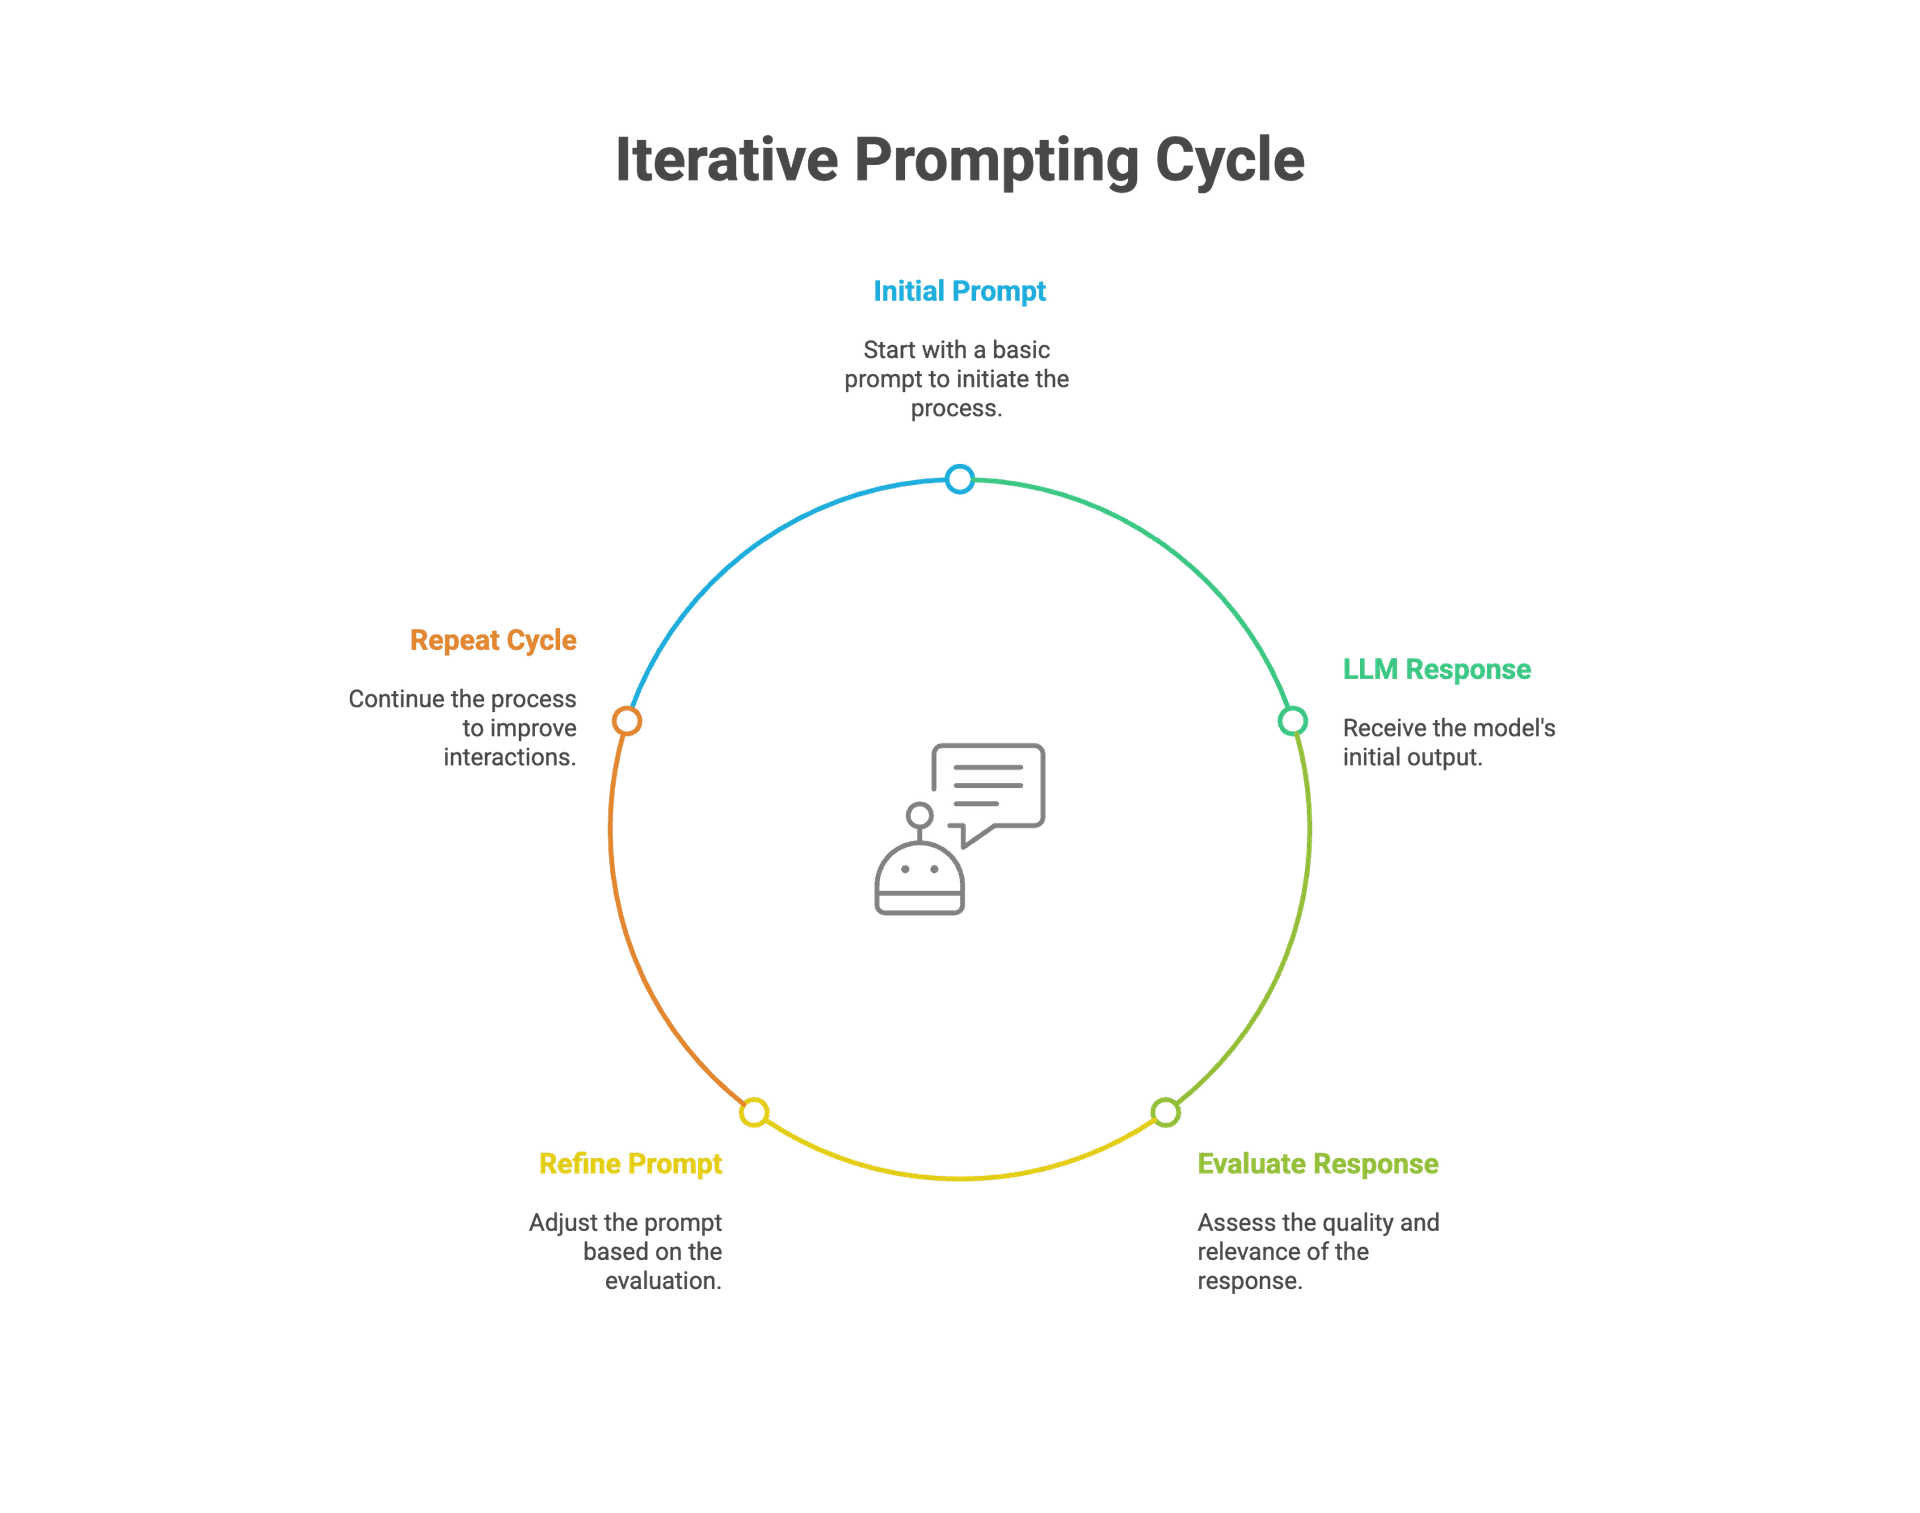
Let's break down this cycle in the context of our animation workflow:
- Initial Prompt: This is what you learned in our first lesson on AI prompting—describing the animation you want from scratch.
- LLM Response: Claude generates the HTML and CSS code for the animation.
- Evaluate Response: You open the
index.htmlfile in your browser and watch the animation. This is the crucial review step. Is it too slow? Does the movement feel clunky? Does it match the personality you envisioned? - Refine Prompt: This is our focus today. You'll craft a follow-up prompt that gives Claude specific, actionable feedback to fix the issues you identified. Then, you repeat the cycle until you're happy.
2. Crafting Effective Refinement Prompts
Your ability to provide clear, targeted feedback is what makes this process work. Vague feedback leads to vague results. The knowledge you gained in the last lesson—about duration, easing, and transform—is your superpower here, as it allows you to give precise instructions.
Let's look at some best practices, which are essential for getting the most out of Claude.
Best Practices for Claude Code
The official Claude Code documentation has an excellent guide on best practices. We'll look at a section that emphasizes being precise and providing context.
Please read the section titled 'Provide specific context in your prompts'. Notice the 'Before' and 'After' examples. They show how scoping the task and referencing existing patterns leads to much better outcomes. This is exactly what we'll be doing.
Drawing from that idea, here’s how you can translate your design critiques into effective prompts, moving from a generic initial prompt to a more refined one.
Best Practices for AI-Generated SVG
This blog post about creating SVGs with AI provides a perfect, simple example of what iterative refinement looks like in practice.
In the article, find the section '2. Iterative Refinement'. Compare the 'Initial Prompt' with the 'Refined Prompt'. See how the second prompt adds specific details about style, color, and technical constraints? We'll apply this same principle to animation.
A Practical Walkthrough
Let's imagine you asked Claude to make a circle appear. It generates this initial animation:
- Your Prompt: "Animate the circle with the ID
#my-circleso it fades in and scales up." - Claude's CSS (V1):
@keyframes fadeInScale { from { opacity: 0; transform: scale(0.5); } to { opacity: 1; transform: scale(1); } } #my-circle { animation: fadeInScale 2s ease; } - Your Evaluation: "It works, but it's very slow and feels a bit dull."
Now, let's start the refinement cycle.
Iteration 1: Refining Timing and Easing
- Your Refined Prompt: "That's a good start. Let's make two changes:
- The animation is too slow. Please reduce the duration to 0.7 seconds.
- Change the easing to an 'ease-out' curve, so it starts fast and slows down at the end."
- Claude's CSS (V2):
#my-circle { animation: fadeInScale 0.7s ease-out; /* Changed duration and easing */ } - Your Evaluation: "Much better! The pacing feels right. Now, let's add more personality."
Iteration 2: Adding Character with Keyframes
- Your Refined Prompt: "I like the new timing. Now, to add a 'pop' effect, please modify the
@keyframes. I want the circle to slightly overshoot its final size before settling. Can you add a keyframe at 80% where it scales to 1.1, and then have it return to scale(1) at 100%?" - Claude's CSS (V3):
@keyframes fadeInScale {
  0%   { opacity: 0; transform: scale(0.5); }
  80%  { opacity: 1; transform: scale(1.1); } /* Overshoot keyframe */
  100% { transform: scale(1); }
}
Notice how we used our specific vocabulary (duration, ease-out, @keyframes, scale) to give clear, unambiguous directions. You're directing the changes like a film director talking to an animator.

3. Advanced Prompting: Thinking Like a Director
Beyond giving direct commands, you can use more sophisticated prompting strategies to collaborate with Claude. This is where you can truly leverage the AI as a creative partner.
Let's watch a short video. While it discusses a tool called Remotion for creating videos, the principles of iterating with Claude are identical and brilliantly demonstrated.
Claude Code is Taking Video Editor Jobs Now (Remotion Skills)
This video from Chase AI showcases the conversational workflow with Claude Code. Pay close attention to how the presenter gives feedback.
First, watch from 01:46 to 02:21. Notice how he identifies a specific visual problem ('the two text boxes are overlapping') and gives a direct command to 'Fix that.' Next, watch from 08:47 to 09:11. This is a powerful technique. He asks Claude to act as an 'expert motion graphics artist' and suggest improvements. This shifts the AI from a tool that just follows orders to a creative consultant.
The two key strategies from that video are:
- Targeted Corrections: See a problem, describe it simply. "The text is overlapping." "The element moves off the left side of the screen." "The color should be #FF5733."
- Persona Prompting: Ask Claude to adopt a role. "Act as a senior motion designer. How could we make this animation feel more modern and fluid?" This is an incredible way to generate ideas you might not have considered.
4. Managing the Conversation
As your conversation with Claude gets longer, it can sometimes get confused by earlier, failed attempts. Knowing how to manage the session is key.
- Course-Correct Early: If you see Claude generating code that is clearly not what you asked for, don't wait for it to finish. In the VS Code terminal where Claude is running, you can press the
Esckey to stop it. You can then immediately give it a clarifying prompt. - Start Fresh When Needed: If you've tried to correct an animation two or three times and it's still not working, the context is likely polluted. It's often faster to start over.
- In the Claude Code session, type
/clearand press Enter. This will reset the conversation. - Now, write a new, more specific initial prompt that incorporates everything you learned from the failed attempts.
- In the Claude Code session, type
Best Practices for Claude Code
Let's return to the 'Best Practices' document to see the official advice on managing sessions and avoiding common pitfalls.
Please read the sections 'Course-correct early and often' and 'Avoid common failure patterns'. The patterns of the 'kitchen sink session' and 'correcting over and over' are especially relevant to our iterative animation work.
Your Turn: Directing the Refinements
Now it's time for you to take the director's chair.
- Open the project folder from our previous lessons in VS Code.
- Start a new Claude Code session by typing
claudein the terminal. - Ask Claude to re-create the initial, simple animation you started with in the last lesson (e.g., "Using the SVG in
index.html, create a CSS animation where the element with the ID#my-elementslides in from the left."). - Once you have the basic animation, do not edit the code yourself. Instead, use a series of follow-up prompts to refine it. Try to achieve the polished result you ended up with in the last lesson.
- Experiment with different prompting styles:
- The Technical Director: "Change the animation duration to 350ms and apply the cubic-bezier easing function
cubic-bezier(0.25, 1, 0.5, 1)." - The Expressive Director: "Make the animation feel more energetic and snappy. It should happen quickly and have a little bounce at the end."
- The Consulting Director: "Act as a professional motion graphics designer. What one change would you suggest to make this animation more engaging? Please apply that change."
- The Technical Director: "Change the animation duration to 350ms and apply the cubic-bezier easing function
Take your time and observe how Claude responds to each style of prompting.
Conclusion
Great work! You have now learned the complete iterative loop: generating an animation with an initial prompt, evaluating the result, and—most importantly—directing the AI through a series of conversational refinements to achieve your creative vision.
Key Takeaways:
- Iteration is a collaborative conversation with the AI.
- Specific, targeted feedback using the vocabulary of motion design (
duration,easing,transform) yields the best results. - Describing the feeling or personality of the motion is also a valid and powerful way to prompt.
- Using "persona prompts" (e.g., "act as an expert") can unlock new creative ideas.
- Managing the session by course-correcting early or clearing the context is crucial for an efficient workflow.
In our next lesson, we will build on this foundation. Now that you can create and refine a single animation, we'll start orchestrating multiple animations together to create a complete sequence. You'll learn how to plan a multi-part animation and use CSS properties like animation-delay to control the timing of each part.