Recommended resources
The freely available resources this lesson will direct you to.
- Make Awesome SVG Animations with CSS // 7 Useful Techniqueswww.youtube.com
- Learn CSS Animations in 9 Minuteswww.youtube.com
- GitHub - ThamJiaHe/claude-prompt-engineering-guide: Comprehensive guide for writing professional Claude Standard prompts with MCP, Skills, and Superpowers integration. Official Anthropic best practices for Claude 4.x models.github.com
- Empowering Animation Design using Large Language Models - arXivarxiv.org
Hello! Welcome back.
In our last lesson, you meticulously positioned your static SVG scene using the browser's Inspector tools. The stage is perfectly set. Today, we bring it to life by directing the performance. This is the moment where your design vision starts to become motion.
This lesson's goal is to write a structured, natural-language prompt for Claude to animate a single SVG element using CSS keyframes. We'll move from being a hands-on adjuster to an AI director, learning how to write a clear and effective "animation brief" that Claude can understand and execute.
1. What Are We Asking For? A Quick Look at CSS Keyframes
To direct an actor, you need to speak their language. To direct Claude to create an animation, it helps to understand the "language" it will use to write the code: CSS Keyframe Animations.
You're already familiar with animation principles like key poses on a timeline. CSS @keyframes work in a very similar way. You define the style of an element at specific points (keyframes) along a timeline (represented by percentages, from 0% at the start to 100% at the end), and the browser smoothly transitions between them.
Let's watch a short video that introduces this core concept.
Learn CSS Animations in 9 Minutes
This video from Coding2GO provides a great, beginner-friendly explanation of the @keyframes rule.
Watch from 00:20 to 03:11. Focus on how a keyframe animation is first defined with a name (using @keyframes) and then applied to an element. Notice how percentages (0%, 50%, 100%) act as stops on a timeline where you can define different CSS properties.
As the video showed, you define the "story" of the animation inside a @keyframes rule, changing properties like transform (for moving, scaling, rotating) and opacity (for fading) over time.

This should feel conceptually similar to setting keyframes in traditional animation software. The main difference is that we are defining the "poses" with code.
2. The Art of the Prompt: From Vague Idea to Clear Brief
Now that we know what we're asking for (@keyframes), how do we ask for it?
Simply telling Claude to "animate the rocket" is like giving a designer a brief that just says "make a logo." You might get something interesting, but it probably won't match your vision. A better prompt, like a better design brief, provides context, details, and constraints.
The difference in output quality between a simple and a detailed prompt can be dramatic.
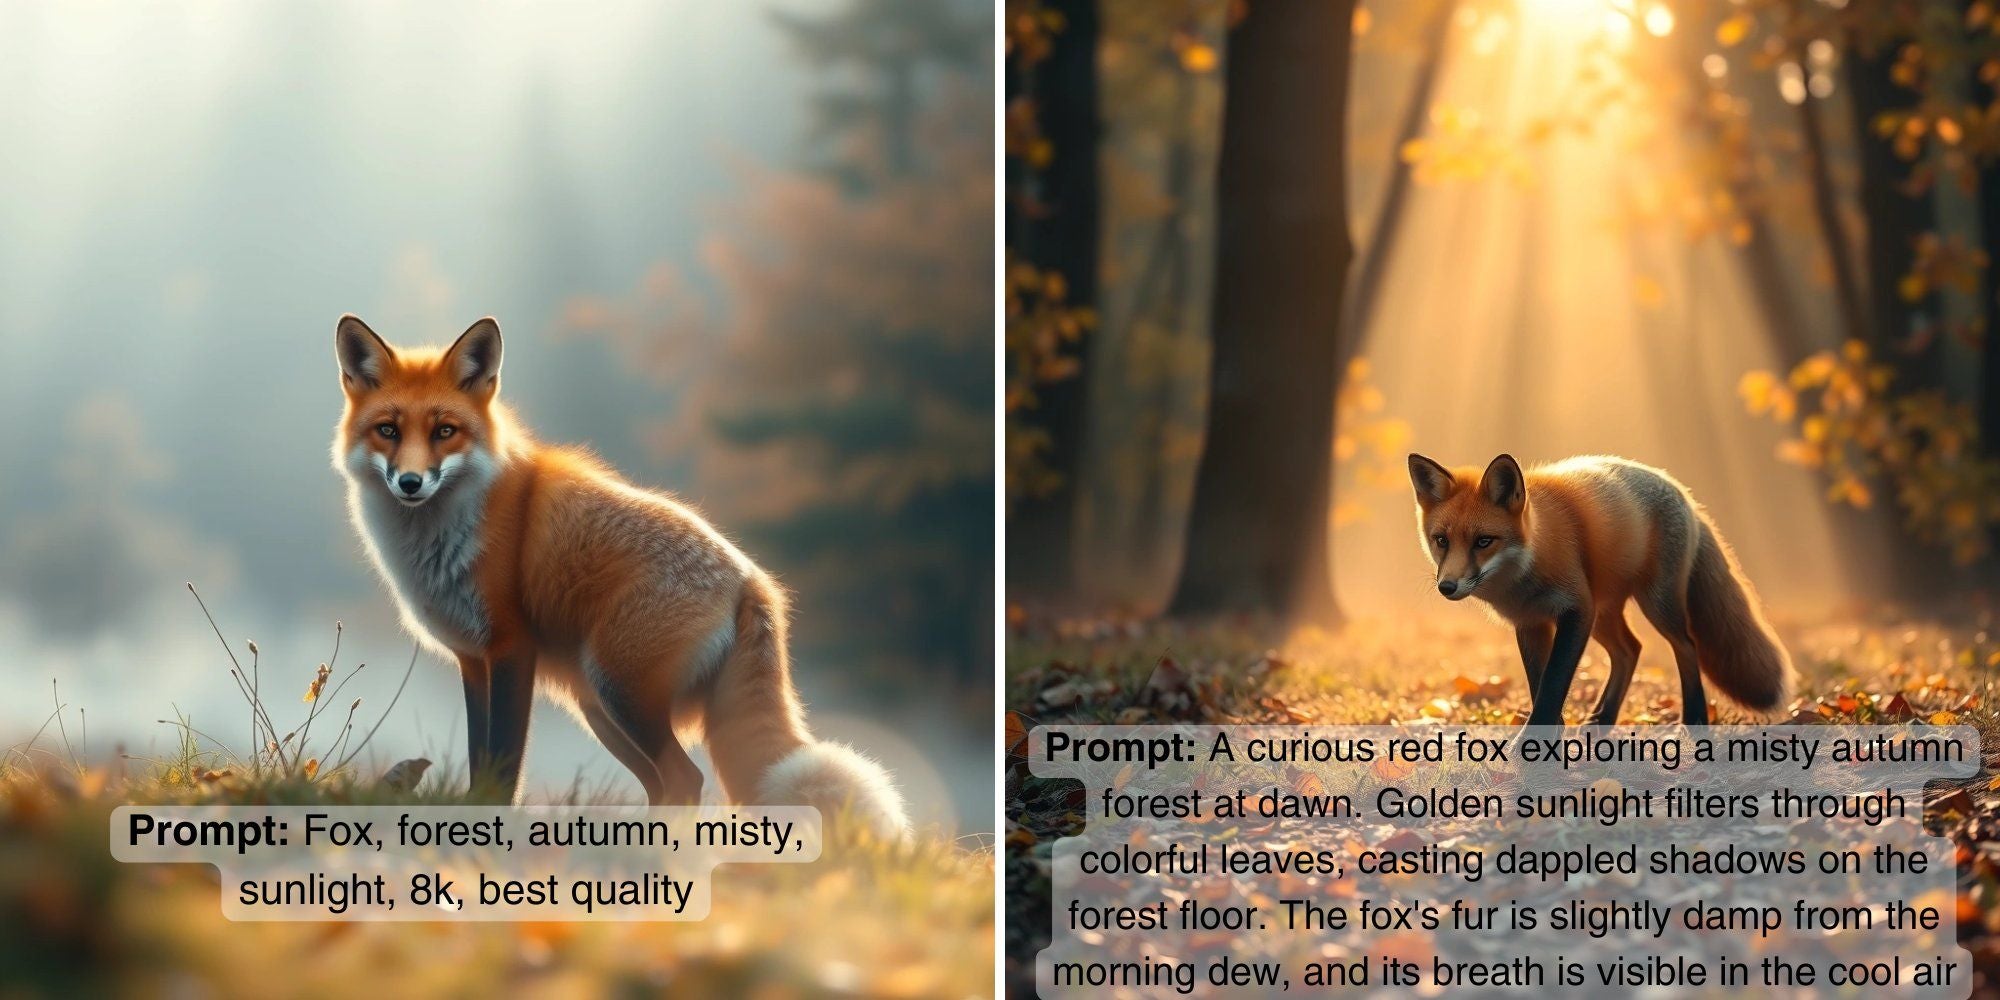
Research into AI animation tools shows that prompts can be broken down into different types. A great prompt often combines a high-level, descriptive idea (a semantic prompt) with specific details (a high-specificity prompt).
Let's look at a research paper that explores exactly this.
Empowering Animation Design using Large Language Models
This paper, 'Empowering Animation Design using Large Language Models,' introduces Keyframer, a tool that uses prompts to generate CSS animations for SVGs. It provides a fantastic breakdown of how people describe motion to an AI.
Read the section titled 'High Specificity vs Semantic Prompting'. Pay close attention to the 'Taxonomy of Semantic Prompt Types' table. It gives you a vocabulary for describing motion to Claude, including Movement, Timing, Position, and Coordination.
The key takeaway is that you can use everyday descriptive words like "twinkle," "wobble," or "swoop," and combine them with specific parameters like duration or easing to give Claude a complete picture of your intent.
3. A Framework for Your Animation Prompt
To make this easier, we can use a structured template. This ensures we provide all the necessary information in a way Claude can easily understand. This approach is based on professional prompt engineering best practices.
Here is a simple but powerful framework for your animation prompts:
-
Role and Goal: Tell Claude what its job is.
- Example: "You are an expert CSS animator. Your goal is to animate one element in an SVG."
-
Context (The 'Canvas' and 'Actors'): Provide the full context. This is the most crucial part. You must give Claude your HTML file so it knows the structure and, most importantly, the IDs of the elements you want to animate.
- Example: "Here is my full HTML file which contains the SVG scene. I want you to animate the element with the ID
#element-to-animate." - You will paste your entire HTML code here.
- Example: "Here is my full HTML file which contains the SVG scene. I want you to animate the element with the ID
-
The Animation Brief (The 'Action'): Describe the animation clearly, using the vocabulary we just learned.
- Element: Re-state the ID of the element.
- Movement: What should it do? (e.g., "Pulse gently," "Jiggle slightly," "Slide in from the left and fade in.")
- Timing: How should it feel? (e.g., "The animation should last 2 seconds," "It should have a slow 'ease-in-out' feel," "It should loop infinitely.")
- Properties: (Optional but helpful) Suggest which CSS properties to use. (e.g., "Animate the
opacityandtransform: scale().")
-
Technical Constraints (The 'Rules'): Tell Claude exactly what kind of code to output.
- Example: "Generate only the CSS code. Create a
@keyframesrule and add theanimationproperties to the correct CSS selector. Place all new CSS inside the existing<style>tag. Do not modify the HTML or any existing layout CSS."
- Example: "Generate only the CSS code. Create a
4. Practical Exercise: Writing Your First Animation Prompt
It's your turn to be the director.
- Open your
index.htmlfile in VS Code. - Look at your SVG code and identify the ID of a single element you want to bring to life. For example, it might be
#rocket-ship,#star, or a group ID like#background-elements. - In a text editor or directly in the Claude prompt window, use the framework above to write your prompt.
Here is an example you can adapt. Let's imagine we want to make a star twinkle.
You are an expert CSS animator specializing in clean, efficient keyframe animations. Your task is to animate a single element within an SVG I provide.

Here is my full HTML file. I want you to animate the element with the ID `#star-01`.

<!--
  PASTE YOUR ENTIRE HTML CODE FROM VS CODE HERE.
  THIS INCLUDES EVERYTHING FROM <!DOCTYPE html> to </html>.
-->

Please generate the CSS to animate this element according to the following brief:

- **Element to Animate:** `#star-01`
- **Movement Description:** I want the star to have a subtle, gentle twinkle effect. It should slowly fade to be slightly dimmer and smaller, then return to its original state.
- **Timing & Behavior:**
    - The full twinkle cycle should take 3 seconds.
    - The timing should feel smooth and gentle, so use an `ease-in-out` function.
    - The animation must loop forever (`infinite`).
- **Properties to Animate:** Please use the `opacity` and `transform: scale()` properties.

**Technical Constraints:**
- Generate ONLY the necessary CSS code. Do not include the HTML.
- The output should contain a new `@keyframes` rule for the twinkle animation.
- It should also include the CSS rule for the `#star-01` selector with the `animation` properties applied.
- Place all new CSS inside the existing `<style>` tag in the HTML head. Do not alter any other part of the file.
Your Task:
Adapt the template above for an element in your SVG. Decide on a simple first animation (a pulse, a fade, a small movement) and describe it. Then, copy your complete prompt (including your pasted HTML code) and submit it to Claude.
Conclusion
Congratulations! You've just taken a massive step from being a visual designer to an animation director who uses AI as a technical artist. You've learned that a well-structured prompt, much like a good creative brief, is the key to getting the results you want.
Key Takeaways:
- A basic understanding of the target technology (CSS
@keyframes) is essential for effective prompting. - Structured prompts that provide Role, Context, Brief, and Constraints are far more effective than simple, vague commands.
- Describing motion using a mix of semantic language ("twinkle") and specific parameters ("3 seconds," "ease-in-out") gives the AI a clear vision to execute.
You should now have a block of CSS code generated by Claude. In our next lesson, we will identify and read the @keyframes rule and animation properties in the CSS generated by Claude. We'll put on our technical hats, look "under the hood" at what the AI created, and understand how it works. This will be the foundation for learning how to refine and tweak the animation yourself.