Recommended resources
The freely available resources this lesson will direct you to.
Welcome back! In our last session, you successfully set up your digital workshop by installing VS Code and equipping it with essential extensions like Prettier, Live Server, and the Claude Code assistant. Your professional environment is now ready to go.
Today, we're going to fire up the tools and complete your first project cycle. We will create a simple one-page website, write a few lines of code, and run it on your own computer. This lesson will demystify what it means to "run code locally" and establish the fundamental workflow you'll use for every project, whether you're writing the code yourself or using suggestions from an AI.
Step 1: Create Your Project Workspace
As we discussed, the most crucial habit in development is to work within a dedicated project folder. Let's put that into practice.
- On your computer (e.g., on your Desktop or in your Documents), create a new folder. Let's call it
my-first-website. - Open VS Code.
- Go to the menu
File > Open Folder...and select themy-first-websitefolder you just created.
When VS Code loads, it will show your empty folder's name in the "Explorer" panel on the left. This is now your project's workspace. Everything you create for this project will live inside this folder.
Step 2: Create Your First HTML File
Web pages are built with HTML (HyperText Markup Language). Think of it as the skeleton that gives a page its structure and content—headings, paragraphs, images, and links. We need to create a file for this code.
In the VS Code Explorer panel, you'll see the name of your folder. Hover your mouse near it, and click the "New File" icon. Name the file index.html.
The name index.html is a universal convention. When a browser visits a website address (like www.example.com), the server automatically looks for a file named index.html to show as the homepage. By following this convention, our tools, like Live Server, will know exactly where to start.
Now, let's add some basic HTML structure. The video below shows a fantastic shortcut called Emmet that's built into VS Code, which generates this structure for you instantly.
How to Setup VS Code for HTML, CSS & JavaScript (Web Development 2026 Guide)
This short clip from PROROZ's web development setup guide demonstrates how to create a file and use Emmet.
Watch from the beginning of this clip to see how to create the index.html file. Then, pay close attention at the Emmet shortcut. Just type an exclamation mark (!) into your empty index.html file and press the Tab key. VS Code will automatically generate a standard HTML boilerplate for you.
After using the Emmet shortcut, your file should look something like this. I've changed the title and added a heading and paragraph inside the <body> tags for you. You can copy and paste this to make sure your file matches.
<!DOCTYPE html>
<html lang="en">
<head>
    <meta charset="UTF-8">
    <meta name="viewport" content="width=device-width, initial-scale=1.0">
    <title>My First Local Site</title>
</head>
<body>
    <h1>Hello from My Computer!</h1>
    <p>This website is running locally, not on the public internet.</p>
</body>
</html>
Save the file by pressing Ctrl+S (Windows) or Cmd+S (Mac).
Step 3: "Run the Code Locally"
This is the moment everything comes together. You have a project folder, an HTML file with some content, and the Live Server extension you installed in the last lesson. Now, let's run it.
Right-click on your index.html file in the VS Code explorer and select "Open with Live Server".
Your default web browser will open a new tab. Look at the address bar. It won't be a file:///... path. Instead, you'll see something like http://127.0.0.1:5500/index.html.
This is what "running locally" means.
127.0.0.1is a special IP address that always means "this computer." You'll also see it written aslocalhost.:5500is the "port number." Think of your computer as a large apartment building (127.0.0.1) and the port is the apartment number where your little web server is running.- Your browser is making a request to this local server, which then serves up your
index.htmlfile, just like a real web server on the internet would.
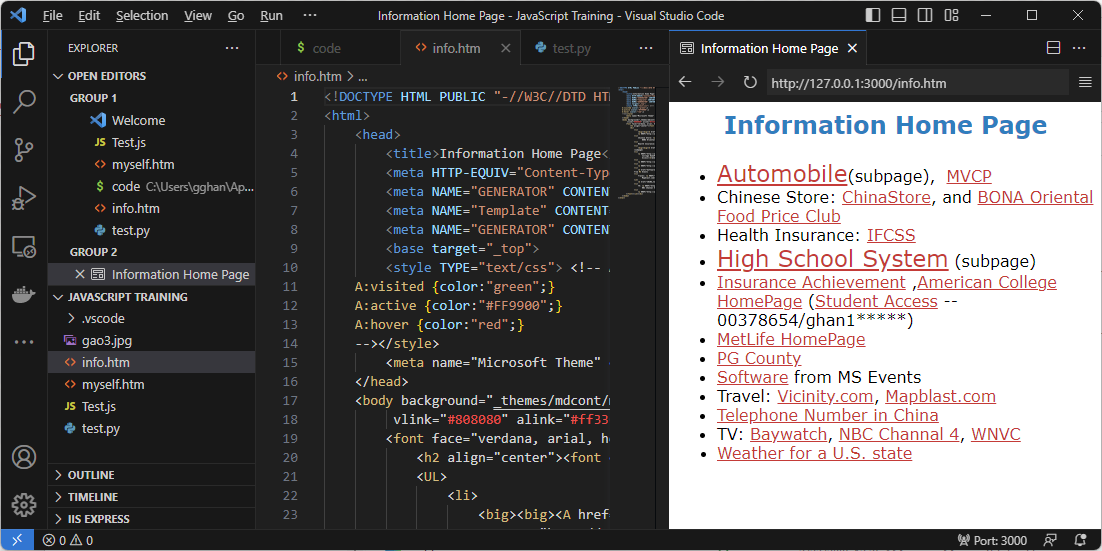
The image below perfectly illustrates this setup: your code editor on one side, and the rendered output being served from your local machine on the other.
Step 4: The Live Development Loop
The real magic of this setup is the immediate feedback. Let's try it.
- Arrange your windows so you can see both VS Code and your browser.
- In VS Code, change the text inside the
<h1>tag to something else, like<h1>Vibe Coding in Action</h1>. - Save the file.
The moment you save, the web page in your browser should automatically refresh to show the change. This is the edit-save-refresh loop, and it's the core of modern web development. It allows you to make small, incremental changes and see the results instantly, which is perfect for designing and prototyping.
How This Fits into "Vibe Coding"
You now understand the fundamental local workflow. When you ask Claude or ChatGPT to generate a UI component, it will give you a block of code. Your job is no longer a mystery:
- You'll take that HTML (and later, CSS and JavaScript) code.
- You'll paste it into the correct file (like
index.html) within your local project folder. - You'll save the file and look at your
localhostbrowser tab to see the result instantly.
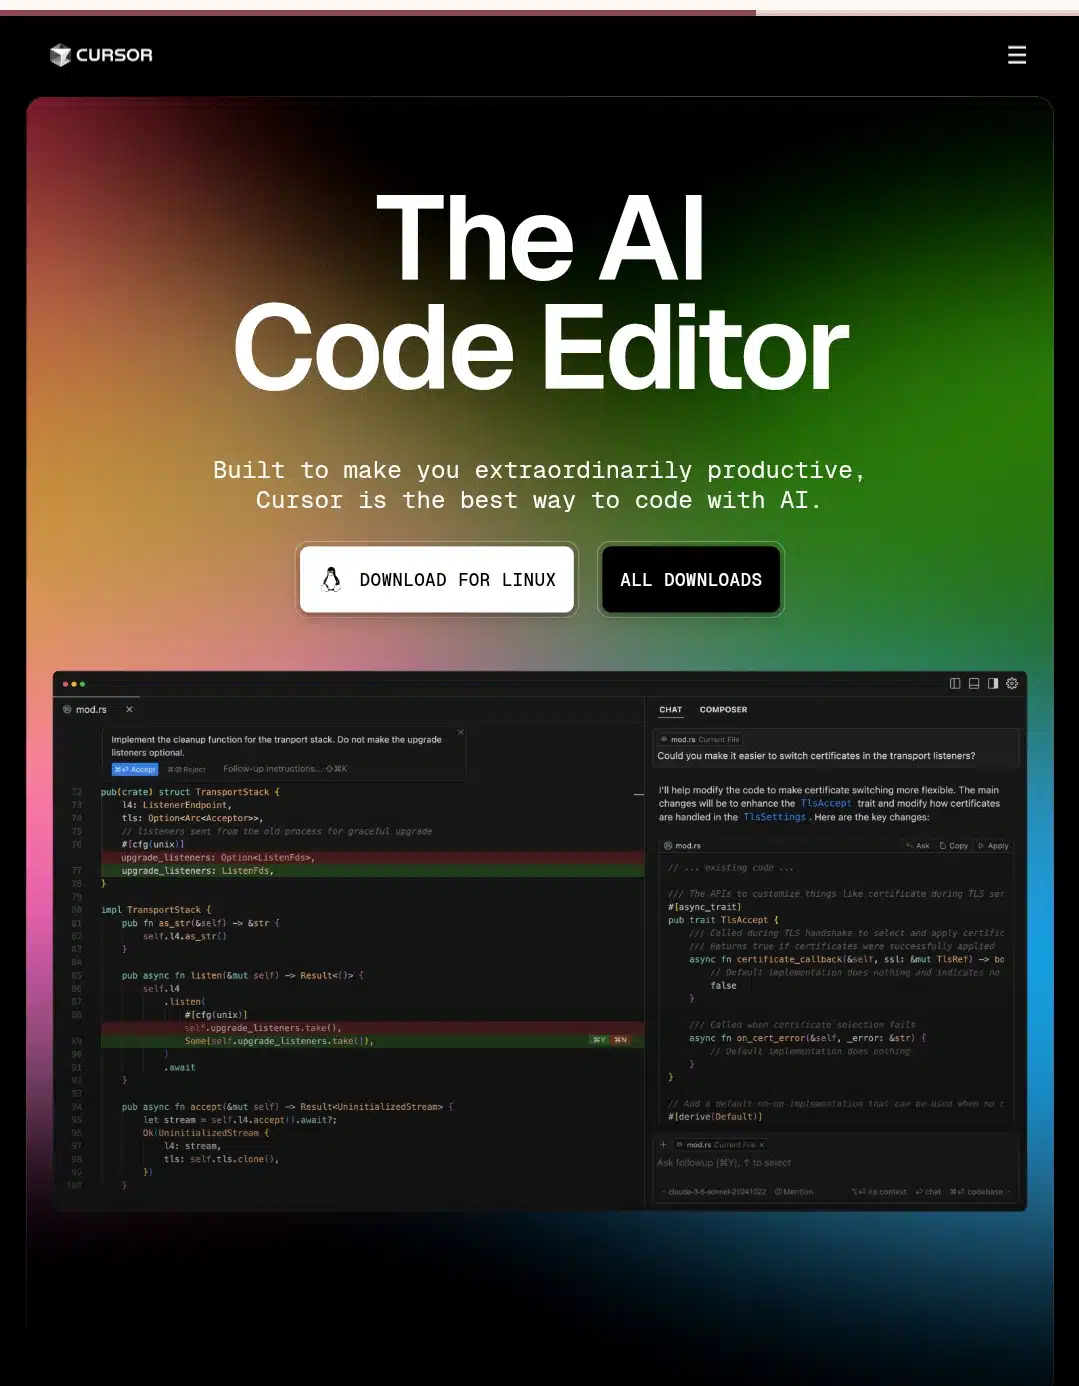
Editors like Cursor streamline this by building the AI chat directly into the editor, but the principle is identical. The AI places the code into your local files, and a local server shows you the result.
Conclusion
Congratulations on completing your first full development cycle! This is a foundational skill that bridges the gap between getting code from an AI and actually making something with it.
Key Takeaways:
- Every project lives in its own folder, which you open in VS Code.
index.htmlis the conventional name for a website's main page.- "Running locally" means using a tool like Live Server to create a web server on your own computer at a
localhost(or127.0.0.1) address. - The edit-save-refresh cycle provides instant feedback, which is crucial for iterating on designs.
You now have a functional "digital workshop" and you know how to operate it. However, as you use AI assistants more, you'll notice they frequently ask you to open a black window and type in commands like npm install or npm run dev. What is this window, and why is it necessary?
In our next lesson, we'll demystify the Terminal and commands like npm, explaining why they are the key to unlocking the power of modern web frameworks and libraries.