Recommended resources
The freely available resources this lesson will direct you to.
- Integrate React.js with Smart Contracts (read / write / events)www.youtube.com
- React / Ethereum Tutorial - Create your own ERC-20 crypto token with a simple front end.www.youtube.com
- Web3 Tutorial: build DApp with Hardhat, React and Ethers.jsdev.to
- End-to-end guide to creating an ERC-20 token-specific DAppwww.albertobas.com
Hello! Welcome back to our journey into building a dApp frontend.
In the last lesson, we built a robust WalletCard component. Our React application can now securely connect to a user's MetaMask wallet, display their address and ETH balance, and react gracefully to account or network changes. This was a crucial first step in bridging the gap between a standard web app and the decentralized world.
Today, we take the next logical step: interacting with our own custom smart contract. While displaying the ETH balance is useful, the core of our dApp is the ERC-20 token we built. This lesson will teach you how to read data directly from that deployed token contract. By the end, our application will be able to display the token's name, symbol, total supply, and, most importantly, the connected user's personal token balance.
1. The Two Keys to Contract Interaction
To communicate with any smart contract from a frontend application, you need two essential pieces of information:
- The Contract Address: This is the unique address on the Ethereum blockchain where your contract was deployed. Think of it as the API endpoint for your contract. You should have this address from when you deployed your token contract in Module 4.
- The ABI (Application Binary Interface): The ABI is a JSON file that acts as a guide or "API documentation" for your smart contract. It describes all the available functions (
name,balanceOf,transfer, etc.), their parameters, and what they return. Theethers.jslibrary uses the ABI to understand how to format requests to the smart contract and interpret its responses.
You can find the full ABI for your compiled contract within your Hardhat project directory at artifacts/contracts/YourToken.sol/YourToken.json. Inside that file, there's a key named "abi", which contains the array we need.
2. Setting Up a Component to Read Contract Data
Let's start by structuring our code. We'll create a new React component responsible for reading and displaying our token's information. A helpful article from dev.to outlines this exact process. We'll follow its structure to build our component.
Web3 Tutorial: build DApp with Hardhat, React and Ethers.js
This article, 'Web3 Tutorial: build DApp with Hardhat, React and Ethers.js', provides a clear, step-by-step guide to creating a React component that reads data from an ERC-20 contract. We'll use its approach as a foundation.
Please read the introduction and the first three tasks ('Task 4', 'Task 4.1', and 'Task 4.2'). Focus on: The overall goal: allowing users to interact with a deployed ERC-20 token. The creation of a new, dedicated component (ReadERC20.tsx). The concept of the 'human-readable ABI' format, which is a simplified way to define the ABI for ethers.js.
As the article explains, the first steps are to create the component and provide it with the necessary ABI. While you can use the full ABI from your Hardhat artifacts, the "human-readable ABI" is often sufficient and easier to manage for well-known interfaces like ERC-20.
3. Reading Data with Ethers.js
With the address and ABI, we can now create an ethers.js Contract object. This object represents our specific smart contract and is the primary tool we'll use to interact with it.
The constructor looks like this:const erc20 = new ethers.Contract(address, abi, provider);
address: Your token contract's deployed address.abi: The Application Binary Interface.provider: Anethers.jsprovider, which we already set up in ourWalletCardto connect to MetaMask.
Once you have this contract object, you can call any of the read-only functions defined in the ABI as if they were methods on the object, for example, contract.symbol() or contract.totalSupply().
The article we just looked at continues by showing exactly how to implement this.
Web3 Tutorial: build DApp with Hardhat, React and Ethers.js
Let's continue with the same article to see how to use the contract object to fetch data inside a React useEffect hook.
Now, read both sections titled 'Task 4.3'. The first shows how to query for general token info like totalSupply and symbol. The second shows how to query for the user-specific balance using balanceOf. Important Note: The article uses ethers.utils.formatEther() for formatting balances. This assumes the token has 18 decimals, just like ETH. For a generic ERC-20 token, the correct approach is to first call the decimals() function on the contract and then use ethers.utils.formatUnits(balance, decimals) for accurate formatting. We will implement this corrected logic in our code.
4. A Visual Walkthrough
Reading about it is one thing; seeing it in action solidifies the concepts. The following video provides a concise demonstration of these steps: creating a contract instance and calling its functions to get token info and a user's balance.
Integrate React.js with Smart Contracts (read / write / events)
The video 'Integrate React.js with Smart Contracts' by Artur Chmaro will give us a practical look at the concepts we've just read about.
Please watch from 05:13 to 08:05 and then from 10:10 to 13:52. Focus on: How the ABI is added to the project and explained as a 'schema'. The creation of the ethers.Contract instance. The asynchronous calls to name(), symbol(), and totalSupply(). How the balanceOf() function is called with the current user's address to get a specific balance.
This walkthrough should make the flow feel much more concrete: get the ABI, create the contract object, and call its methods to read data from the blockchain.
5. Integrating a TokenInfo Component
Now, let's put it all together in our own application. We will create a TokenInfo.tsx component that fetches and displays the data for our ERC-20 token.
First, we need to make a small adjustment to our App.tsx and WalletCard.tsx files to share the connected account's state.
-
Modify
WalletCard.tsx: We'll lift the state up. The component will now receive theaccount,setAccount, etc., as props instead of managing them internally.Update your
src/WalletCard.tsxto match this:// src/WalletCard.tsx (Updated) import { ethers } from 'ethers'; import './WalletCard.css'; interface WalletCardProps { account: string | null; setAccount: (account: string | null) => void; balance: string | null; setBalance: (balance: string | null) => void; errorMessage: string | null; setErrorMessage: (message: string | null) => void; } const WalletCard = ({ account, setAccount, setBalance, setErrorMessage }: WalletCardProps) => { const connectHandler = async () => { /* ... connectHandler logic remains the same ... */ }; const getAccountBalance = async (accountAddress: string) => { /* ... getAccountBalance logic remains the same ... */ }; // The useEffect for listeners also remains largely the same, but now uses the props // useEffect(() => { ... }); -> Remove this from WalletCard.tsx, we will move it to App.tsx return ( <div className='wallet-card'> {/* ... The JSX for the component remains the same ... */} </div> ); }; export default WalletCard;Note: We are removing the
useEffectfromWalletCardand will place a similar logic inApp.tsxto manage the state at a higher level. -
Update
App.tsxto manage state:// src/App.tsx (Updated) import { useState, useEffect } from 'react'; import './App.css'; import WalletCard from './WalletCard'; import TokenInfo from './TokenInfo'; import { ethers } from 'ethers'; function App() { const [errorMessage, setErrorMessage] = useState<string | null>(null); const [account, setAccount] = useState<string | null>(null); const [balance, setBalance] = useState<string | null>(null); useEffect(() => { const accountWasChanged = (accounts: string[]) => { /* ... */ }; const chainWasChanged = () => { window.location.reload(); }; if (window.ethereum) { window.ethereum.on('accountsChanged', accountWasChanged); window.ethereum.on('chainChanged', chainWasChanged); } return () => { if (window.ethereum) { window.ethereum.removeListener('accountsChanged', accountWasChanged); window.ethereum.removeListener('chainChanged', chainWasChanged); } }; }, []); return ( <div className="App"> <header className="App-header"> <h1>My Token dApp</h1> <WalletCard account={account} setAccount={setAccount} balance={balance} setBalance={setBalance} errorMessage={errorMessage} setErrorMessage={setErrorMessage} /> {account && <TokenInfo account={account} />} </header> </div> ); } export default App;Note: Fill in the logic for
accountWasChangedfrom the previous lesson'sWalletCard.tsxcode. -
Create
TokenInfo.tsx: This is our new component. Create a filesrc/TokenInfo.tsxand add the following code. Remember to replace'YOUR_CONTRACT_ADDRESS'with your actual deployed contract address.// src/TokenInfo.tsx import { useState, useEffect } from 'react'; import { ethers } from 'ethers'; import YourTokenABI from '../artifacts/contracts/YourToken.sol/YourToken.json'; // Adjust path as needed interface TokenInfoProps { account: string; } const TokenInfo = ({ account }: TokenInfoProps) => { const [tokenName, setTokenName] = useState<string>(''); const [tokenSymbol, setTokenSymbol] = useState<string>(''); const [totalSupply, setTotalSupply] = useState<string>(''); const [userTokenBalance, setUserTokenBalance] = useState<string>(''); // IMPORTANT: Replace with your actual contract address const contractAddress = 'YOUR_CONTRACT_ADDRESS'; useEffect(() => { if (window.ethereum && account) { const provider = new ethers.BrowserProvider(window.ethereum); const contract = new ethers.Contract(contractAddress, YourTokenABI.abi, provider); const fetchTokenData = async () => { const name = await contract.name(); setTokenName(name); const symbol = await contract.symbol(); setTokenSymbol(symbol); const decimals = await contract.decimals(); const supply = await contract.totalSupply(); setTotalSupply(ethers.formatUnits(supply, decimals)); const balance = await contract.balanceOf(account); setUserTokenBalance(ethers.formatUnits(balance, decimals)); }; fetchTokenData(); } }, [account]); // Re-run when account changes return ( <div className='token-info-card' style={{ border: '1px solid #ccc', borderRadius: '8px', padding: '20px', width: '350px', marginTop: '20px', backgroundColor: '#f9f9f9'}}> <h3 style={{marginTop: 0}}>Token Information ({tokenSymbol})</h3> <p><strong>Token Name:</strong> {tokenName}</p> <p><strong>Total Supply:</strong> {totalSupply}</p> <hr /> <h4>Your Balance</h4> <p><strong>Address:</strong> {`${account.substring(0, 6)}...${account.substring(account.length - 4)}`}</p> <p><strong>Tokens Owned:</strong> {userTokenBalance}</p> </div> ); }; export default TokenInfo;
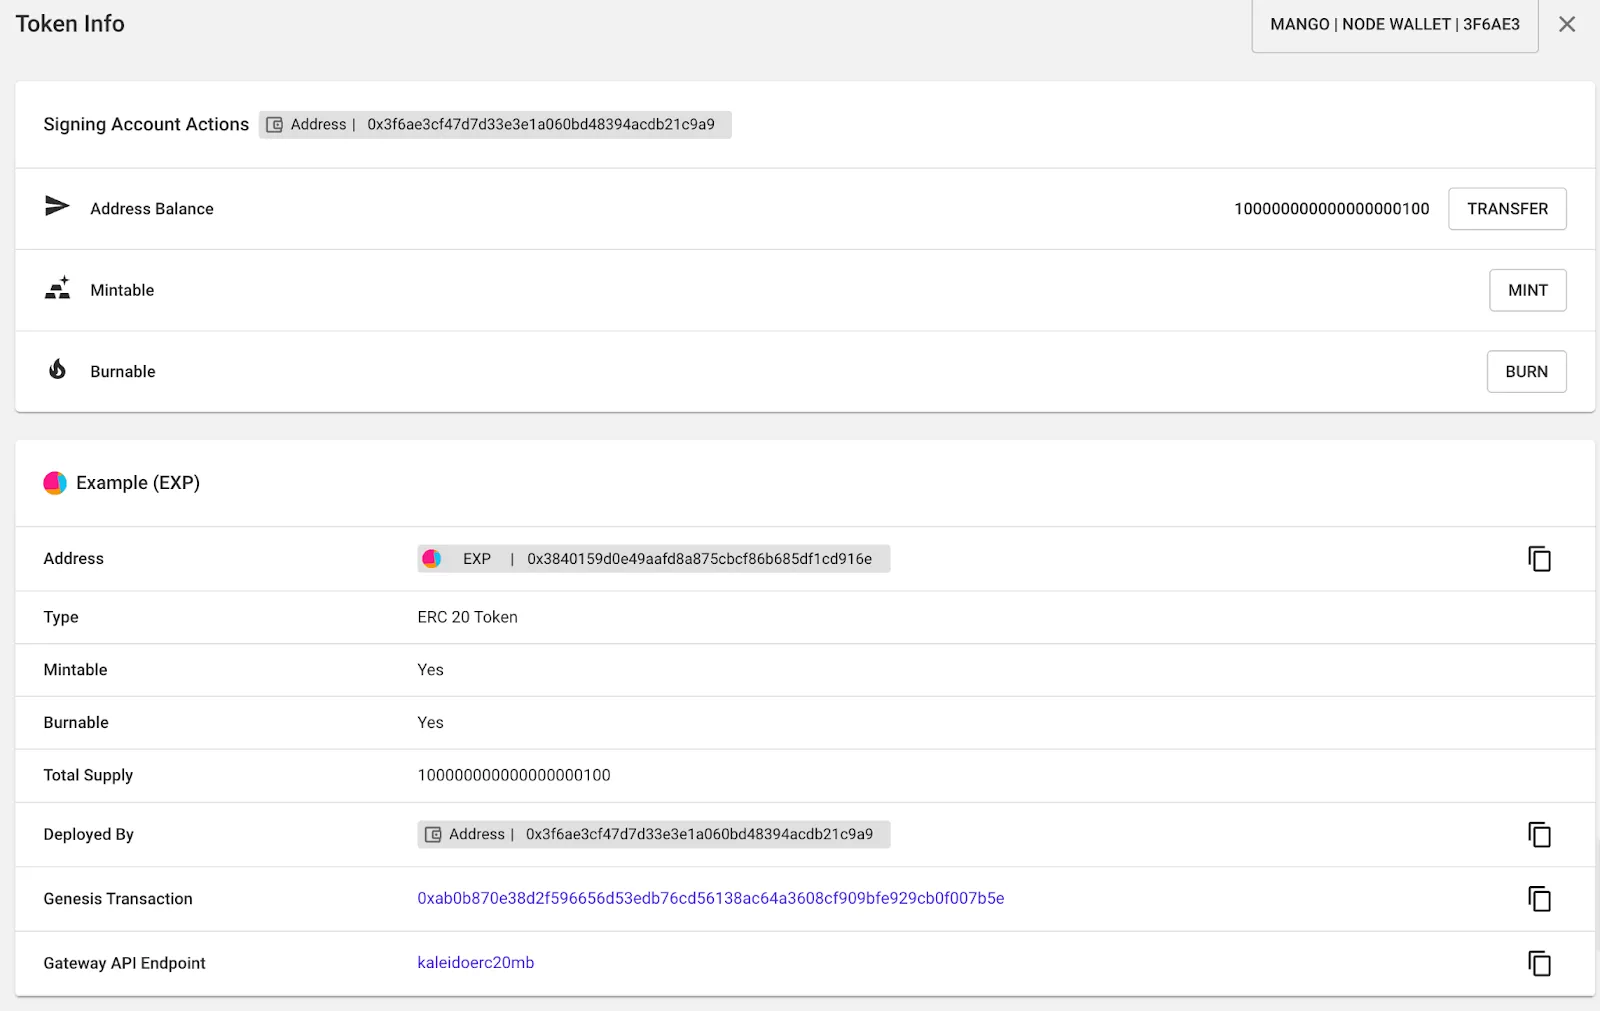
After adding these files and updating App.tsx, run your application. When you connect your wallet, you should now see a new card appear below the wallet card, displaying all the information read from your smart contract!
Test your understanding!
In our TokenInfo.tsx component, we call ethers.formatUnits(balance, decimals). What would happen if we accidentally used ethers.formatEther(balance) instead, and our token had 6 decimals instead of the standard 18?
Show answer
If our token has 6 decimals but we format the balance using formatEther, which hardcodes 18 decimals, the displayed balance would be wildly incorrect. It would be off by a factor of (18 - 6). For example, if a user actually owned 100 tokens, the dApp would display their balance as 0.0000000001 tokens. This highlights why it is critical to fetch the decimals() value from the contract itself and use formatUnits() for correct display logic.
Conclusion
Congratulations! Your dApp is no longer just a wallet connector; it's now a true client for your smart contract. You have successfully implemented the "read" part of the classic "read/write" paradigm for blockchain applications.
Key Takeaways:
- Interacting with a smart contract requires its address and ABI.
- The
ethers.Contractobject is the primary tool for frontend-to-contract communication. - Read-only functions on the contract can be called like asynchronous methods (e.g.,
await contract.name()). - Token amounts (like total supply and balances) are returned as
BigNumberand must be formatted usingethers.formatUnits()with the correct number ofdecimalsfor human readability. - Using React's
useEffecthook, we can fetch contract data when the component loads or when the user's account changes.
Preview of the Next Lesson:
We've mastered reading data. The next step is to let users change the state of the blockchain. In the next lesson, we will build a component for users to transfer tokens to another address. This will introduce us to writing to contracts, which involves signers and actual transactions that cost gas.