Recommended resources
The freely available resources this lesson will direct you to.
Hello! Let's get started on your next lesson.
In our last session, we built a foundational ERC-20 token by inheriting from OpenZeppelin's ERC20 contract. We saw that the constructor was the place to set the token's name and symbol, and we introduced the crucial concept of decimals for representing fractional token amounts.
Today, we will dive deeper into configuring your token's identity. The learning outcome for this lesson is to configure token metadata including its name, symbol, and decimals. These three pieces of information are fundamental to how your token is recognized and displayed across the entire Ethereum ecosystem, from wallets to exchanges.
1. Your Token's Identity: Name, Symbol, and Decimals
Every ERC-20 token has three key pieces of public-facing metadata that define its identity. While the ERC-20 standard lists them as optional, they are universally implemented and essential for any real-world token.
- Name: The full, human-readable name of the token (e.g., "Chainlink", "Uniswap"). This is what users will see in their wallet or on a decentralized application's interface.
- Symbol: The short, ticker symbol for the token (e.g., "LINK", "UNI"). This is typically 3-5 letters and is used on exchanges and block explorers for brevity. Choosing a unique and memorable symbol is important for branding.
- Decimals: Determines the token's divisibility for display purposes. It tells user interfaces (like MetaMask) how many places to put the decimal point when showing a user's balance.
These are exposed through public view functions on the contract: name(), symbol(), and decimals().
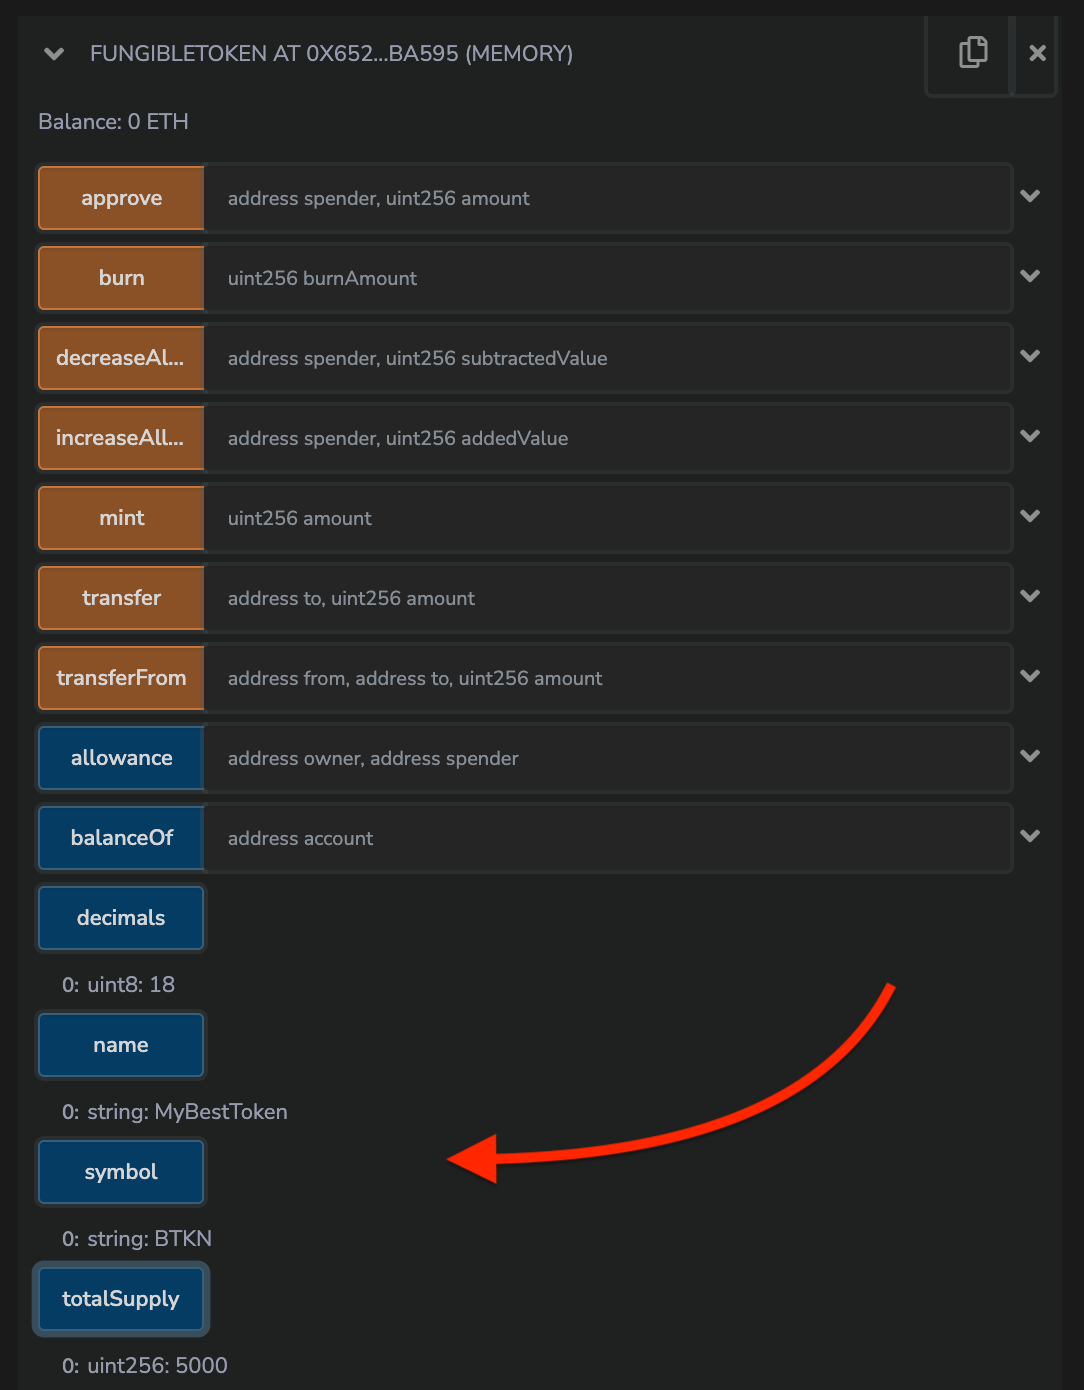
2. Setting the Name and Symbol
As we saw in the previous lesson, you set the name and symbol by passing them as arguments to the parent ERC20 contract's constructor.
Let's revisit the core structure of your token contract, focusing on that single line.
// contracts/MyToken.sol
// SPDX-License-Identifier: MIT
pragma solidity ^0.8.20;

import "@openzeppelin/contracts/token/ERC20/ERC20.sol";

contract MyToken is ERC20 {
    // The parent constructor is called here with the name and symbol
    constructor() ERC20("My Awesome Token", "MAT") {
        // Minting logic will go here
    }
}
When you deploy this contract, the ERC20 constructor from the OpenZeppelin library runs, storing "My Awesome Token" and "MAT" within the contract's state. The name() and symbol() functions simply return these stored values.
The OpenZeppelin documentation provides the most direct example of this. Let's examine their GLDToken example to see how it's done.
Find the GLDToken.sol code snippet and focus on the constructor line: constructor(uint256 initialSupply) ERC20("Gold", "GLD"). This is the mechanism for setting the name to 'Gold' and the symbol to 'GLD'.
Your background in object-oriented programming with languages like Java makes this concept of calling a parent constructor (super() in Java) a familiar one. Here, Solidity uses the ContractName(...) syntax right in the constructor definition.
3. Configuring Decimals
In the last lesson, we learned that decimals defaults to 18 in OpenZeppelin's ERC20 contract, which matches the divisibility of Ether itself. This is the standard for most tokens.
However, you might have reasons to change this. For example:
- Stablecoins: Tokens like USDC are pegged to real-world currency and often use fewer decimals to match. USDC uses 6 decimals.
- Simplicity: For some use cases, having 18 decimal places might be unnecessarily complex.
To change the default value, you must override the decimals() function from the parent ERC20 contract.
To change the number of decimals, you need to provide your own version of the decimals() function. The OpenZeppelin documentation explains this process precisely.
Read the section 'A Note on decimals', paying close attention to the end where it demonstrates how to override the decimals() function. Note the use of the public, view, virtual, and override keywords.
Let's build on our MyToken contract to create a token with 8 decimals.
// contracts/MyToken.sol
// SPDX-License-Identifier: MIT
pragma solidity ^0.8.20;

import "@openzeppelin/contracts/token/ERC20/ERC20.sol";

contract MyToken is ERC20 {
    constructor() ERC20("My Awesome Token", "MAT") {
        // We still need to mint some tokens
        // Notice we are using the decimals() function in our calculation
        _mint(msg.sender, 1000000 * (10 ** decimals()));
    }

    // Overriding the decimals function
    function decimals() public view virtual override returns (uint8) {
        return 8;
    }
}
A few key points about this override:
override: This keyword is mandatory. It tells the Solidity compiler that you are intentionally replacing a function from a parent contract.virtual: The originaldecimals()function in OpenZeppelin'sERC20.solis marked asvirtual, which is what allows us to override it in the first place. We keep it here so that another contract could potentially inherit fromMyTokenand overridedecimalsagain.10 ** decimals(): Notice how we mint the initial supply. By using thedecimals()function in our calculation, the code automatically adapts. It will now calculate1000000 * (10 ** 8)instead of1000000 * (10 ** 18). This makes your code more readable and robust.
ERC20 Token Tutorial | Create Your Own Cryptocurrency
Using the decimals() function directly in your code is a best practice. This short clip demonstrates this pattern in a Hardhat project, ensuring your token amounts are always calculated correctly, regardless of the decimal value.
Watch from 28:10 to 29:41. Focus on the syntax 70000000 * (10 ** decimals()). This is the standard pattern for handling token amounts in whole units, letting the contract do the math to convert to the smallest base unit.
Test your understanding!
You are creating a stablecoin called "Unity Dollar" with the symbol "UND". You decide it should have 6 decimals. Write the complete contract, inheriting from ERC20, and mint an initial supply of 50,000 tokens to the contract deployer.
Show answer
// SPDX-License-Identifier: MIT
pragma solidity ^0.8.20;

import "@openzeppelin/contracts/token/ERC20/ERC20.sol";

contract UnityDollar is ERC20 {
    constructor() ERC20("Unity Dollar", "UND") {
        // Mint 50,000 tokens, accounting for the 6 decimals.
        _mint(msg.sender, 50000 * (10 ** decimals()));
    }

    // Override the decimals function to return 6.
    function decimals() public view virtual override returns (uint8) {
        return 6;
    }
}
4. Verification: How Wallets Read Your Metadata
The metadata you configure isn't just for show in the code. It has a real, practical purpose. When you add a custom token to a wallet like MetaMask using its contract address, the wallet application calls the name(), symbol(), and decimals() functions on your contract to fetch this data. It then uses this information to display your token correctly to the user.
ERC20 Token Tutorial | Create Your Own Cryptocurrency
Let's see this process in action. After deploying a token to a testnet, you can add it to MetaMask. Watch how the wallet automatically detects the token's metadata.
Watch from 01:03:57 to 01:05:40. The presenter pastes the deployed contract address into MetaMask. Notice how the 'Token symbol' and 'Token decimal' fields are automatically populated by querying the contract. This is why setting the metadata correctly is so important.
This interaction is a fundamental part of how the decentralized ecosystem works. Your contract provides a standard, public API, and other applications use that API to interact with it in a predictable way.
Conclusion
In this lesson, you've learned how to configure the three core pieces of metadata that give your ERC-20 token its identity. This is a crucial step in making your token recognizable and usable within the broader Ethereum ecosystem.
Key Takeaways:
- Name and Symbol: These are set in the constructor by calling the parent
ERC20constructor (e.g.,ERC20("My Token", "MYT")). - Decimals: This determines token divisibility for display. While the default is 18, it can be customized by overriding the
decimals()function and returning a differentuint8value. - Best Practice: Always use the
decimals()function when calculating token amounts (e.g.,amount * (10 ** decimals())) to make your code robust and readable. - Ecosystem Integration: Wallets, explorers, and dApps read this metadata directly from your contract to display your token's information correctly.
Preview of the Next Lesson:
So far, we've only created tokens once, at the moment of deployment. But what if you want a flexible supply that can increase over time? In the next lesson, we will implement a minting function to create new tokens, controlled by an owner. This will introduce access control and give us a way to manage the token supply after the initial launch.