Recommended resources
The freely available resources this lesson will direct you to.
Hello! Welcome back to our course on building your own cryptocurrency.
In our last few lessons, we've built a fully-featured ERC-20 token contract. It has a name, a symbol, a minting function controlled by you (the owner), and a burning function for holders to destroy their tokens. All this work, however, has been confined to our local development environment.
Today, we take a massive step forward. We are going to deploy our token to a public Ethereum testnet. This will make it "live" on a blockchain that anyone in the world can interact with. Your learning outcome for this lesson is to write a Hardhat script to deploy your ERC-20 token to a testnet.
This process is analogous to deploying a backend application from your local machine to a cloud server. Just as you'd push your code to a platform like AWS or Heroku to make it publicly accessible, we will push our smart contract's compiled code to the Sepolia test network.
1. Understanding Testnets and Deployment
Before we start, let's clarify what a "testnet" is. Ethereum has a main network, or "mainnet," where transactions have real financial value. Deploying there is the final step for a real project. To avoid costly mistakes, developers use testnets.
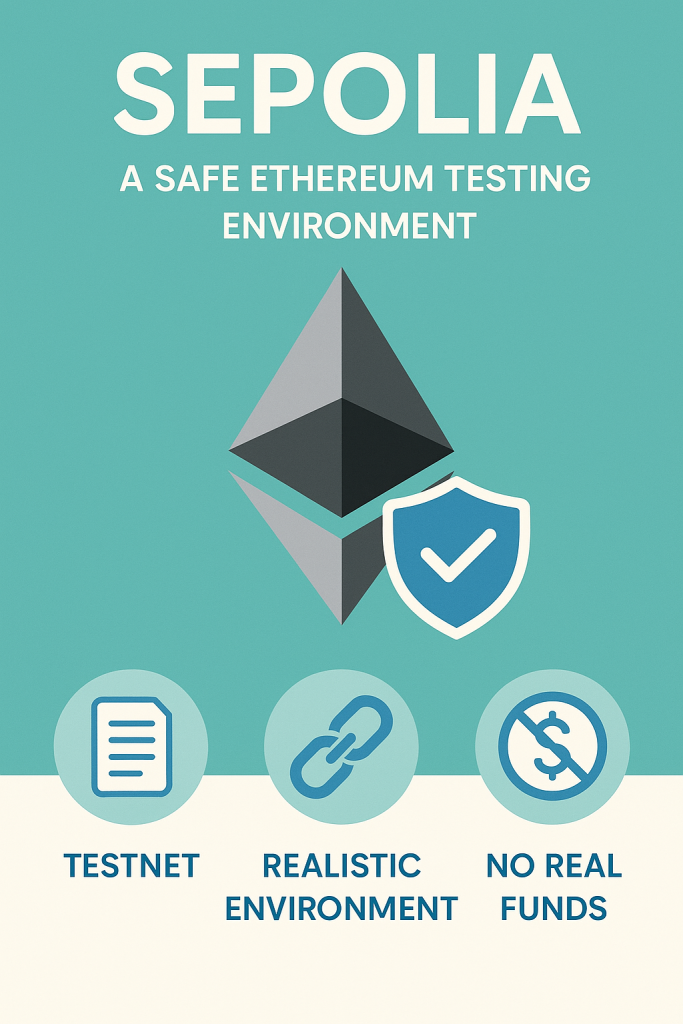
To deploy our contract, we need three key things:
- A Network Endpoint: A URL that connects us to an Ethereum node, which is our gateway to the blockchain network. We will use a service like Infura or Alchemy for this.
- A Funded Account: An Ethereum account (your MetaMask wallet) containing some Sepolia testnet ETH. This is needed to pay the "gas fee" for the deployment transaction.
- A Deployment Script: A program that instructs Hardhat to send our compiled contract code to the network.
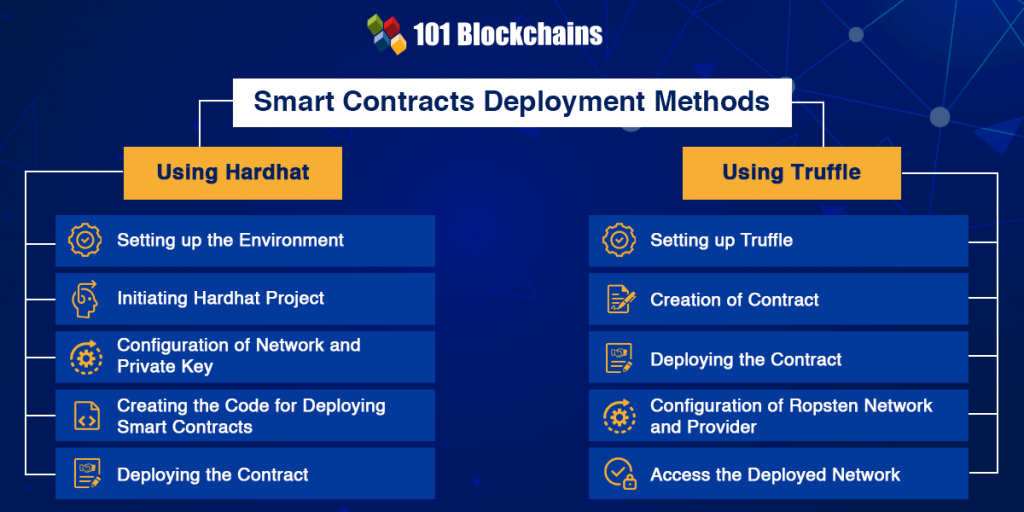
2. Configuring the Deployment Environment
To deploy, we first need to configure our Hardhat project to securely handle our private key and the network connection details.
A. Storing Secrets with .env
We must never hard-code sensitive information like private keys directly into our scripts. This is a major security risk. As a backend developer, you're likely familiar with using environment variables for this, and we'll do the same here using a .env file.
First, install the dotenv package to allow Hardhat to read this file:
npm install dotenv
Next, create a new file named .env in the root of your token-build project folder. Inside this file, add the following two variables:
SEPOLIA_RPC_URL=""
PRIVATE_KEY=""
Now, let's get the values for these variables. The following guide provides clear, step-by-step instructions with screenshots.
Deploying ERC20 Token With Hardhat: A Step-by-Step Guide
This article, 'Deploying ERC20 Token With Hardhat,' will walk you through getting your MetaMask private key and a Sepolia endpoint URL from Infura. These are the two essential pieces of information we need.
Follow the instructions in the sections 'Getting your MetaMask Private Key' and 'Getting Sepolia Endpoint in Infura'. Once you have your key and endpoint URL, copy and paste them into your .env file. Crucially, never share your private key with anyone or commit it to a public repository.
After following the guide, your .env file should look something like this (with your actual key and URL):
SEPOLIA_RPC_URL="https://sepolia.infura.io/v3/your-infura-api-key"
PRIVATE_KEY="your-metamask-private-key"
B. Configuring Hardhat for Sepolia
Now we need to tell Hardhat about the Sepolia network. Open your hardhat.config.ts file and modify it to import the dotenv package and add a sepolia network configuration.
Your final hardhat.config.ts should look like this:
import { HardhatUserConfig } from "hardhat/config";
import "@nomicfoundation/hardhat-toolbox";
import "dotenv/config"; // Import dotenv config

const SEPOLIA_RPC_URL = process.env.SEPOLIA_RPC_URL || "https://sepolia.infura.io/v3/your-infura-api-key";
const PRIVATE_KEY = process.env.PRIVATE_KEY || "your-metamask-private-key";

const config: HardhatUserConfig = {
  solidity: "0.8.20", // Ensure this matches your contract's pragma
  networks: {
    sepolia: {
      url: SEPOLIA_RPC_URL,
      accounts: [PRIVATE_KEY],
    },
  },
};

export default config;
This configuration does two things:
- It loads the variables from your
.envfile. - It defines a new network named
sepolia, telling Hardhat to use your Infura/Alchemy URL and sign transactions with your private key when deploying to this network.
3. Writing the Deployment Script
With our configuration ready, we can write the script that will actually deploy the token. Hardhat projects created with npx hardhat init come with a scripts/ directory. If you have a deploy.ts file there from the initialization, you can modify it. Otherwise, create a new file at scripts/deploy.ts.
Paste the following code into scripts/deploy.ts:
import { ethers } from "hardhat";

async function main() {
  console.log("Deploying contract...");

  // Get the contract factory for our MyToken contract
  const myTokenFactory = await ethers.getContractFactory("MyToken");

  // Start the deployment process
  const myToken = await myTokenFactory.deploy();

  // Wait for the deployment to be confirmed on the network
  await myToken.waitForDeployment();

  // Log the address of the newly deployed contract
  const contractAddress = await myToken.getAddress();
  console.log(`MyToken deployed to: ${contractAddress}`);
}

// We recommend this pattern to be able to use async/await everywhere
// and properly handle errors.
main().catch((error) => {
  console.error(error);
  process.exitCode = 1;
});
Let's break this down:
ethers.getContractFactory("MyToken"): This function fromethers.js(which is integrated into Hardhat) finds the compiled bytecode and ABI for ourMyTokencontract. It creates a "factory" object that knows how to create new instances of this contract.myTokenFactory.deploy(): This is the line that does the magic. It sends the deployment transaction to the network. If our constructor required arguments (like an initial supply), we would pass them here, e.g.,myTokenFactory.deploy(1000000).myToken.waitForDeployment(): This pauses the script until the transaction is successfully mined and our contract is officially on the blockchain.myToken.getAddress(): This retrieves the permanent address assigned to our contract on the Sepolia testnet.
For a video walkthrough of creating the .env file, updating the config, and writing this deploy script, the following resource is excellent.
ERC20 Token Tutorial | Create Your Own Cryptocurrency [2025]
This video, 'ERC20 Token Tutorial', shows the full deployment process. Watching this will help solidify your understanding of how the configuration and the script work together.
Watch from 04:38 to 08:24 to see the .env and configuration setup. Then, watch from 12:18 to 14:38 to see the deployment script being created and explained. The video uses a constructor with an initial supply, but our script above is correct for our contract which does not have this argument.
4. Launch! Deploying the Token
Everything is in place. You have your secrets in .env, your hardhat.config.ts is configured, and your deploy.ts script is ready.
Before running the command, ensure you have some Sepolia ETH in the wallet corresponding to your PRIVATE_KEY. If you need more, you can use a faucet like sepoliafaucet.com.
Now, run the following command in your terminal from the token-build directory:
npx hardhat run scripts/deploy.ts --network sepolia
Let's dissect this command:
npx hardhat run: The standard command to execute a script using Hardhat.scripts/deploy.ts: The path to the script we want to run.--network sepolia: This is the crucial part. It tells Hardhat to use thesepoliaconfiguration we defined inhardhat.config.tsinstead of the default local network.
After a few moments, you should see an output like this:
Deploying contract...
MyToken deployed to: 0xAbC...123
Congratulations! You have successfully deployed your first smart contract to a public blockchain. The address you see is the permanent home of your token on the Sepolia testnet. Be sure to copy and save it somewhere safe.
Test your understanding!
Suppose you wanted to deploy the same contract to a different testnet, like "Goerli". What two changes would you need to make in your project to accomplish this?
Show answer
- Update the
.envfile: You would need to add variables for the Goerli network, such asGOERLI_RPC_URL. You would get this URL from your Infura/Alchemy dashboard, just as you did for Sepolia. - Update
hardhat.config.ts: You would add a new network object forgoerliinside thenetworksconfiguration, pointing to your new environment variables. You would then run the deployment command with--network goerli.
Conclusion
In this lesson, you accomplished a major milestone in your blockchain development journey. You bridged the gap between local development and the live blockchain environment.
Key Takeaways:
- Testnets like Sepolia are essential for safely testing smart contracts before a mainnet launch.
- Sensitive data like private keys and API keys must be stored securely in an
.envfile, never in your code. - The
hardhat.config.tsfile is where you define network connections, specifying the RPC URL and the deploying account. - A deployment script uses
ethers.jsto get a contract factory and deploy an instance of your contract. - The command
npx hardhat run <script> --network <network-name>is used to execute deployment to a specific live network.
Preview of the Next Lesson:
Our token is now live on a testnet, but how can we prove it? How can we see its total supply, check our balance, or send it to a friend? In the next lesson, we will learn how to verify the deployed token's functionality on a testnet block explorer, using tools like Etherscan to interact with and inspect our live contract.