Recommended resources
The freely available resources this lesson will direct you to.
Hello! Welcome back to our journey into the world of Decentralized Finance.
In our last few lessons, you've achieved significant milestones: you created a liquidity pool for your token on Uniswap and built a staking contract to reward your liquidity providers. Your token is now fully integrated into the on-chain economy. But so far, all interactions have been manual, through a UI or a contract deployment script.
Today, we'll bridge the gap between your smart contracts and automated, off-chain logic. Your goal is to write a script to interact with the Uniswap router to swap tokens programmatically. This is a fundamental skill for building trading bots, backend services for dApps, or any system that needs to execute trades automatically. We will essentially be building the engine that powers the user interface you see on sites like Uniswap.
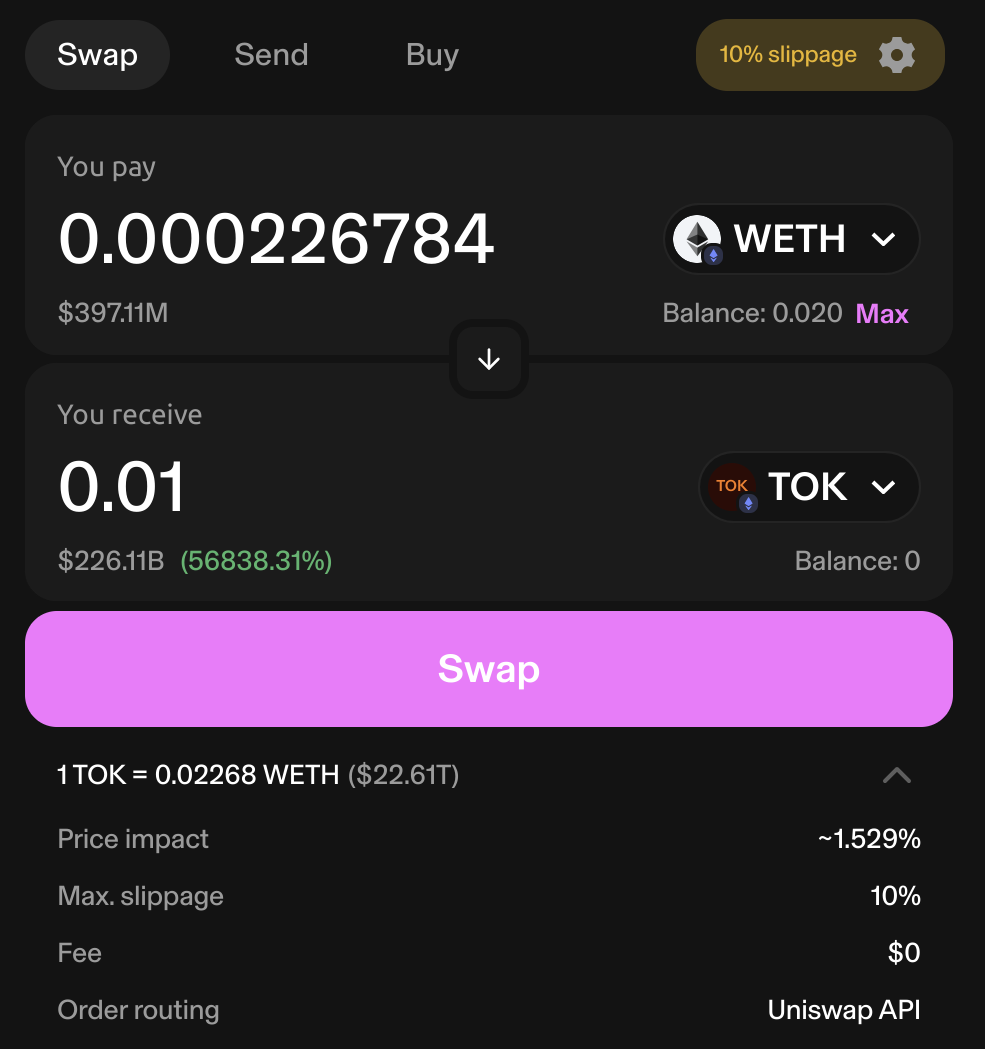
The Anatomy of a Programmatic Swap
Interacting with a complex protocol like Uniswap from a script can seem daunting, but it breaks down into a clear, logical sequence of steps. Given your backend development experience, you can think of this as calling a series of API endpoints, but instead of HTTP requests, we're sending transactions to the blockchain.
The core process for a simple swap involves four main stages:
- Setup: Configure your script to connect to the Ethereum network and access a wallet (a "signer") to send transactions.
- Approval: Grant the Uniswap Router smart contract permission to spend the tokens you want to swap. This is a standard ERC-20 token interaction.
- Parameter Assembly: Gather all the necessary data for the swap, such as the input token, output token, fee tier, and amount.
- Execution: Call the
exactInputSinglefunction on the Uniswap Router contract with the assembled parameters to perform the swap.
We'll use a combination of a detailed article and a video walkthrough to master this process.
Step 1: Setting Up the Swap Script
First, let's set up a project environment. The following guide from Quicknode provides an excellent, self-contained example project for performing a swap on the Sepolia testnet. It uses modern JavaScript (import syntax) and ethers.js, which you are already familiar with from our Hardhat projects.
How to Swap Tokens on Uniswap V3
The Quicknode article 'How to Swap Tokens on Uniswap V3' provides a complete and well-structured project for us to study. We'll use this as our primary reference.
First, read the 'Project Set Up' section to understand how to get the code and configure your environment. Then, review 'Creating the Uniswap V3 Swap Script', 'Import Dependencies', and 'Set Up Constants'. This will familiarize you with the project's structure and the key contracts and tokens we'll be interacting with (WETH and USDC on Sepolia).
As the article explains, the script defines constants for crucial Uniswap contract addresses on the Sepolia network:
POOL_FACTORY_CONTRACT_ADDRESS: Used to find the address of a liquidity pool for a specific pair of tokens.SWAP_ROUTER_CONTRACT_ADDRESS: The main contract we interact with to execute swaps.QUOTER_CONTRACT_ADDRESS: A helper contract to get a price quote without executing a trade.
It also sets up the provider to communicate with the blockchain and the signer to represent your wallet and sign transactions.
Step 2: The Two-Transaction Dance: approve and swap
A common point of confusion for newcomers is that swapping an ERC-20 token is a two-step process requiring two separate transactions:
approve(): You call theapprovefunction on the token contract you want to spend (e.g., WETH). You tell it to grant an "allowance" to the Uniswap Router contract, permitting it to withdraw up to a certain amount of your tokens.exactInputSingle(): You call a function on the Uniswap Router contract. The router then uses the allowance you just granted to pull the input tokens from your wallet and execute the swap.
Let's see how the approval function is implemented.
How to Swap Tokens on Uniswap V3
Let's continue with the Quicknode guide to see the approval logic in action.
Read the section 'Set Up Token Approval'. Pay close attention to the approveToken function. Notice that the transaction is sent to the token's address (tokenAddress), not the router, and the SWAP_ROUTER_CONTRACT_ADDRESS is passed as an argument to the approve call.
Test your understanding!
You write a script to swap 1 WETH for USDC. You approve the Uniswap Router to spend a large amount of your WETH (e.g., 100 WETH). The swap for 1 WETH is successful.
The next day, you run the script again to swap another 0.5 WETH. Do you need to call the approve function again? Why or why not?
Show answer
No, you do not need to call approve again. The ERC-20 approve function grants an allowance, which is the total amount the spender is allowed to withdraw over time. It's not a single-use permission. Since you approved 100 WETH and only spent 1 WETH, the router still has an allowance of 99 WETH it can use for future swaps. You would only need to approve again if you tried to swap more than the remaining allowance.
Step 3: Executing the Swap with exactInputSingle
Once the router is approved, we can execute the trade. We will use the exactInputSingle function on the Swap Router. The name is descriptive:
exactInput: We specify the exact amount of the input token we want to sell.Single: The swap happens within a single liquidity pool (no multi-hop routing).
To see this entire process in a dynamic format, the following video provides a great visual walkthrough of building a similar script.
Swap tokens on Uniswap V3 with code, programmatically | A beginners guide with EthersJs & JavaScript
The video 'Swap tokens on Uniswap V3 with code' from Blockman Codes provides an excellent, step-by-step demonstration of building a swap script. It reinforces the concepts from the article.
Watch from 17:43 to 31:27. This covers both the crucial approval step (17:43 - 24:56) and the assembly and execution of the exactInputSingle function call (24:56 - 31:27). Notice how the parameters for the swap are carefully constructed into an object.
As both resources show, the exactInputSingle function requires a parameters object. Let's look at the key fields:
tokenIn: The address of the token you are selling.tokenOut: The address of the token you are buying.fee: The fee tier of the liquidity pool (e.g., 3000 for 0.3%).recipient: The address that will receive the swapped tokens.deadline: A timestamp after which the transaction will fail. This is a safety measure to prevent your transaction from being stuck in the mempool and executing much later at a bad price.amountIn: The exact amount of the input token you are selling, in its smallest unit (e.g., wei for ETH).amountOutMinimum: Your slippage protection. You are telling the router to revert the transaction if it cannot get you at least this minimum amount of output tokens. This is critical for protecting against price volatility.sqrtPriceLimitX96: An advanced feature for price limits, which can be safely set to 0 for most simple swaps.
Step 4: Putting It All Together
Now, let's look at how the Quicknode guide combines all these pieces into a final, executable script.
How to Swap Tokens on Uniswap V3
The final sections of the guide integrate all the functions into a coherent main function that executes the swap from start to finish.
Read the remaining sections: 'Get Pool Details', 'Fetch Quote Before Swap', 'Create a Swap Transaction', and 'Execute the Swap'. Pay special attention to the main function, which shows the exact sequence of operations: approve -> get pool info -> get quote -> prepare params -> execute swap.
The sequence is logical:
- Approve the router to spend the input token.
- Get Pool Info to find the correct liquidity pool contract.
- Fetch Quote from the
Quotercontract. This is a best practice that lets you check the expected price before committing to a transaction. - Prepare & Execute Swap by calling
exactInputSingleon theSwapRouterwith all the required parameters.
From Standalone Script to Hardhat Task
The examples we've studied use standalone Node.js scripts. In your development workflow, you'll often want to integrate this logic into your Hardhat project. You can easily convert this script into a Hardhat task. The core ethers.js logic for approving and swapping remains identical. The main change is how you get your provider and signer.
Here's a template for how you might structure this as a Hardhat task in your hardhat.config.js file:
// In your hardhat.config.js or a separate tasks file

task("swap-tokens", "Swaps a specified amount of WETH for USDC on Sepolia")
  .addParam("amount", "The amount of WETH to swap")
  .setAction(async (taskArgs, hre) => {
    const { ethers } = hre;
    const amountIn = ethers.parseEther(taskArgs.amount);

    // Your signer is now retrieved from Hardhat's environment
    const [signer] = await ethers.getSigners();

    console.log(`Swapping ${taskArgs.amount} WETH for USDC with account: ${signer.address}`);

    // --- All of the logic from the Quicknode guide goes here ---
    // 1. Define contract addresses and ABIs
    // 2. Create contract instances (using the Hardhat signer)
    // 3. Call approveToken()
    // 4. Call getPoolInfo()
    // 5. Call quoteAndLogSwap()
    // 6. Call prepareSwapParams() and executeSwap()
    // ...etc.

    console.log("Swap complete!");
  });
This approach allows you to run your swap logic directly from the command line within your project context, like so: npx hardhat swap-tokens --amount 0.01 --network sepolia.
Conclusion
You have now learned how to programmatically interact with one of the most important protocols in DeFi. This ability to automate on-chain actions from an off-chain script is a powerful tool in any blockchain developer's arsenal.
Key Takeaways:
- A programmatic token swap on Uniswap V3 is a multi-step process: setup, approve, assemble parameters, and execute.
- The swap itself is typically a two-transaction process: an
approvecall on the token contract, followed by aswapcall on the router contract. - The
exactInputSinglefunction is the primary method for executing a simple, single-pool swap. - Using parameters like
deadlineandamountOutMinimumis crucial for writing safe and robust swap scripts. - This logic can be implemented as a standalone script or cleanly integrated into your Hardhat project as a task.
Preview of the Next Lesson:
Your token is now live, liquid, incentivized, and programmatically tradable. The technical foundation is complete. However, for users to discover and trust your token, they need to find it on reputable data aggregators. In the final lesson of this module, we will cover the process of listing your token on information platforms like CoinGecko or CoinMarketCap, a vital step in launching any token project.