Hello! Welcome to our lesson on creating a Bill of Materials.
In our last session, we learned how to structure a design review presentation to communicate and justify our engineering decisions. One of the most critical documents that supports a design review, especially as you move towards manufacturing, is the Bill of Materials, or BOM. It's the master list of everything needed to build your product.
Today, your learning outcome is to develop a preliminary Bill of Materials (BOM) with part specifications. This is a fundamental skill in product design that bridges the gap between your digital CAD model and the real-world activities of purchasing, manufacturing, and assembly. Mastering this will be another key step toward your goal of simulating a professional engineering workflow.
This lesson marks the end of our "Engineering Workflow and System Design" module. With this final piece in place, you'll be fully equipped to start your first portfolio project.
1. The Anatomy of a Bill of Materials
At its core, a Bill of Materials is the "recipe" for an assembly. It is a comprehensive list of all the raw materials, sub-assemblies, intermediate assemblies, sub-components, parts, and the quantities of each needed to manufacture a product.
For a design engineer, the BOM serves several critical functions:
- Procurement: It tells the purchasing department exactly what to buy.
- Cost Estimation: It's the foundation for calculating the cost of a product.
- Manufacturing: It provides the part list for the assembly team.
- Communication: It ensures everyone, from engineering to supply chain, is working from the same information.
To get a practical sense of how a BOM is organized, let's look at an industry-focused guide.
How to Build a Bill of Materials | BOM Best Practices
The article 'How to Build a Bill of Materials' from Fictiv provides an excellent breakdown of a BOM's structure from a practical, hardware-development perspective.
Please read the first section, 'Anatomy of a Basic Bill of Materials'. Pay close attention to the table that shows how BOM items are categorized. This reflects how different teams in a company interact with the BOM.
As you can see from the reading, a BOM isn't just a simple list. It's a structured document. Here are the essential columns you'll find in a preliminary engineering BOM:
- Part Number: A unique identifier for each item. This is the single source of truth for a part.
- Part Name / Title: A human-readable name for the part (e.g., "M5x20 Socket Head Cap Screw").
- Description: More detailed information, such as material, finish, or standard (e.g., "Alloy Steel, Black Oxide, DIN 912").
- Quantity: The number of this specific part required for one top-level assembly.
- Unit of Measure: How the quantity is measured (e.g., "each," "mm," "liters"). This is crucial for bulk items like adhesives or lubricants.
- Procurement Type / Source: Specifies whether the part is "make" (custom manufactured) or "buy" (purchased off-the-shelf).
Here is a visual example of a simple, clean BOM for an engineering project.

2. Best Practices for Professional BOM Management
Creating a BOM is straightforward, but maintaining a professional BOM that prevents costly errors requires discipline. As your designs evolve, so will your BOM. Adopting good habits early is essential.
How to Build a Bill of Materials | BOM Best Practices
Let's return to the Fictiv article to cover some best practices that are standard in industry.
Read the section 'Best Practices for Building a Bill of Materials'. Focus on understanding the concepts of part numbering schemes and the importance of document control (revision history).
Let's summarize the key takeaways that are most relevant to your work:
-
Establish a Part Numbering Scheme:
- Sequential: Simple and easy to implement (e.g., 100-001, 100-002...). The number itself contains no information.
- Intelligent: The number contains information about the part (e.g.,
SCR-05-020for a screw,BRK-AL-001for an aluminum bracket). This can be helpful but becomes complex to manage. - For your portfolio projects, a simple sequential system is a great starting point. The most important thing is that every unique part has a unique number.
-
Control Your Revisions:
- A BOM is a "living document." When you change a part, the BOM must be updated.
- Each time you release a BOM for a purpose (e.g., for a design review, for a prototype quote), it should have a revision number (e.g., Rev A, Rev B, or 1, 2, 3...).
- Keep a revision history log to track what changed, when, and why. This is crucial for traceability.
-
Differentiate "Make" vs. "Buy":
- Make: Parts you design from scratch and will be custom-manufactured (e.g., a mounting bracket, a custom housing). These parts will require a detailed engineering drawing.
- Buy: Off-the-shelf components you purchase from a supplier (e.g., screws, bearings, motors). These are typically identified by a manufacturer part number.
3. Developing a BOM in Onshape
Modern CAD platforms like Onshape have powerful, integrated BOM tools that automate much of this process. Because the BOM is linked directly to the assembly, it updates in real-time as you add, remove, or change parts. This eliminates the manual effort and potential for error that comes with managing a separate spreadsheet.
Let's explore how Onshape handles BOMs.
Bill of Materials (BOM) in CAD
This page on the Onshape website provides an overview of its BOM functionality. It highlights how an integrated BOM streamlines the design process.
Read the introduction 'What makes BOM’s integral to mechanical design?' and the 'Key Features' section, focusing on 'Real-Time Updates', 'Include Non-Geometry Items', and 'Custom Views'. Also, review the FAQ at the bottom, particularly the questions about display types and exporting.
In an Onshape assembly, you can open the BOM table at any time. It automatically populates with all the parts in your model. The key is to customize it to show the properties you need.
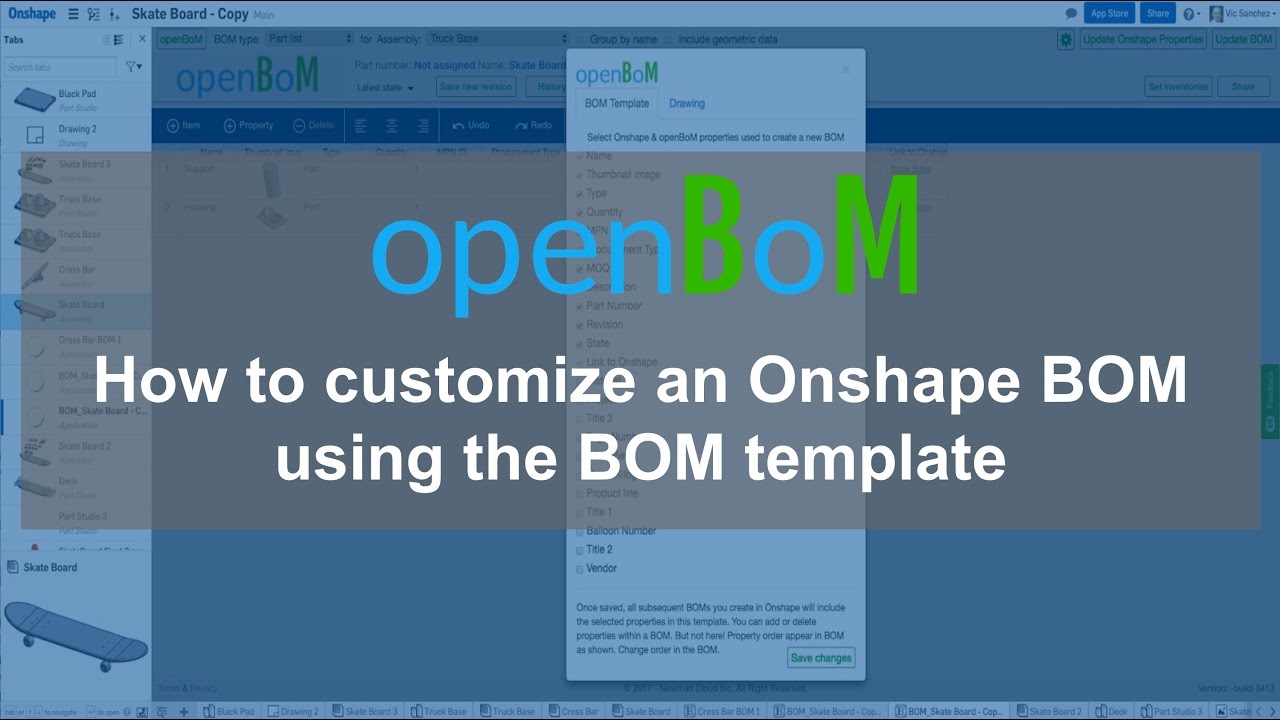
Here’s a typical workflow for creating a preliminary BOM in Onshape for a design review:
-
Assign Properties: For each part in your Part Studio (both custom and standard components), you must fill out its properties. Right-click the part in the Parts list and select "Properties." At a minimum, you should set the:
- Name: (e.g., "Motor Mount Bracket")
- Description: (e.g., "6061-T6 Aluminum, 5mm thick")
- Part Number: (e.g., "PM1-100-001")
- Vendor/Source: (e.g., "Make" or "McMaster-Carr")
-
Open the BOM Table: In your assembly tab, click the BOM icon on the right side of the screen.
-
Customize Columns: By default, the BOM might only show Item, Quantity, and Part Name. Use the dialog to add columns for Part Number, Description, Material, etc.
-
Manage Structure: You can choose different views:
- Flattened: Shows a total count of every single part, regardless of sub-assemblies. Good for purchasing.
- Structured: Shows the assembly hierarchy. Good for understanding the assembly structure.
-
Export: Once configured, you can export the BOM as a CSV file, which can be opened in Excel or Google Sheets for further formatting or cost analysis.
Test your understanding!
You are creating a BOM for a simple desk lamp assembly. The lamp consists of a custom-machined base, a standard flexible arm purchased from a supplier, a standard light socket, and four M4 screws to attach the base to a desk.
What essential information (columns) would you include in your preliminary BOM, and what would the "Procurement Type" be for each item?
Show answer
Your preliminary BOM should include these columns: Part Number, Part Name, Quantity, and Procurement Type.
Here's how the items would be listed:
| Part Number | Part Name | Quantity | Procurement Type |
|---|---|---|---|
| DL-101 | Lamp Base | 1 | Make |
| DL-102 | Flexible Arm | 1 | Buy |
| DL-103 | Light Socket | 1 | Buy |
| DL-104 | M4x10 Phil Screw | 4 | Buy |
This simple BOM clearly communicates what needs to be custom-made and what needs to be purchased.
Conclusion
You have now learned how to develop a preliminary Bill of Materials, a cornerstone of professional engineering documentation. This document is the critical link between your digital design and the physical product.
Key Takeaways:
- A BOM is the complete "recipe" for your product, listing all parts, quantities, and key specifications.
- Essential BOM information includes a unique Part Number, Name, Quantity, and Source (Make vs. Buy).
- Maintaining revision control is crucial for managing design changes and avoiding errors.
- CAD tools like Onshape automate BOM creation, ensuring the BOM is always synchronized with the 3D model.
This lesson concludes the "Engineering Workflow and System Design" module. You've now covered the essential non-CAD skills of the design process: defining requirements, managing files, analyzing mechanisms, selecting materials and fasteners, structuring design reviews, and now, creating a BOM.
In our next lesson, we will officially kick off Project 1: Linear Motion System Design. Your first task will be to apply what you've learned by defining the requirements for a linear actuator system, which will serve as the foundation for the entire project.