Hello! Welcome back.
In the last lesson, we successfully integrated the Dear ImGui library into our C++ application. You now have a window with a simple, interactive ImGui panel displaying your application's frame rate. This was a crucial "how-to" step, getting all the code in the right place.
Today, we're going to solidify that knowledge by focusing on the "why". We will dissect the render loop you've already written. By the end of this lesson, you will understand the purpose of each function call within your main while loop, giving you a robust mental model of how a real-time graphics application works. This understanding is the bedrock upon which we'll build our entire telemetry visualizer.
The Heartbeat of a Real-Time Application
The code inside your while (!glfwWindowShouldClose(window)) block is known as the render loop (or "game loop"). Unlike traditional desktop applications that might only update the screen in response to user input, our telemetry engine, like a game, needs to continuously redraw the screen at a high frame rate (e.g., 60 times per second). This is fundamental to ImGui's design.
Game Loop? from 'Getting Started' Wiki
The official ImGui wiki explains this concept well. Read this brief section to understand why ImGui is designed around a continuous, high-framerate loop.
Read the short section titled 'Game Loop?'. It sets the context for why our application runs in a continuous loop rather than waiting for events.
This continuous loop can be thought of as a pipeline, where several stages happen in sequence every single frame.
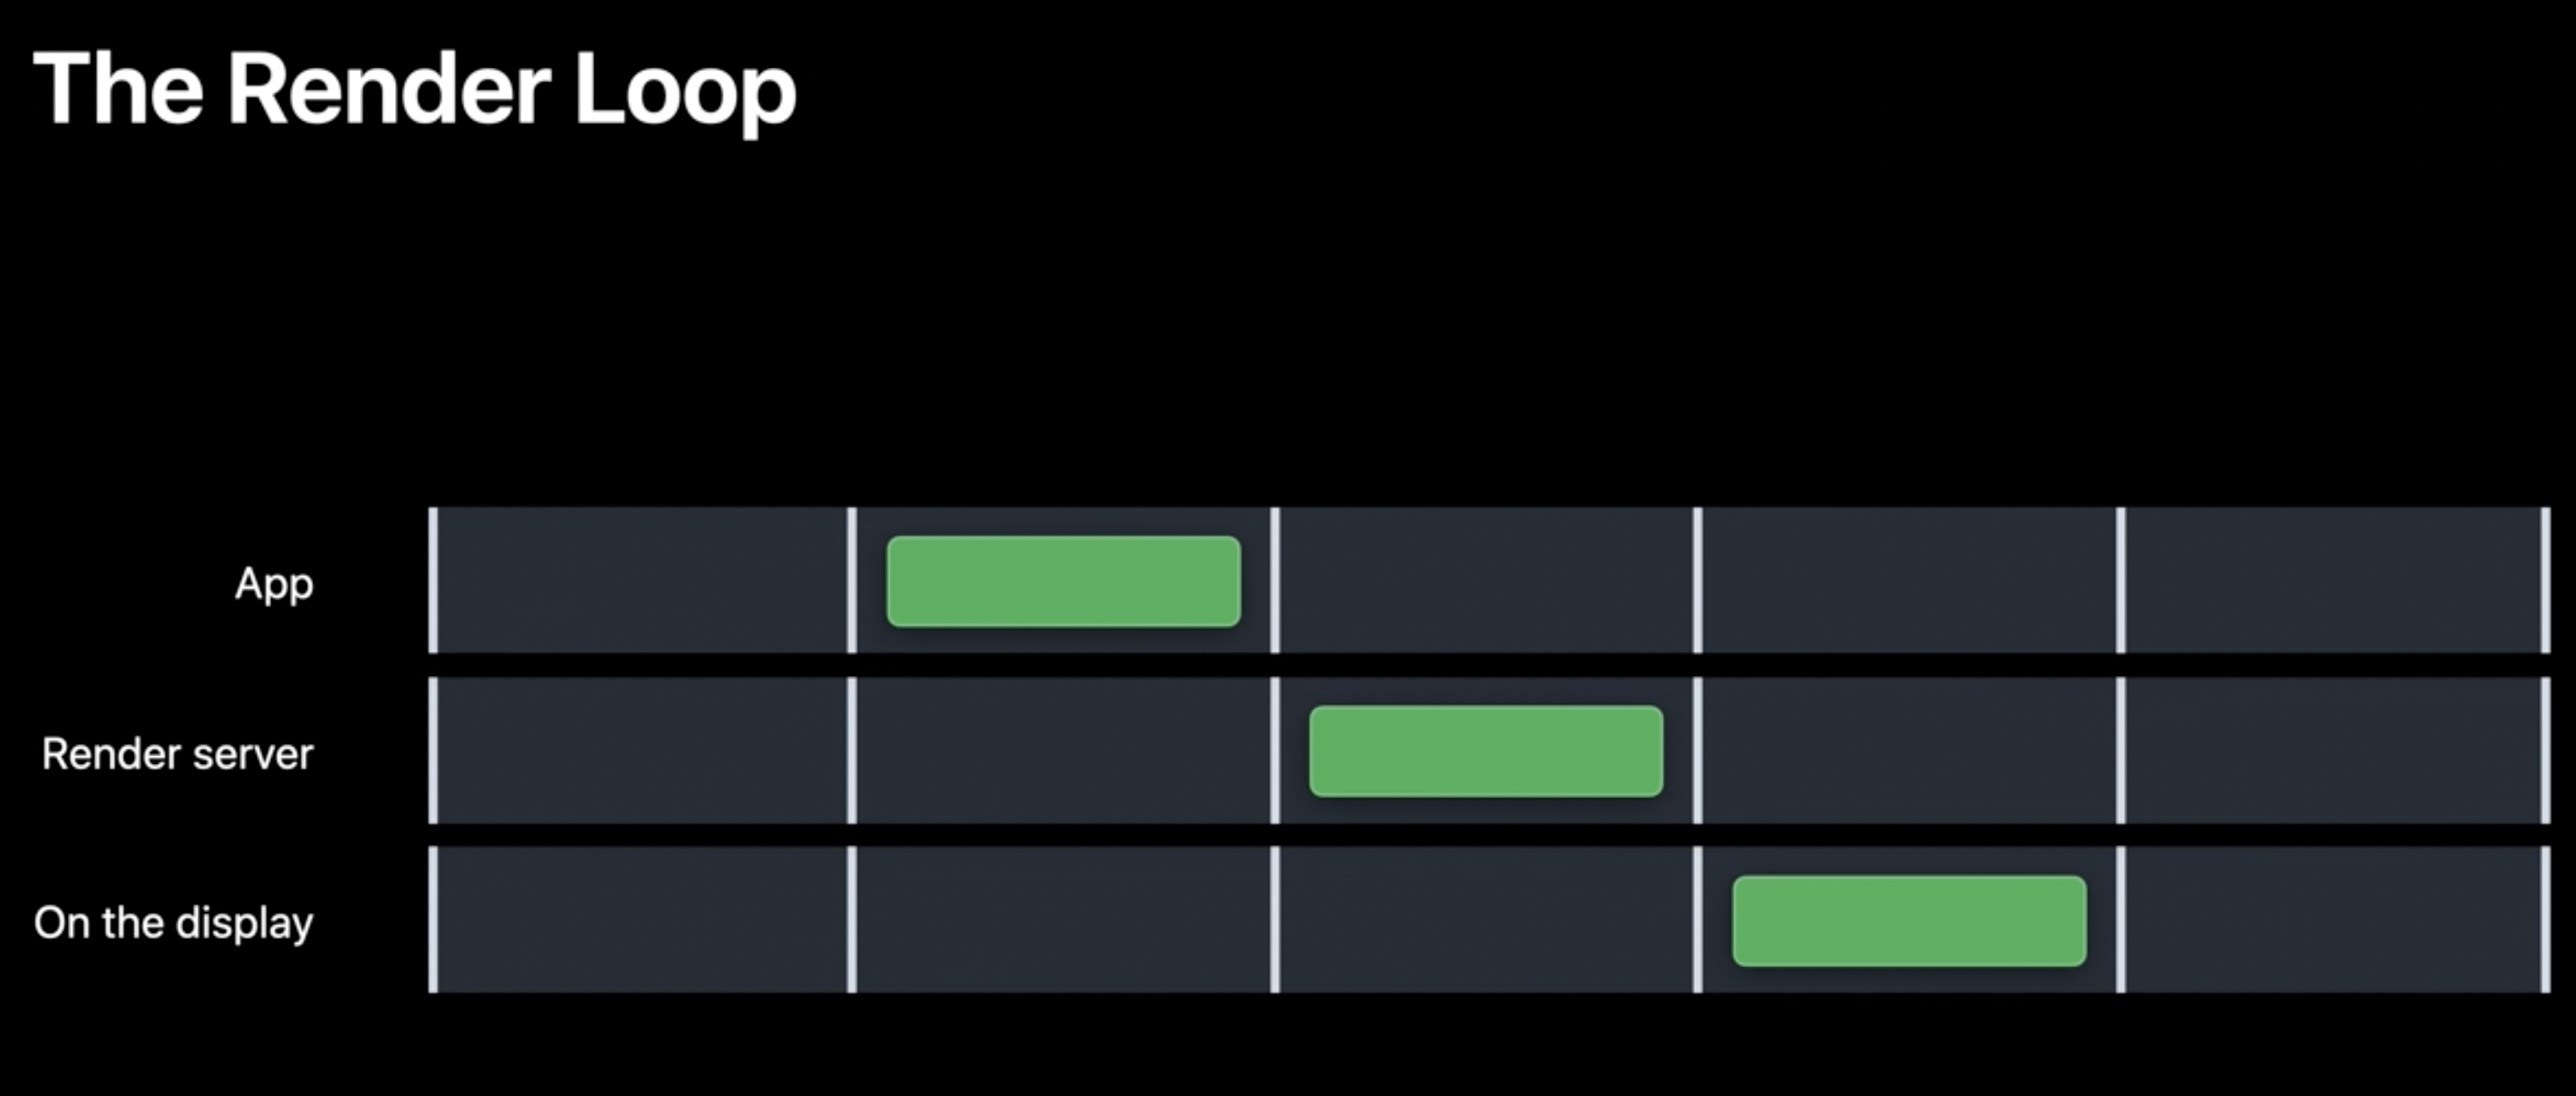
Anatomy of Our Render Loop
Let's use the canonical structure of an ImGui render loop as our blueprint. This sequence ensures that input is handled correctly, the screen is prepared, the UI is drawn, and the final image is presented smoothly.
Here is the essential order of operations:
// Main loop
while (!glfwWindowShouldClose(window))
{
    // 1. Poll for and process events
    glfwPollEvents();

    // 2. Start the Dear ImGui frame
    ImGui_ImplOpenGL3_NewFrame();
    ImGui_ImplGlfw_NewFrame();
    ImGui::NewFrame();

    // 3. Your UI code goes here
    ImGui::Begin("My Window");
    ImGui::Text("Hello!");
    ImGui::End();

    // 4. Rendering
    glClear(GL_COLOR_BUFFER_BIT); // Clear the screen
    ImGui::Render();
    ImGui_ImplOpenGL3_RenderDrawData(ImGui::GetDrawData());

    // 5. Swap buffers to display the new frame
    glfwSwapBuffers(window);
}
Now, let's break this down, step-by-step. The following video gives an excellent walkthrough of the non-ImGui and ImGui-specific parts of this loop. We'll watch it in two parts as we analyze the code.
Step 1: Input and Housekeeping
Code: glfwPollEvents();
Before we can draw anything, we need to know if the user has done anything—moved the mouse, clicked a button, or tried to close the window. glfwPollEvents() checks for all pending events in GLFW's event queue and calls any corresponding callback functions. For ImGui, this is how it receives the mouse and keyboard inputs it needs to be interactive.
Code: glClearColor(...) and glClear(GL_COLOR_BUFFER_BIT);
Before drawing a new frame, we must first wipe the slate clean. glClear() clears the contents of the screen (specifically, the color buffer) to a specific color set by glClearColor(). If we didn't do this, we would be drawing our new frame directly on top of the last one, resulting in a smeared, unreadable mess.
Step 2: Drawing the Frame
This is the core of the loop where the drawing happens. It relies on a concept called double buffering.
Graphics applications don't draw directly to the screen. Instead, they draw to an off-screen buffer called the back buffer. Meanwhile, the screen is displaying a static image from the front buffer.
Code: glfwSwapBuffers(window);
Once we've finished all our drawing for the frame to the back buffer, glfwSwapBuffers() tells the window to swap the back and front buffers. The newly drawn frame becomes visible, and the old frame becomes the back buffer, ready to be cleared and drawn on for the next frame. This process prevents the user from seeing the frame as it's being drawn, which would cause flickering.
How to make a super basic C++ menu/overlay using ImGui, OpenGL and Glfw (Great For Cheats)
To understand these foundational parts of our loop—event polling, clearing the screen, and swapping buffers—watch this segment. The presenter gives a clear explanation of double buffering and the role of GLFW.
Watch from 16:32 to 20:50. Focus on the explanation of glClear, glClearColor, glfwSwapBuffers, and glfwPollEvents. This covers the essential window management and rendering shell for our ImGui UI.
Step 3: The ImGui Lifecycle
Now for the ImGui-specific calls that fit inside the shell we just discussed.
A. Start a New Frame
Code:
ImGui_ImplOpenGL3_NewFrame();
ImGui_ImplGlfw_NewFrame();
ImGui::NewFrame();
This sequence must be called at the beginning of the ImGui section of your loop. The backend-specific calls (ImGui_Impl..._NewFrame()) gather all the necessary information from your windowing system and renderer—like mouse position, input state, and time delta from the last frame. The generic ImGui::NewFrame() then uses this information to prepare ImGui's internal state for a new frame.
B. Define the UI
Code:
ImGui::Begin("Info");
ImGui::Text("Hello from ImGui!");
ImGui::End();
This is where the "immediate mode" philosophy shines. Between ImGui::NewFrame() and ImGui::Render(), you simply call functions for the widgets you want to see in the current frame. You are not creating persistent objects; you are describing the UI from scratch, every single frame.
C. Assemble and Render the UI
Code:
ImGui::Render();
ImGui_ImplOpenGL3_RenderDrawData(ImGui::GetDrawData());
This two-step process converts your UI description into actual pixels.
ImGui::Render(): This takes all the commands you issued (likeImGui::BeginandImGui::Text) and compiles them into a list of simple, renderer-agnostic drawing commands (vertices, indices, textures). This data is stored in a structure accessible viaImGui::GetDrawData().ImGui_ImplOpenGL3_RenderDrawData(): This is the backend-specific function that takes that draw data and translates it into actual OpenGL commands (glBindTexture,glDrawElements, etc.) that the GPU can execute to draw the UI to the back buffer.
How to make a super basic C++ menu/overlay using ImGui, OpenGL and Glfw (Great For Cheats)
Now, let's see how the ImGui-specific calls fit into this loop. This clip explains the NewFrame, Render, and RenderDrawData sequence and shows them being placed correctly within the main loop.
Watch from 20:50 to 27:16. Pay attention to the order: ImGui initialization, the NewFrame calls at the start of the loop, the ImGui::Text call to define UI, and finally the Render and RenderDrawData calls before swapping buffers.
Test your understanding!
The order of operations in the render loop is critical. Unscramble the following function calls into the correct sequence for a single frame.
glfwSwapBuffers(window);ImGui::Begin("My Window"); ... ImGui::End();ImGui::NewFrame();glClear(GL_COLOR_BUFFER_BIT);glfwPollEvents();ImGui_ImplOpenGL3_RenderDrawData(ImGui::GetDrawData());ImGui_ImplGlfw_NewFrame();ImGui::Render();ImGui_ImplOpenGL3_NewFrame();
Show answer
Here is the correct order:
glfwPollEvents();(Process inputs first)ImGui_ImplOpenGL3_NewFrame();(Start ImGui frame, backend part 1)ImGui_ImplGlfw_NewFrame();(Start ImGui frame, backend part 2)ImGui::NewFrame();(Start ImGui frame, main part)ImGui::Begin("My Window"); ... ImGui::End();(Define the UI for this frame)glClear(GL_COLOR_BUFFER_BIT);(Clear the back buffer before drawing)ImGui::Render();(Compile UI into draw lists)ImGui_ImplOpenGL3_RenderDrawData(ImGui::GetDrawData());(Issue OpenGL draw calls)glfwSwapBuffers(window);(Present the final frame to the screen)
Note: In many examples, glClear() is called before the ImGui NewFrame calls. Both approaches work. The key is that glClear happens before ImGui_ImplOpenGL3_RenderDrawData and glfwSwapBuffers.
Conclusion
You now have a solid theoretical understanding of the render loop that powers our application. This sequence will be the unchanging template for every feature we add from now on.
Key Takeaways:
- A real-time application's render loop runs continuously to produce a high and stable frame rate.
- The loop follows a strict order: Poll Events -> Prepare New Frame -> Define UI -> Render -> Swap Buffers.
- Double buffering (drawing to a hidden back buffer and swapping) is a key technique to prevent visual artifacts like flickering and tearing.
- ImGui's functions are divided into three phases: starting a new frame, defining the UI for that frame, and finally rendering the compiled draw data using a graphics backend.
What's Next?
With our understanding of the render loop structure solidified, we are ready to start building. In the next lesson, we will create a basic window with a variety of simple ImGui widgets, like text boxes, buttons, and sliders. We'll move beyond "Hello, world!" and begin creating the actual interactive components of our telemetry profiler.