Welcome back! In our last lesson, you mastered the art of handling the top three objections from high-ticket prospects, equipping you to navigate those crucial early conversations with confidence. Now that you know how to keep a promising dialogue moving forward, it's time to build the system that manages all of those dialogues at scale.
A scattered approach of relying on memory, DMs, and loose notes will inevitably lead to missed opportunities. In this lesson, we will transition from individual tactics to systemic management. You will build a customized Notion database designed specifically for your work as a DM setter. This isn't just about creating a list; it's about engineering a command center for your entire outreach pipeline—tracking prospects, monitoring the status of every conversation, and scheduling your follow-ups with precision.
For someone with your analytical background, this is where the art of conversation meets the science of process. A well-structured database is the foundation for the performance analysis we'll do in the final module, allowing you to identify what's working and optimize your strategy with data, not just intuition.
Your Goal: A Centralized Outreach Hub
Before we start building, let's look at what a finished outreach tracker can look like. These examples show how you can organize leads, track communication stages, and even display performance metrics.
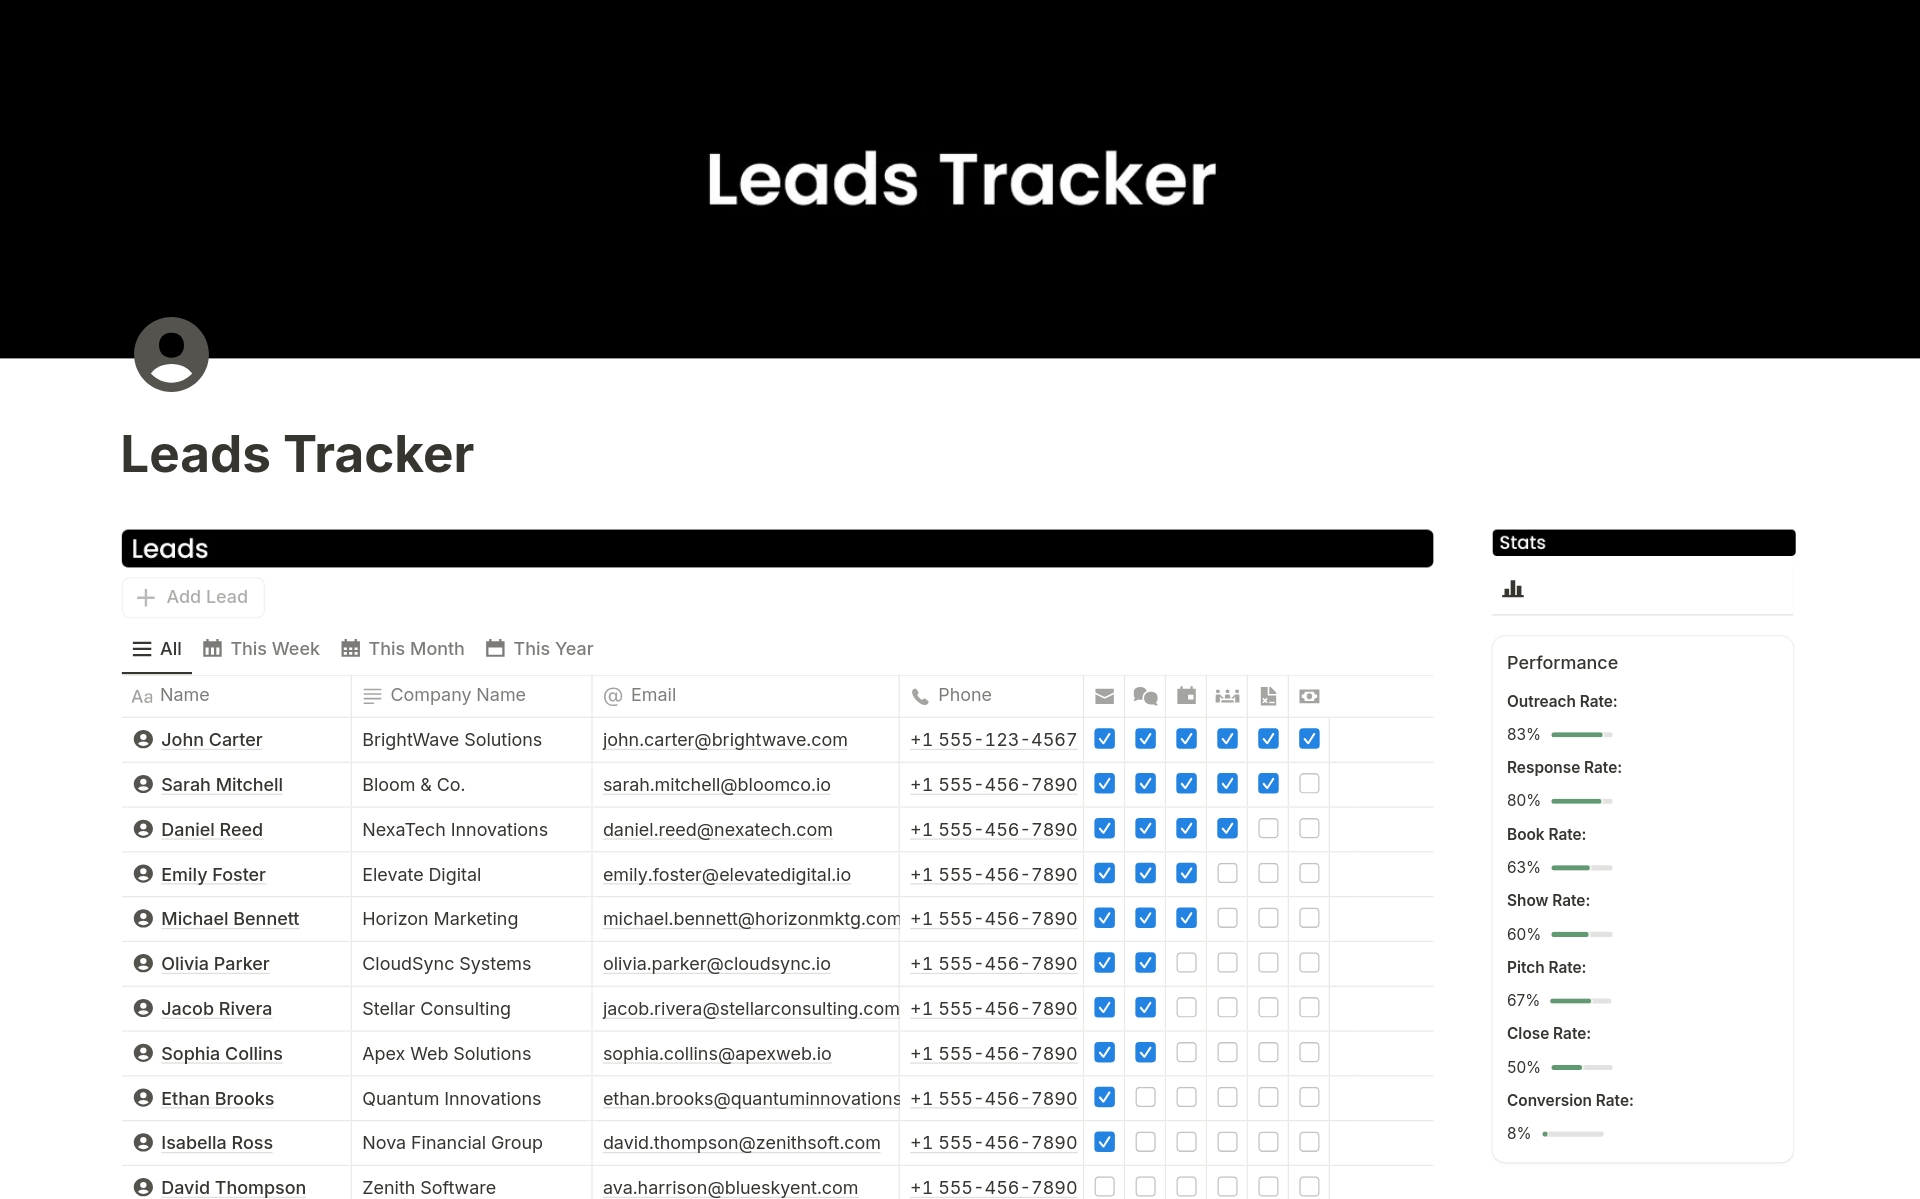
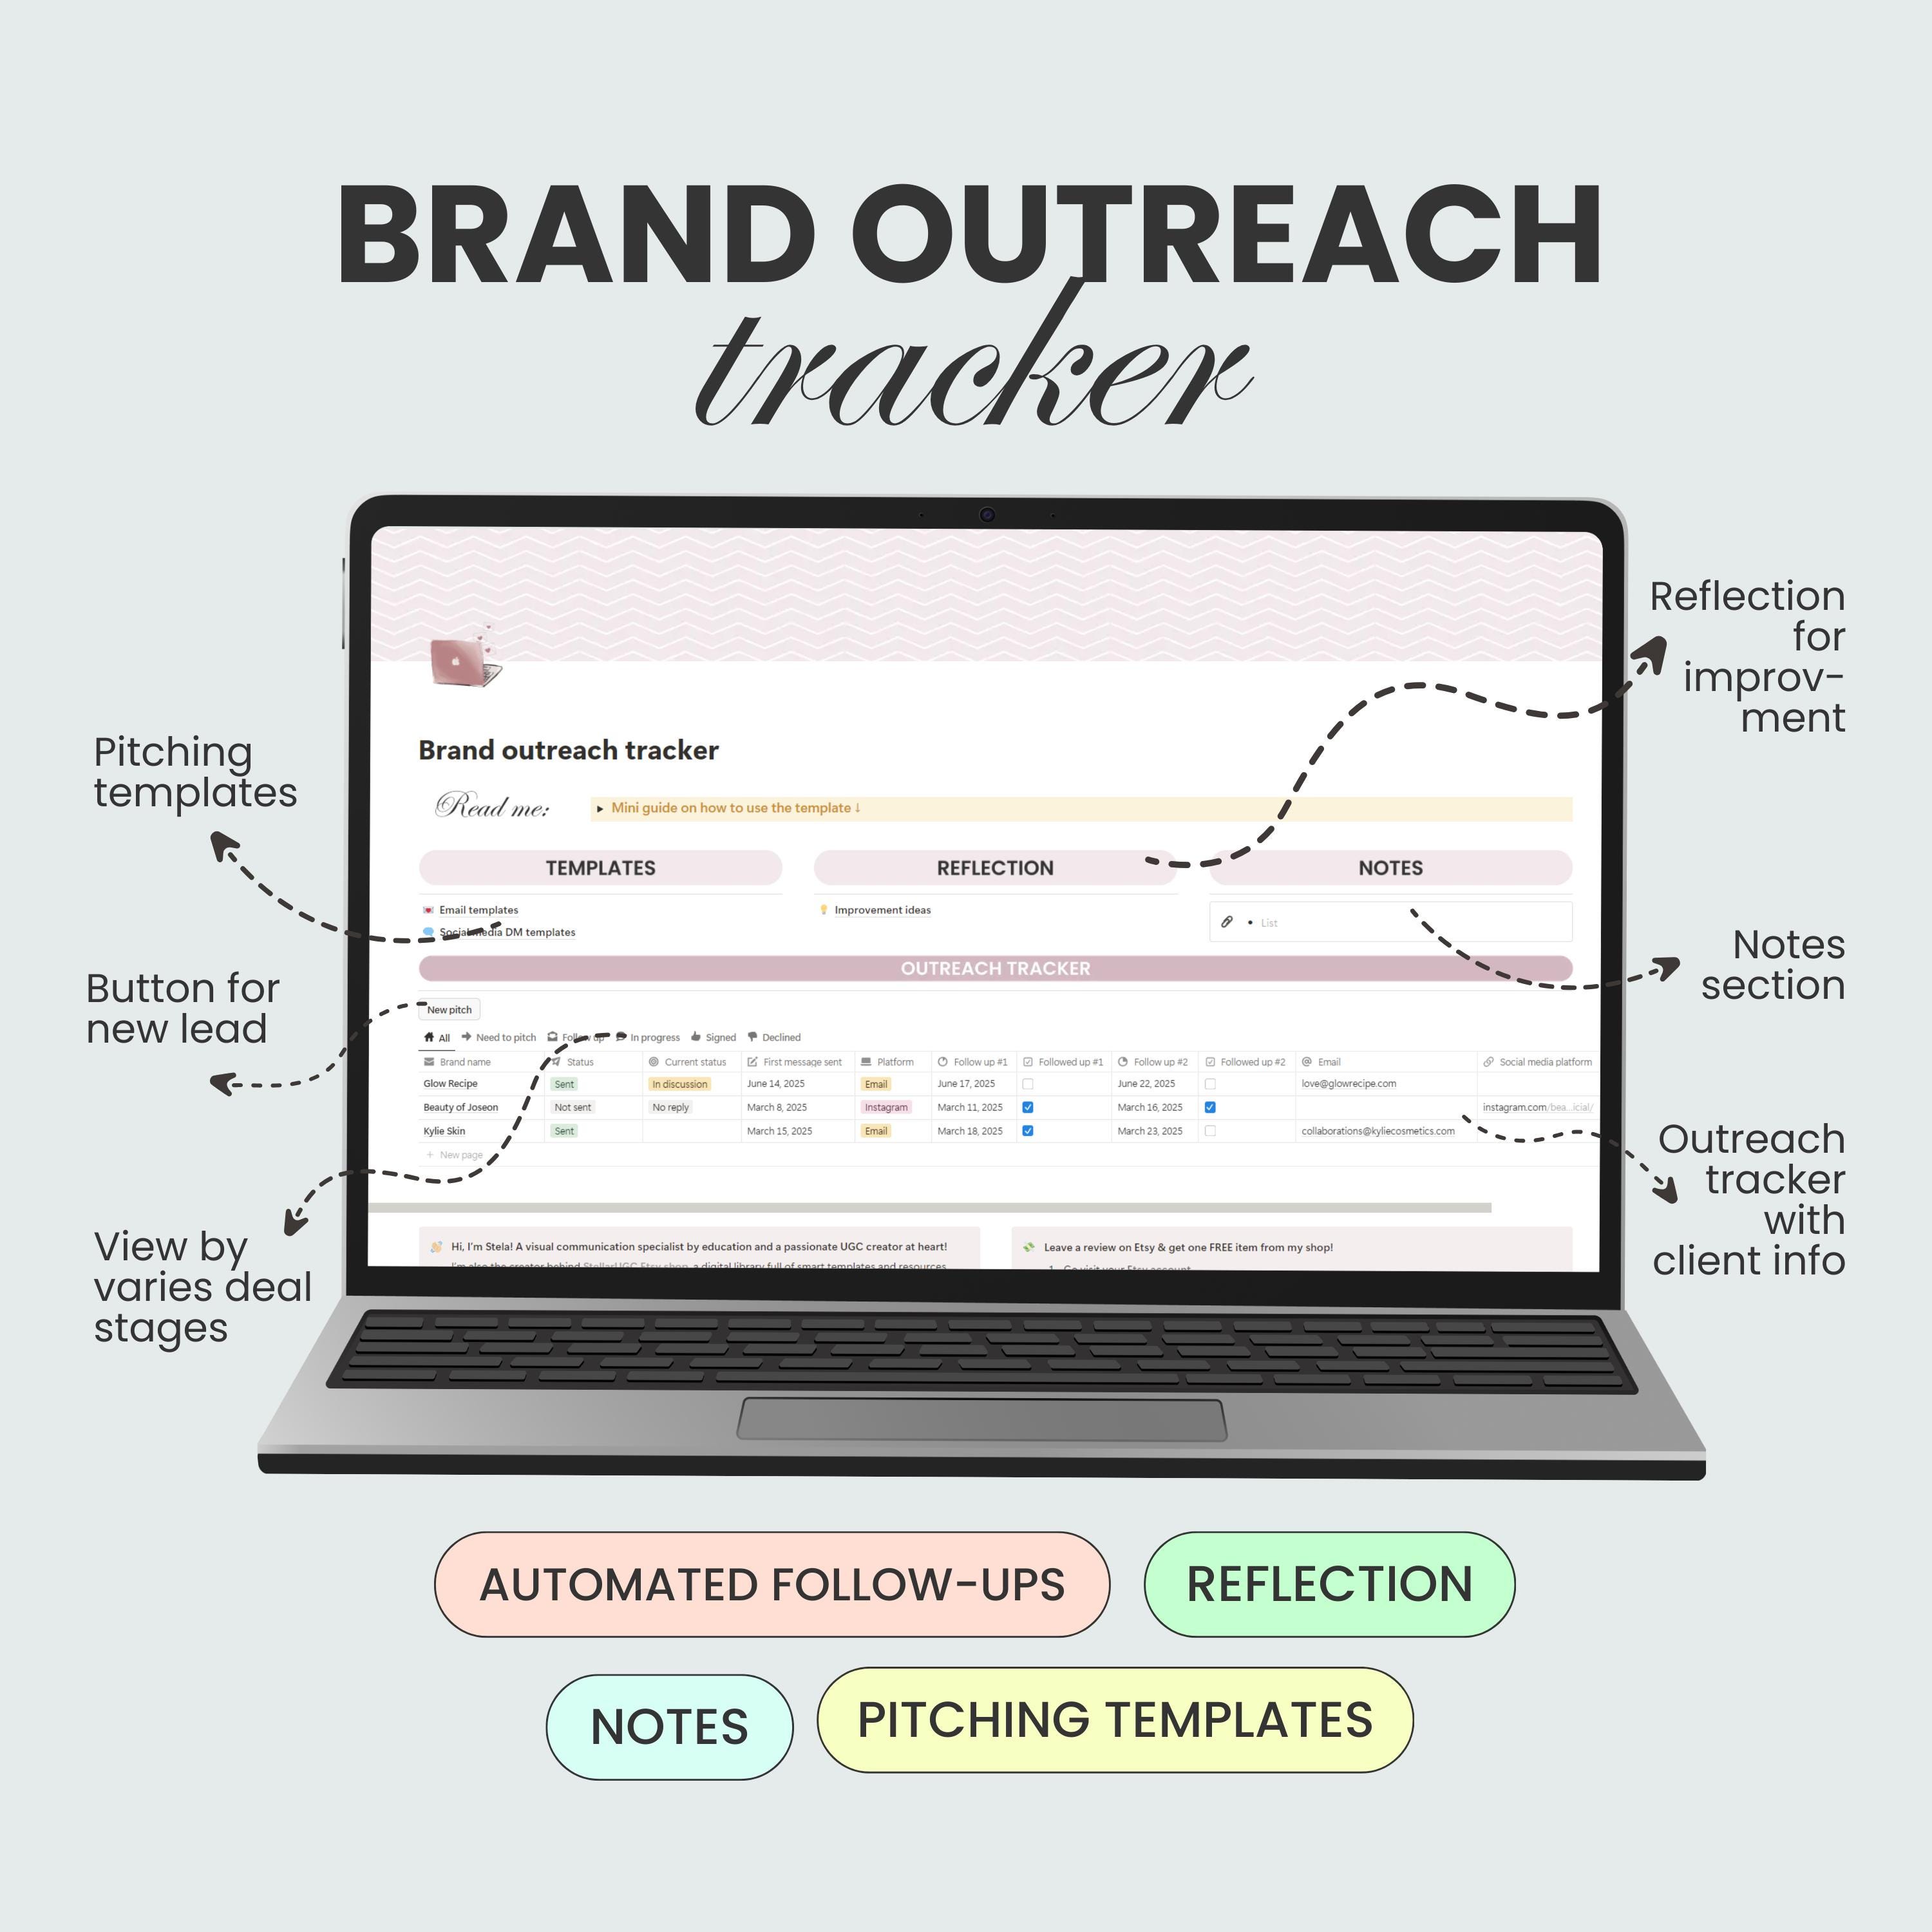
Our goal is to build a practical and powerful version that you can create today and use immediately. We'll adopt a simple-but-scalable approach, building one central database that you can enhance over time.
Step 1: Laying the Foundation – Your Core Database
The entire system will be built around a single, powerful Notion database. This will serve as your master list of all prospects. We will then use Notion's features to create different views of this master list for different purposes (e.g., a pipeline view, a follow-up list).
The following video provides an excellent walkthrough of creating a simple CRM from scratch. We will follow its core principles but adapt them specifically for your needs as a high-ticket DM setter.
Your NEW Notion CRM | Full Notion Build Tutorial (Organize Clients & Leads)
This tutorial from Productive Setups will guide us through the initial creation of our database and the essential properties we need to add.
First, watch the section on creating the database. Follow along and create a new, full-width table database in your Notion workspace. Name it something clear, like "Outreach Pipeline." Next, watch the segment on adding properties. As you watch, we're going to add a specific set of properties tailored for tracking high-ticket coaches and agencies.
Follow the video's instructions to create your database, and then add the following properties. This is the most crucial step, as these properties are the columns that will hold all your vital data.
- Prospect Name (Title): The default
Titleproperty. This will be the name of the coach or agency (e.g., "Elevate Coaching," "B2B Growth Agency"). - Contact Person (Text): The name of the specific person you're speaking to.
- Platform (Select): Where you found them. Create options like
Instagram,Facebook,LinkedIn, andSkool. - Link (URL): A direct link to their main social media profile or website.
- Status (Select): This is the heart of your pipeline. We'll define the stages in the next step.
- Last Contact (Date): To log the date of your most recent interaction.
- Next Follow-up (Date): To schedule your next action and ensure no one slips through the cracks.
- Notes (Text): For brief summaries of conversations or key insights.
Step 2: Defining Your Pipeline with Statuses
Your "Status" property is what transforms a simple list into a dynamic sales pipeline. Each status represents a clear stage in your outreach process. While the video suggests some basic statuses, we can adopt a more detailed set that reflects a professional sales cycle.
How to Build a CRM in Notion (Free Template)
This video, while demonstrating a more complex multi-database setup, outlines a fantastic, professional set of pipeline stages. We will borrow this logic for our simpler model.
Watch the section from this timestamp to understand the journey from a newly identified lead to a closed customer. Pay attention to the logic behind each stage.
Now, in your own Notion database, click on the "Status" property and create the following Select options. The colors help with quick visual identification.
Identified(Gray): You've found a potential prospect but haven't researched them yet.Qualified(Blue): You've done your 5-minute research and confirmed they are a good fit.Approaching(Purple): You have sent the first cold outreach message.Replied(Yellow): They have responded to your message.Meeting Scheduled(Orange): A call has been booked.Closed - Won(Green): They have hired you or your client.Closed - Lost(Red): They are not moving forward.Archived(Pink): Not a good fit, but you want to keep their info.
Step 3: Creating Actionable Views
A raw table of data can be overwhelming. The real power of Notion comes from creating different "views" to see your data in more useful ways. We'll create two essential views: a visual Kanban board for your pipeline and a simple list for daily follow-ups.
The Pipeline View (Kanban Board)
This view gives you a bird's-eye perspective of your entire pipeline, allowing you to drag and drop prospects from one stage to the next.
Your NEW Notion CRM | Full Notion Build Tutorial (Organize Clients & Leads)
Let's return to our main tutorial video. It demonstrates perfectly how to group a view by status and then turn it into a visual board.
First, watch the segment from this timestamp to group your main table view by the "Status" property. Reorder the groups to match the logical flow of your pipeline (Identified -> Qualified -> etc.). Next, duplicate this view as shown from this section. Name the new view "Pipeline Board" and change its layout to "Board." You now have a visual, drag-and-drop pipeline!
The Daily Follow-up List
This view will be your daily to-do list. It will show you only the prospects you need to contact today.
- Create a new "Table" view and name it "Today's Follow-ups."
- Add a Filter. Set the filter rule to:
Next Follow-upis on or beforetoday- AND
Statusis notClosed - Won - AND
Statusis notClosed - Lost - AND
Statusis notArchived
- Add a Sort. Set the sort rule to:
Next Follow-upAscending.
Now, this view will automatically show you the most urgent follow-ups at the top of the list each day. When you complete a follow-up, simply update the "Last Contact" date and set a new "Next Follow-up" date. The prospect will vanish from this view until its next follow-up date arrives.
Conclusion
Congratulations! You have now built a robust, customized system for managing your entire outreach process. You've moved beyond simple lists and created an intelligent database that will serve as your single source of truth.
Key Takeaways:
- A centralized Notion database is essential for tracking prospects, outreach status, and conversations at scale.
- Your system is built on one core database with essential properties like
Status,Last Contact, andNext Follow-up. - Clearly defined
Statusoptions create a professional sales pipeline, guiding a prospect from initial identification to a closed deal. - Actionable views, like a Kanban "Pipeline Board" and a filtered "Today's Follow-ups" list, transform your data into a daily workflow.
In our next lesson, we will bring this system to life. You'll learn how to design a multi-channel follow-up sequence, defining the timing and platform for each touchpoint. The "Next Follow-up" date property you just created will be the engine that drives this entire process, ensuring your persistence is systematic, professional, and effective.