Welcome to the second module of our course! In the first module, we established the foundational concepts of data analytics, distinguishing between different types of analysis, databases, and most importantly, the business questions that drive the entire process. You now have the "why"; it's time to dive into the "how."
This lesson marks our transition from theory to hands-on practice. As you've installed Metabase locally, we'll start using it to make these concepts tangible. Our goal today is to connect Metabase to its built-in sample database and become familiar with the main components of its interface. This will set the stage for you to start asking questions and building analyses, giving you the practical vocabulary and understanding to confidently lead your team.
First-Time Setup
Since you have Metabase installed, the first time you run it, you'll be greeted by a setup wizard. This wizard will guide you through creating your administrator account and making your first database connection.
The official Metabase webinar provides a clear walkthrough of this initial process. The presenter offers a valuable piece of advice: you can skip adding your own database at first and just explore the tool with the data that's already included.
A tour of Metabase for beginners | Webinar recording
This video walks through the initial setup wizard. Pay attention to the presenter's recommendation to skip adding data initially, which allows you to get into the application immediately.
Watch the section from the start of the setup wizard. The key steps are creating your admin user and then choosing to add data. Feel free to follow the presenter's advice and click "I'll add my data later" to proceed directly into Metabase.
By default, Metabase includes a "Sample Database." This is an H2 database file containing fictional sales data for a company—perfect for learning and experimentation without needing to connect to a live production or development database.
Adding or Restoring a Database
If you skipped the database connection during the wizard, or if you want to add another data source later, you'll do so from the Admin settings. This is a core administrative task. As a manager and developer, knowing how to manage data sources is essential.
The process involves:
- Navigating to Admin settings (the gear icon in the top right).
- Going to the Databases tab.
- Clicking Add database.
The documentation page "Adding and managing databases" outlines these steps.
Adding and managing databases | Metabase Documentation
This document provides the official instructions for managing database connections. It's a useful reference for future use.
First, review the steps under the heading Adding a database connection. This shows the general process. If for any reason the Sample Database is not present in your instance, you can easily restore it. Find the instructions under the heading Restoring the Sample Database.
For your purposes, ensure the Sample Database is present in your list of databases. This will be our playground for the next few lessons.
A Guided Tour of the Metabase Interface
With your setup complete and the Sample Database available, let's explore the main areas of the Metabase application. Understanding the layout and terminology is the first step toward fluency.
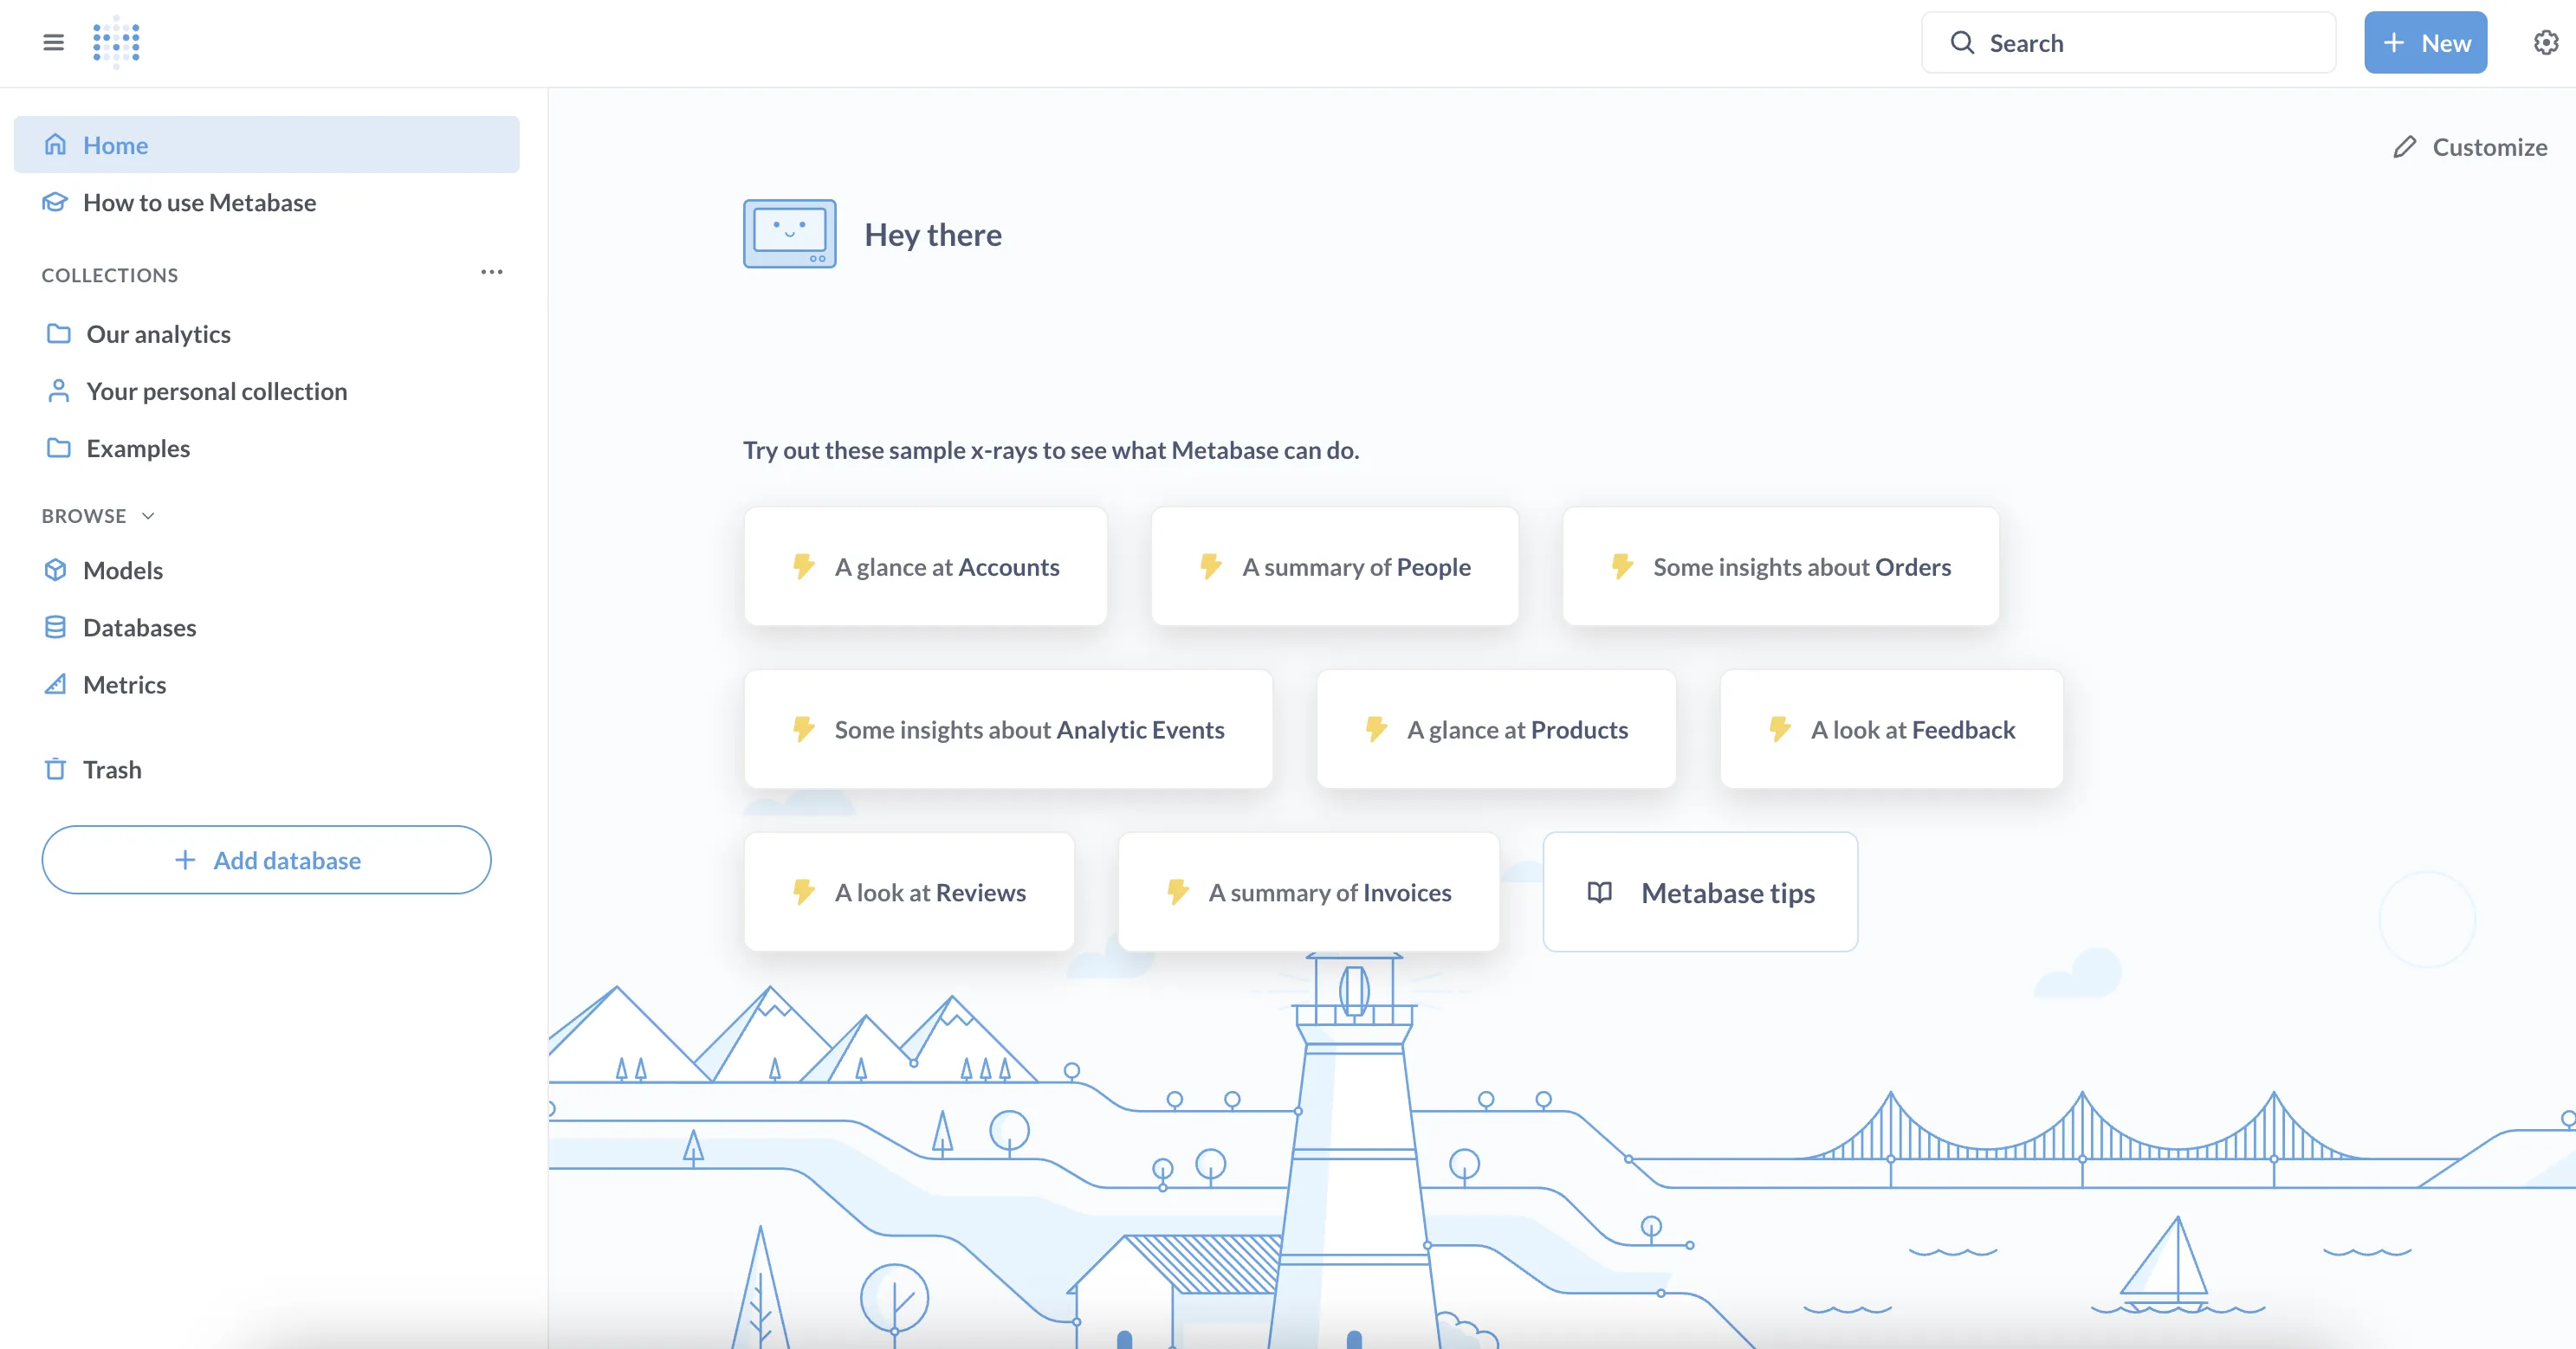
We'll use a concise video guide to walk through the key components.
Getting Started w/ Metabase | Open Source Data Visualization Tool
This video from Kahan Data Solutions provides an excellent, fast-paced tour of the essential Metabase features. We'll break it down piece by piece.
Watch the following segments to familiarize yourself with the interface: Collections and Data Browsing (watch this clip): The video introduces Collections, which are simply folders for organizing your work. This is vital for keeping analyses tidy, especially in a team setting. It also shows the Browse data section, where you can see the raw tables from your connected database. X-rays (watch this clip): The presenter explains X-rays, which are automatic explorations and visualizations. Metabase generates these to give you a quick look into a table. This is a form of automated descriptive analytics. The "New" Button (watch this clip): This is the most important part of the UI for creating new analyses. You'll see options for a Question (using a visual, point-and-click interface), a SQL Query (for writing raw SQL, leveraging your existing skills), and a Dashboard (a collection of questions and visualizations). Admin Settings (watch this clip): Finally, the video gives a glimpse of the Admin settings, where you just were to add the database. This area is for managing databases, people, permissions, and other configurations.
Let's summarize these key areas and connect them to the concepts we've learned.
- Collections: These are the filing cabinets for your team's work. When an analyst answers a business question, the resulting chart or table (a "Question" in Metabase) is saved to a collection, often one dedicated to a specific department (e.g., "Marketing Analytics") or project.

-
Browse Data: This is your window into the analytical database (in this case, the Sample Database). Before you can ask a question, you need to know what data is available—which tables exist and what columns (or dimensions and measures) they contain. As a developer, you can think of this as a simplified database client like DBeaver or Sequel Pro, but integrated directly into the BI tool.
-
"+ New" > "Question" or "SQL Query": This is where analysis begins. In the next lessons, we will use both the visual "Question" builder and the "SQL Query" editor to answer descriptive business questions. This is the workbench where your analysts spend most of their time, translating stakeholder requests into queries that produce insights.
Conclusion
In this lesson, you've successfully moved from the conceptual realm into a hands-on environment. You've configured Metabase, connected its sample database, and taken a guided tour of the primary interface components.
Key Takeaways:
- Metabase can be set up quickly, and its Sample Database provides a ready-to-use environment for learning.
- The main interface is organized around a few key concepts:
- Collections for organizing your work.
- Browse Data for exploring your database tables.
- The + New button to create Questions, SQL Queries, and Dashboards.
- Admin Settings for managing connections, users, and permissions.
- You now have the basic vocabulary of the Metabase UI, which is a foundational step in understanding how your team uses tools like Power BI to accomplish their work.
In our next lesson, we will put this knowledge into action. You will use Metabase's visual query builder to create your first "Question," answering a simple business question by filtering and summarizing data from the sample dataset.