Hello! Welcome back to your capstone project.
In the last lesson, you created a detailed 2-column storyboard for your 30-second UGC product review video. That document is the essential blueprint for everything we will do today. You've planned the story; now it's time to create the story's building blocks.
Today's lesson is dedicated to generating all the necessary assets for your video. Following your storyboard, you will:
- Generate a high-quality voiceover from your script.
- Create a realistic talking avatar to be the face of your review.
- Produce the background visuals and B-roll needed to complete your scenes.
By the end of this lesson, you will have a folder of audio and video files ready to be assembled in CapCut. Let's get started.
1. Generating Your Voiceover
Before creating any visuals, it's often best to generate the voiceover first. The audio track sets the timing and rhythm for the entire video. For your UGC ad, you need a voice that sounds natural and conversational, not robotic.
There are many great Text-to-Speech (TTS) tools available. For high-quality, expressive voices, ElevenLabs is an industry leader and offers a free tier that is perfect for this project.
Top 8 Free AI Voiceover Tools for Video Creators in 2026 - CapCut
The article 'Top 8 Free AI Voiceover Tools' from the CapCut blog provides a great overview of the landscape. Let's look at what it says about ElevenLabs, which is known for its human-like voice quality.
Read the section on 'ElevenLabs – Human-Like AI Voice Generator'. Notice the emphasis on voice cloning and emotional expression, which are key for creating authentic-sounding UGC content.
Your First Task: Create the Voiceover
- Go to ElevenLabs and sign up for a free account.
- Navigate to the "Speech Synthesis" tool.
- Copy the entire "Audio" column from your 2-column storyboard and paste it into the text box.
- Browse the available voices and choose one that fits the persona of your UGC creator. You can experiment with different voices to find the perfect match.
- Generate the audio and download the MP3 file. Save it in a new project folder on your computer.
Having this complete audio file will be crucial when you animate your avatar.
2. Creating Your Talking Avatar
The talking avatar is the star of your UGC video. Creating it is a two-step process: first, we generate a high-quality static image of the "creator," and second, we animate that image using our voiceover to make it talk.
Step 2a: Generating the Avatar's Image
The quality of your final video depends heavily on the source image. You want an image that is photorealistic and free of distractions. Your storyboard's "Visual" column should guide the avatar's appearance and setting.
The NEW Way to Create Realistic Talking AI Avatars
The video 'The NEW Way to Create Realistic Talking AI Avatars' by Tao Prompts offers an excellent workflow for creating a professional avatar image. It emphasizes avoiding the typical 'AI glow' and preparing the image for animation.
Watch from 00:28 to 03:37. Pay close attention to these key steps: Using ChatGPT to write a detailed image prompt. Using an AI image generator like Nano Banana Pro (which you can access via free tools like Speel or Higsfield) to create the initial image. Editing the image to remove distracting elements, like other people in the background. This is a crucial step for the lip-sync AI.
Making Your Avatar Hold a Product
For a product review, having the avatar hold the product is a powerful visual. This same workflow allows you to do just that.
The NEW Way to Create Realistic Talking AI Avatars
Let's continue with the same video to see how to place a specific product into your avatar's hands. This technique is incredibly useful for UGC ads.
Watch from 10:38 to 13:45. The creator shows how to take an image of a book cover and prompt the AI to have the avatar hold it realistically. You can apply this same process to your chosen product.
Step 2b: Animating the Avatar with Your Voiceover
Now you have your avatar's image and the full voiceover audio. Let's bring them together to create the talking head video. We will use a tool called HeyGen, which is user-friendly and offers a free trial with credits.
The NEW Way to Create Realistic Talking AI Avatars
The next part of the 'The NEW Way to Create Realistic Talking AI Avatars' video demonstrates how to use HeyGen to animate your image.
Watch from 04:02 to 07:24. Focus on these steps: Uploading your custom avatar photo. Creating a video and importing your avatar. Instead of using the built-in TTS, find the option to upload your own audio file (the MP3 you made with ElevenLabs). Generating the final video.
When you generate your video, you will have your main "A-roll" footage—the clips of your avatar speaking directly to the camera. You may need to create several talking clips if your storyboard calls for different expressions or angles.
3. Generating Backgrounds and B-Roll
Your video shouldn't be a single, static shot of a talking head. Your storyboard likely calls for other visuals, known as B-roll, to keep the video engaging. This could include:
- Close-up shots of the product.
- Different background settings.
- Clips illustrating the problem or solution.
You can use the same image generation tools (like Nano Banana Pro within Spiel or Higsfield) to create static background images.

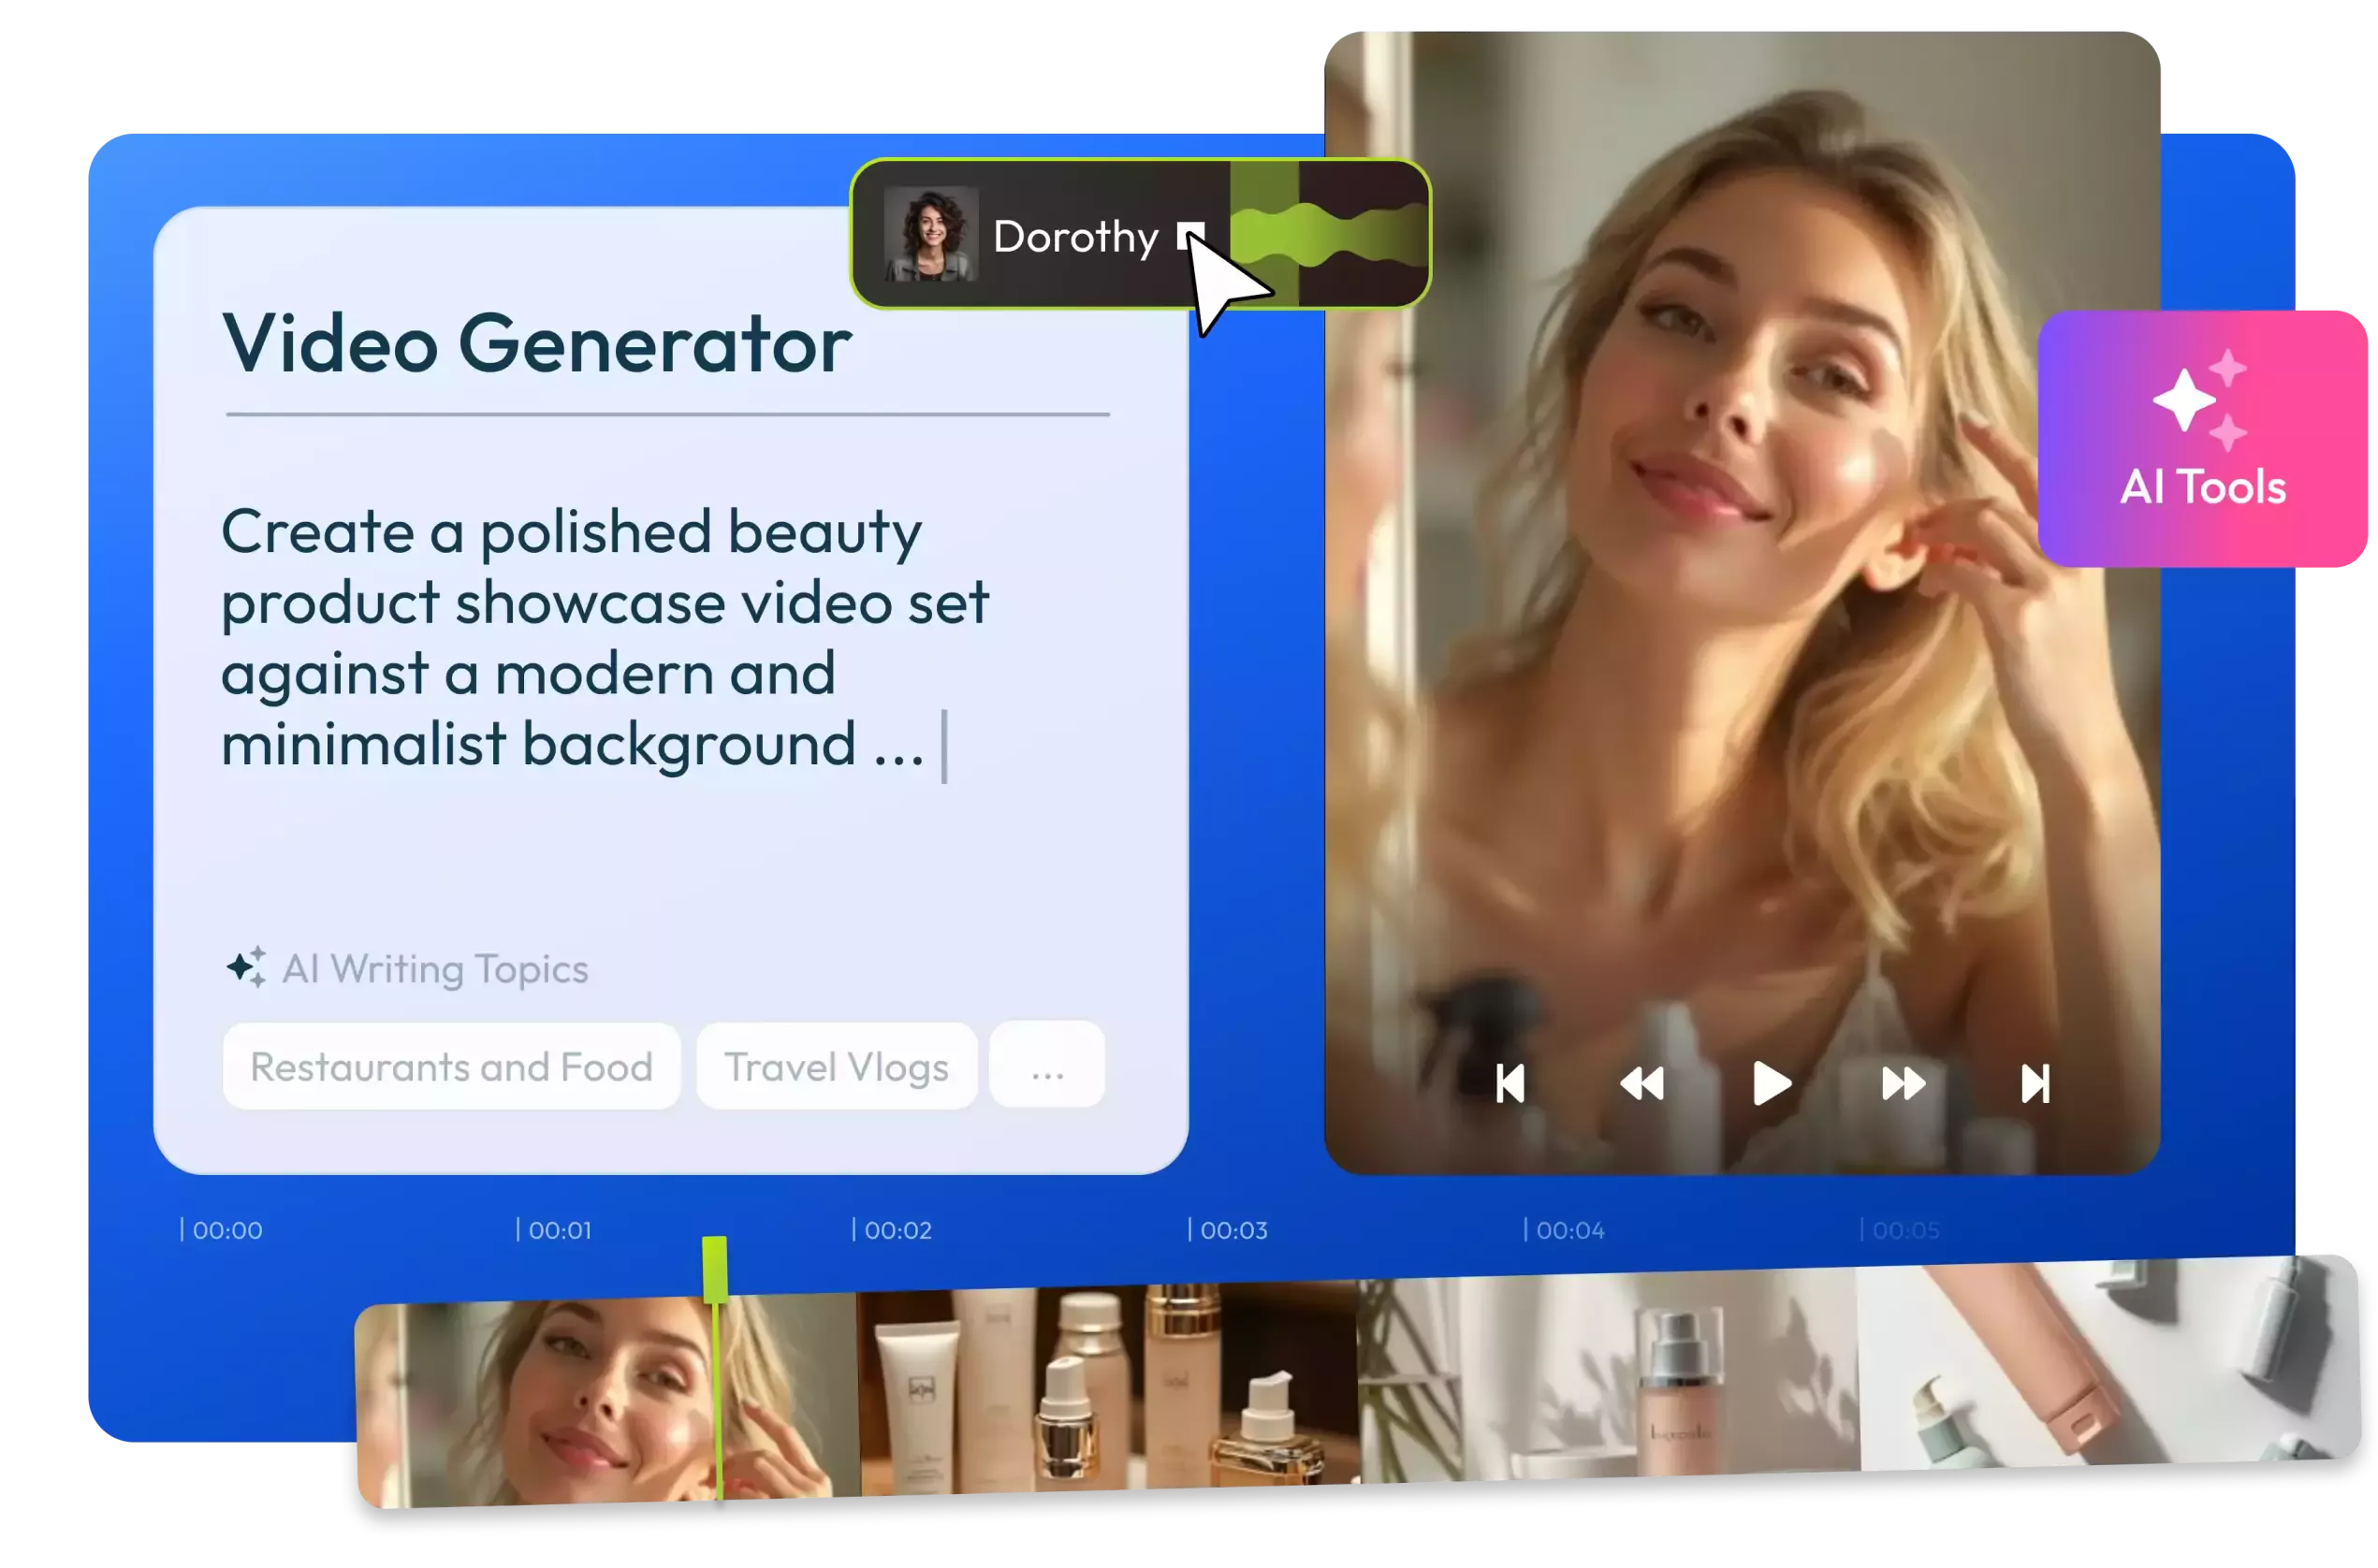
For creating short B-roll video clips, tools like Spiel are very effective. They can take a starting image and animate it with motion based on a text prompt.
How to Create AI UGC Ads That Get 3.6x ROAS (Full Tutorial)
Let's look at how to create these supplementary B-roll shots. The video 'How to Create AI UGC Ads That Get 3.6x ROAS' shows a workflow inside Spiel for generating engaging motion shots.
Watch from 09:07 to 10:34. The creator explains the difference between A-roll (talking) and B-roll (storytelling shots) and demonstrates using 'easy mode' to create a B-roll clip with complex motion from a static image and a descriptive prompt.
Your Turn: Generate Your Assets
Now, it's time to bring your storyboard to life. Follow these steps, using your 2-column script as your guide.
-
Voiceover:
- Go to ElevenLabs, paste in your script, choose a voice, and download the full voiceover as an MP3 file.
-
Avatar Image:
- Use ChatGPT to write a detailed prompt for your avatar based on your storyboard's visual description.
- Use a free image generator like the one in Spiel or Higsfield to create the image.
- If your product appears with the avatar, use the editing/inpainting features to add it, as shown in the video. Download the final PNG or JPG image.
-
Talking Avatar Video (A-Roll):
- Go to HeyGen and start a free trial.
- Upload your avatar image.
- Create a new video and upload the full voiceover MP3 you generated.
- Generate the talking avatar video. Download the final MP4 file. Note: Depending on your script, you might break the voiceover into smaller chunks and generate a few separate talking clips for editing flexibility.
-
Backgrounds and B-Roll:
- Refer to the "Visual" column of your storyboard for any other required shots.
- Generate any needed static images (e.g., a background scene) or short B-roll video clips using tools like Spiel.
-
Organize Your Files:
- Create a dedicated folder for this project.
- Place all your downloaded assets (the main voiceover MP3, the talking head MP4, and any B-roll images or videos) into this folder. Keep them organized!
Conclusion
Fantastic work! You have successfully transformed your written plan into a collection of tangible digital assets. This is the core of the AI content creation workflow: moving from idea to script, and from script to raw materials.
Key Takeaways:
- Audio-First Workflow: Generating the voiceover first provides the timing and rhythm for your entire video.
- High-Quality Inputs Matter: A realistic, well-composed avatar image is crucial for a believable talking head video.
- Separate A-Roll and B-Roll: Your main asset is the talking avatar (A-roll), which you'll supplement with other visuals (B-roll) to make the video dynamic and engaging.
- Organization is Key: Keeping all your generated assets in one place will make the next step—editing—much smoother.
Next Lesson Preview:
You have all your ingredients. In the next lesson, you'll take on the role of the editor. We will import all the assets you created today into CapCut, where you will assemble, edit, and export your final 30-second UGC marketing video.