Hello! Welcome to your first lesson in the "Master Video Creation using AI" course. I'm excited to get started with you.
This course is designed to take you from the fundamentals of AI video production right through to creating polished marketing videos and animated stories. We'll be focusing on practical, no-code tools, many of which are free or have trial versions, and we'll use CapCut for our final editing, as you prefer.
Today's lesson is all about building a mental map. Before we dive into using any tools, it’s crucial to understand the overall process. Our goal is to identify the key stages of the AI video production pipeline. Think of this as looking at a blueprint before you start building a house. Understanding this structure will make the entire creation process more organized, less overwhelming, and much faster.
The AI Video Production Pipeline: An Overview
At its core, creating a video with AI follows a logical sequence, regardless of whether you're making a UGC-style ad or an animated short. We can break this down into four main stages:
- Ideation & Scripting: Coming up with the core idea and writing the script.
- Asset Generation: Creating all the raw materials—visuals and audio.
- Animation & Motion: Bringing the static assets to life.
- Editing & Assembly: Putting all the pieces together into a finished video.
Let's explore each of these stages.
Stage 1: Ideation & Scripting
Everything begins with an idea. This first stage is where you define your concept, target audience, and message. Once you have a clear idea, you'll create a script, which serves as the backbone for your entire video.
The article below provides a fantastic, clear overview of this process. It explains how you can use AI tools as a creative partner to brainstorm ideas and write compelling scripts.
How to Create Videos with AI From Scratch
Please read the first few sections of the article 'How to Create Videos with AI From Scratch' from ClipShort. It breaks down the AI workflow and focuses specifically on the initial scripting stage.
Read from the beginning of the article down to the end of the section titled 'Crafting Viral Ideas and Scripts with AI'. Pay close attention to how it frames the stages and the role of AI in brainstorming and structuring a script.
As the article points out, this stage isn't just about writing text. It's about strategic thinking:
- Brainstorming: Using AI like ChatGPT to generate video concepts.
- Hooking the Viewer: Crafting the first few seconds of your script to grab attention.
- Structuring the Narrative: Laying out the story in a logical sequence, often following a Hook -> Problem -> Solution -> Call-to-Action formula for marketing videos.
This stage lays the complete foundation for everything that follows.
Stage 2: Asset Generation
Once your script is ready, you need to create the "assets"—the individual audio and visual components that will make up your video.
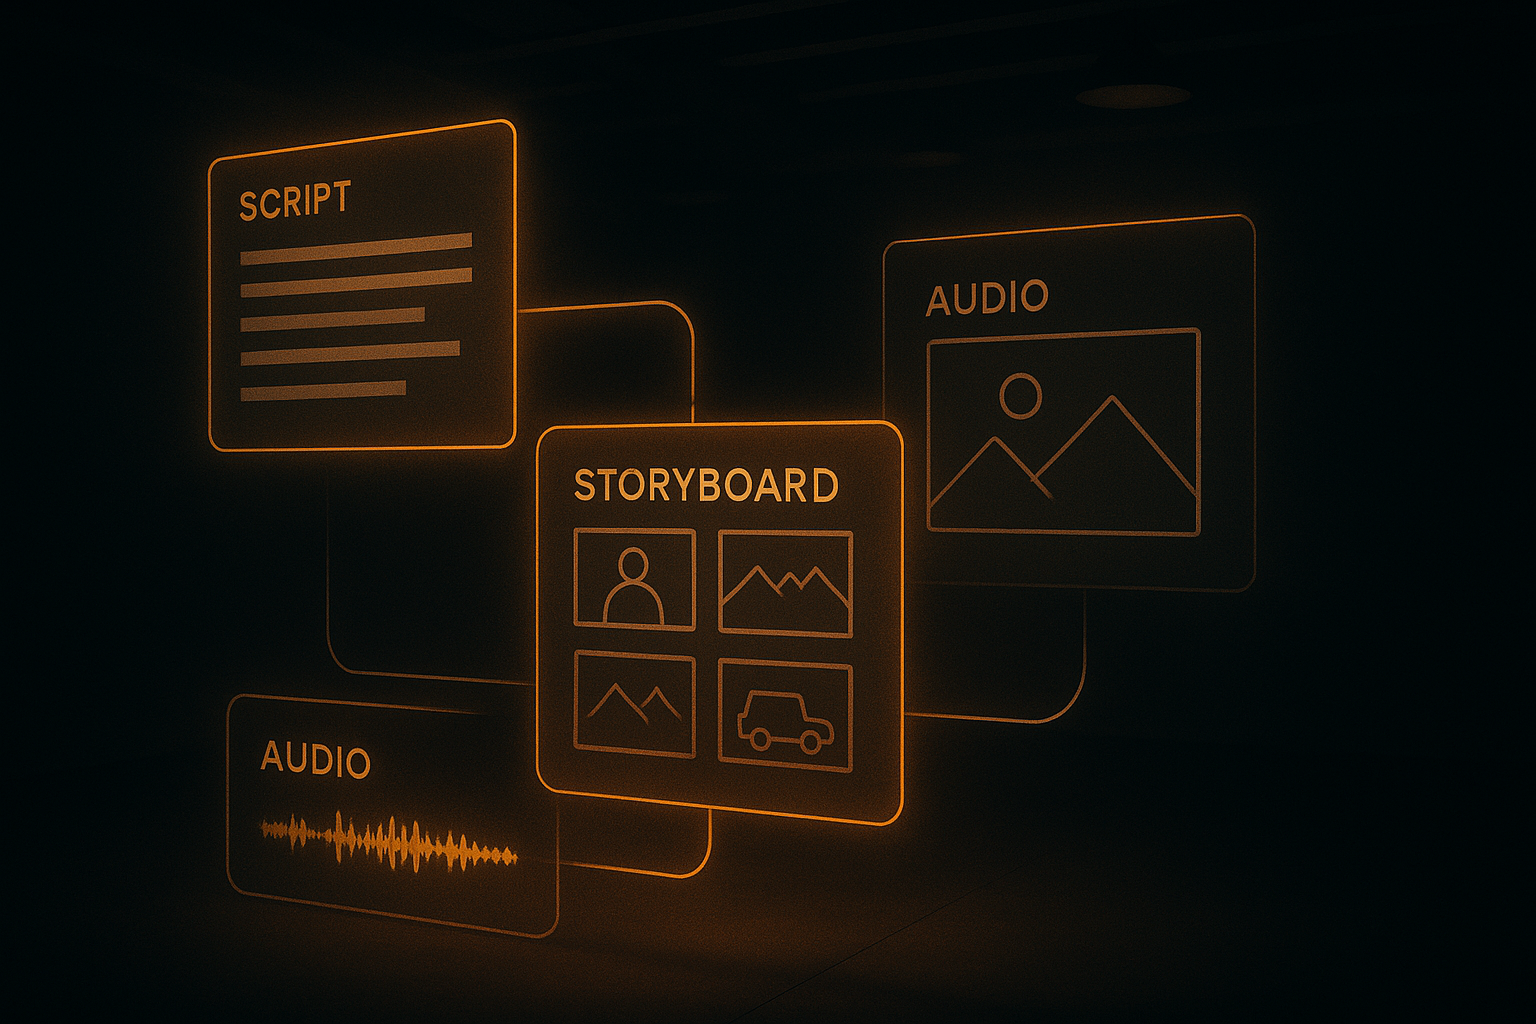
This stage typically involves two parallel streams:
-
Audio Generation:
- Voiceover: Converting your script into spoken words using a text-to-speech (TTS) tool.
- Music & Sound Effects: Generating background music and specific sounds (like a "whoosh" or "pop") to enhance the mood and engagement.
-
Visual Generation:
- Images & Storyboards: Creating background images, scenes, or characters using text-to-image AI. For animated stories, this involves creating a sequence of images that act as a storyboard.
- Avatars: Designing a character that can be used for a talking-head video.
- B-Roll: Generating supplementary visuals that are shown while the main voiceover is playing.
The following reading explains this stage well, covering both voice and visual creation.
How to Create Videos with AI From Scratch
Let's return to the ClipShort article to see how it describes the asset generation process. This section discusses creating both the voiceover and the visuals.
Please read the section titled 'Generating Lifelike Voiceovers and Visuals'. Focus on the distinction between creating audio and creating visuals, and the importance of maintaining a consistent visual style.
In future lessons, we will dive deep into creating consistent characters for your animated stories and realistic avatars for your UGC ads. For now, the key takeaway is that the asset generation stage is about building your library of raw materials based on your script.
Stage 3: Animation & Motion
This is where the magic happens. You take your static images and bring them to life. Depending on your project, this could mean different things:
- For animated stories: You'll animate your storyboard images to create scenes with movement, camera pans, and zooms.
- For UGC ads: You'll animate your character/avatar image, making it speak your voiceover script with realistic lip-syncing.
To see this stage in action, watch the following short clips. They showcase the two main types of animation you're interested in.
First, see how static images are turned into animated scenes for a story.
Make a Full 3D Cartoon Animation with FREE AI Tools | Consistent Characters + Automated Workflow
This clip from TutStick's video demonstrates how generated images are turned into video clips, with a focus on adding cinematic camera movements.
Watch from 03:53 to 05:01. Notice how the creator uses prompts to define camera movements (like zooming and panning) to make the static images dynamic.
Next, see how an avatar is animated to create a talking-head video.
How to Create AI UGC Ads That Get 3.6x ROAS (Full Tutorial)
This clip from Alfie Carter's tutorial shows the process of taking a static character image and a script, and combining them to create a talking avatar video.
Watch from 06:34 to 07:46. Pay attention to how the AI model uses the script to generate both the voice and the corresponding lip movements for the character.
These two approaches form the core of the "motion" stage in the AI video pipeline.
Stage 4: Editing & Assembly
The final stage is where you become a director. You'll take all your generated assets—the animated video clips, the voiceover, background music, and sound effects—and assemble them into a cohesive final product.
This is where your familiarity with CapCut will be a great advantage. The process involves:
- Arranging clips on a timeline.
- Syncing the visuals perfectly with the audio.
- Adding text overlays and auto-captions.
- Balancing audio levels for a professional sound.
- Adding transitions and effects to polish the final video.
This video clip and reading selection show exactly how this final assembly works.
Make a Full 3D Cartoon Animation with FREE AI Tools | Consistent Characters + Automated Workflow
Here, the creator from the animation tutorial brings all the animated shots and the voiceover into CapCut to assemble the final story.
Watch from 05:47 to 06:22. Observe how the different clips are placed on the timeline and synced with the narration, and how background music is added.
How to Create Videos with AI From Scratch
Finally, this section from the ClipShort article provides excellent tips for the editing process, specifically mentioning tools like CapCut.
Read the section titled 'Assembling and Polishing Your Final Video'. It covers syncing visuals, adding captions, and finding music—all key tasks in this final stage.
This editing stage is where your creative vision truly comes together, turning a collection of assets into a compelling story or a persuasive ad.
Conclusion
In this lesson, we've outlined the entire AI video production pipeline from start to finish. Having this four-stage map is essential for staying organized and efficient.
Key Takeaways:
- The AI video production pipeline consists of four main stages:
- Ideation & Scripting: Defining the concept and writing the script.
- Asset Generation: Creating the necessary visuals (images, avatars) and audio (voiceover, music).
- Animation & Motion: Bringing static images to life, either as animated scenes or talking avatars.
- Editing & Assembly: Combining all assets in an editor like CapCut to create the final video.
- This structured workflow applies to various video types, including the UGC ads and animated stories you aim to create.
Next Lesson Preview:
Now that you have the map, the next step is to gather your tools. In our next lesson, we will survey and select free or trial-based AI tools for each stage of this production pipeline, building your personal AI video creation toolkit.