Hello! Welcome back to our journey into video editing with CapCut.
Introduction
In the last lesson, you mastered the fundamental skills of importing, trimming, splitting, and arranging your assets on the timeline. You now have the basic structure of a video sequence. However, in the world of social media, visual storytelling is only half the battle, especially when many viewers watch content without sound.
Today's lesson will address this by focusing on a crucial element for viewer engagement: captions. The learning outcome is to auto-generate and style animated captions to improve viewer engagement on social media. We'll use CapCut's powerful AI tools to automatically transcribe your voiceover and then dive into styling those captions to make them pop. This skill is essential for making your UGC videos and social media shorts accessible, clear, and visually exciting.
1. Why Captions Matter and How to Prepare Your Workspace
Before we jump in, it's important to understand why stylish captions are so effective. According to some studies, a large percentage of social media videos are watched on mute. Animated captions ensure your message is always understood, improve accessibility for viewers who are deaf or hard-of-hearing, and add a professional, dynamic polish that can stop a user from scrolling past.
Let's read a brief article from CapCut that explains these benefits.
Add Stunning Animated Subtitles to Videos Free in Minutes - CapCut
This article, 'Add Stunning Animated Subtitles to Videos Free in Minutes', explains the importance of animated subtitles for engagement and accessibility.
Read the section titled 'Why use animated subtitles'. It clearly outlines why this skill is so valuable for any content creator.
Now, let's set up your CapCut project to make sure your captions are perfectly placed for social media. A great practice is to use guides and a platform-specific preview.
How To Make VIRAL Captions in CapCut (Step by Step)
This video, 'How To Make VIRAL Captions in CapCut', shows a professional setup for captioning.
Watch from 01:06 to 01:53. The creator demonstrates how to add guides and turn on the 'social media preview' for Instagram Reels. This ensures your captions won't be covered by the app's interface buttons.
By setting up guides, you create a consistent baseline for your text, and the social media preview is an invaluable tool for composing your frame correctly for platforms like TikTok or Instagram.
2. Auto-Generating Captions with AI
With your workspace ready, it's time to let CapCut's AI do the heavy lifting. The Auto Captions feature will listen to the audio in your timeline (your voiceover track) and generate a synchronized transcript automatically.
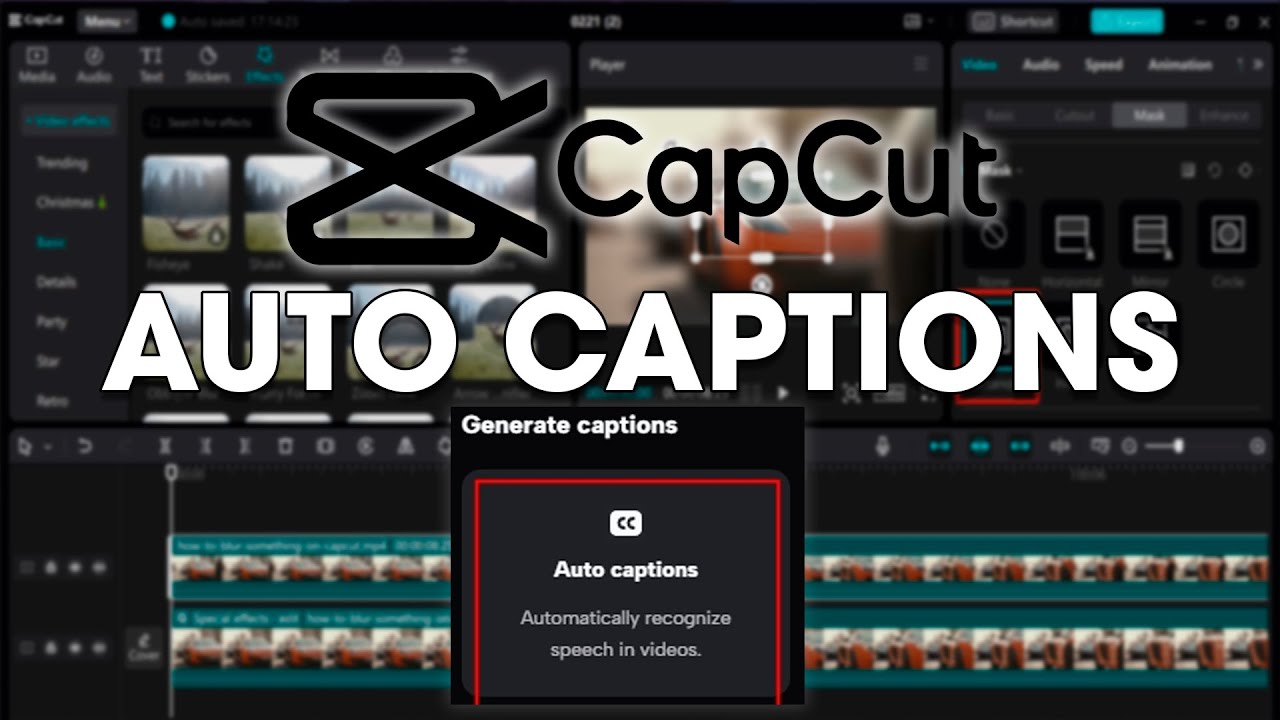
The following video provides a complete walkthrough of the auto-generation process and the options available.
Learn 90% about Captions Under 10 minutes | CapCut Captions Masterclass
The 'CapCut Captions Masterclass' video will guide you through using the Auto Captions feature.
Watch from 00:49 to 01:44. This section explains how to find and use the 'Auto caption' feature, select the spoken language, and it also introduces some Pro features like 'Auto highlight keywords' and 'AI emojis' that you can explore later.
After CapCut generates the captions, they will appear as a new track on your timeline. Your first step should always be to review the generated text for accuracy. AI is good, but not perfect!
Let's see how to edit the transcript and adjust the pacing.
Learn 90% about Captions Under 10 minutes | CapCut Captions Masterclass
Returning to the 'CapCut Captions Masterclass', this segment shows how to refine the generated text.
Watch from 07:10 to 07:23. Focus on how you can edit words directly in the 'Captions' panel and split a single long caption into two shorter ones by pressing 'Enter'. This is key for readability and pacing.
3. Styling Your Captions for Impact
Now for the creative part: styling. Good caption design makes your video look professional and reinforces your brand. But what makes a style "good"?
Choosing a Style
Before you start clicking buttons, think about the look you want to achieve. Should it be clean and professional? Bold and energetic? Soft and aesthetic?
This style guide from CapCut provides some excellent examples.
Caption Style Guide: Design Better Subtitles in 2025
This 'Caption Style Guide' introduces key design principles and showcases five trending styles.
First, read the section 'What makes a caption style stand out' to understand the basics of readability and clarity. Then, browse the '5 Trending caption styles you should try in 2025' to get inspiration for different aesthetics.
Applying Styles in CapCut
With some inspiration in mind, let's apply these ideas. CapCut offers two main ways to style your captions: using pre-made templates for speed, or customizing every detail for a unique look.
1. Using Templates (The Fast Way)
CapCut includes a huge library of professionally designed templates that you can apply with a single click.
Learn 90% about Captions Under 10 minutes | CapCut Captions Masterclass
Let's see how easy it is to apply a template in the 'CapCut Captions Masterclass' video.
Watch from 02:04 to 02:29. This shows you where to find the template library and how you can preview different styles on your video in real-time.
2. Customizing Your Style (The Creative Way)
For full control, you can customize everything from font and color to size and animation. When you customize, the most important setting is the "Apply to all" checkbox. When checked, any change you make applies to all your caption clips, ensuring a consistent look.
Learn 90% about Captions Under 10 minutes | CapCut Captions Masterclass
This final clip from the 'Masterclass' explains the customization panel.
Watch from 04:07 to 04:59. Pay close attention to the 'Apply to all' checkbox. The video shows how to make a global change (affecting all captions) and then how to uncheck it to style a single, specific word differently.
Feel free to experiment with the settings in the Text panel on the right. You can change fonts, add a background or stroke for readability, or even add effects like a Glow, which is shown in the same video from 05:04 to 05:15.
4. Enhancing Engagement: Highlighting & Emojis
To make your captions even more dynamic, you can use techniques that draw the viewer's eye to key words.
Keyword Highlighting
This popular effect changes the color of words one by one as they are spoken, or emphasizes important words with a different style.
Learn 90% about Captions Under 10 minutes | CapCut Captions Masterclass
The 'CapCut Captions Masterclass' covers how to highlight keywords automatically and manually.
Watch from 07:29 to 08:38. This section demonstrates how to manually select and style individual words, and how to use the 'Auto highlight keywords' Pro feature for an even faster workflow.
AI Emojis
For a more playful or informal tone, you can have CapCut automatically add relevant emojis to your captions.
Learn 90% about Captions Under 10 minutes | CapCut Captions Masterclass
Let's look at one last feature for engagement: AI Emojis.
Watch from 05:53 to 06:45. This clip shows how to turn on AI emojis and customize their position, size, and animation.
Conclusion
Fantastic work! You've just learned one of the most important skills for modern video creation. By combining CapCut's AI with your own creative choices, you can produce professional, engaging captions that capture and hold your audience's attention.
Key Takeaways:
- Preparation is key: Use guides and social media previews to position your captions effectively.
- Leverage AI: Use the Auto Captions feature to quickly generate a synchronized transcript.
- Refine and Pace: Always proofread your captions and split long sentences for better readability.
- Style with Purpose: Use templates for speed or custom settings for a unique brand identity. The "Apply to all" checkbox is your best friend for consistency.
- Enhance Engagement: Use keyword highlighting and AI emojis to make your captions more dynamic and visually interesting.
Next Lesson Preview:
Your video is now looking great, but how does it sound? In our next lesson, we will shift our focus to audio. You'll learn how to balance audio levels between your voiceover, music, and sound effects for a professional mix, ensuring your video is a pleasure to both watch and hear.