Introduction
In our last lesson, we explored the "what" and "why" behind Continuous Integration and Continuous Delivery, establishing the conceptual groundwork for modern DevOps practices. You now have a solid understanding of CI/CD pipelines and the central role Jenkins plays in automating them.
Today, we transition from theory to practice. This lesson is all about getting your hands dirty and setting up your own Jenkins environment. We will walk through the entire process of installing Jenkins on a Linux server and completing the initial configuration wizard. Your familiarity with the Linux command line will be a great asset as we work through the installation steps. By the end of this lesson, you will have a fully operational Jenkins server, ready to start building your first CI/CD pipelines.
Preparing Your Server: The Java Prerequisite
Before we can install Jenkins, we need to ensure its primary dependency is in place. Jenkins is a Java-based application, which means it requires a compatible Java Runtime Environment (JRE) to run. The official Jenkins project recommends specific versions of Java.
Let's start by looking at the official requirements and then installing a suitable version of Java on your Ubuntu server.
This is the official Jenkins documentation for Linux installations. It's our primary source of truth for requirements.
First, review the Prerequisites section to get a sense of the hardware and software needs. Note the Java version requirement. Then, in the "Debian/Ubuntu" section, read the part on Java installation, which emphasizes why it's important to install Java before Jenkins.
As the documentation highlights, installing Java first is crucial to avoid startup issues. We'll install OpenJDK 17, which is a Long-Term Support (LTS) version fully compatible with modern Jenkins.
To see this process in action, the following video provides a clear walkthrough. We'll start by watching the segment on updating your system and installing Java.
Build a Jenkins Server on Ubuntu 24.04: Easy Setup Tutorial
This video from Learn Linux TV provides a clear, step-by-step guide to setting up Jenkins on a recent Ubuntu version.
Watch the first part of the video that covers installing and verifying Java.
Now, on your own Linux server, execute these commands in your terminal to update your package index and install OpenJDK 17.
- Update your package list:
sudo apt update - Install OpenJDK 17:
sudo apt install openjdk-17-jre - Verify the installation:
java -version
You should see output confirming that OpenJDK version 17 is installed. With Java in place, your server is ready for Jenkins.
Installing Jenkins on Ubuntu
We will install Jenkins using its official repository, which ensures we get a stable, up-to-date version. The process involves adding the Jenkins repository's GPG key for security, adding the repository itself to your system's sources, and then using apt to perform the installation.
The DigitalOcean article "How To Install Jenkins on Ubuntu" provides an excellent, command-by-command guide for this entire process. We will follow its steps closely.
How To Install Jenkins on Ubuntu | DigitalOcean
This guide provides a comprehensive walkthrough of the installation and initial configuration process. It's a great practical reference.
Follow the instructions in Step 1 to add the Jenkins repository and install the package. Next, follow Step 2 to start the Jenkins service with systemctl and verify it's running. Finally, complete Step 3 to configure ufw to allow access to Jenkins. Execute the commands on your server as you read.
To complement the article, you can also watch the installation portion of the Learn Linux TV video. Seeing it done can help solidify your understanding of the process.
Build a Jenkins Server on Ubuntu 24.04: Easy Setup Tutorial
This segment of the video covers the exact steps laid out in the DigitalOcean article for adding the repository and installing Jenkins.
Watch the section from adding the repository through the final installation command. Notice how the apt update command now shows the Jenkins repository being checked.
After completing these steps, you will have:
- Added the secure key and official Jenkins repository.
- Installed the Jenkins package using
apt. - Started the Jenkins service using
systemctl. - Opened port
8080in your firewall.
Your Jenkins server is now installed and running. The final step is to perform the initial setup through its web interface.
The Post-Installation Setup Wizard
With the service running and the firewall port open, you can now access the Jenkins web UI to complete the setup. This is a one-time process to secure your instance and install essential plugins.
- Access the Jenkins UI: Open a web browser and navigate to
http://your_server_ip:8080. You will be greeted by the "Unlock Jenkins" screen.
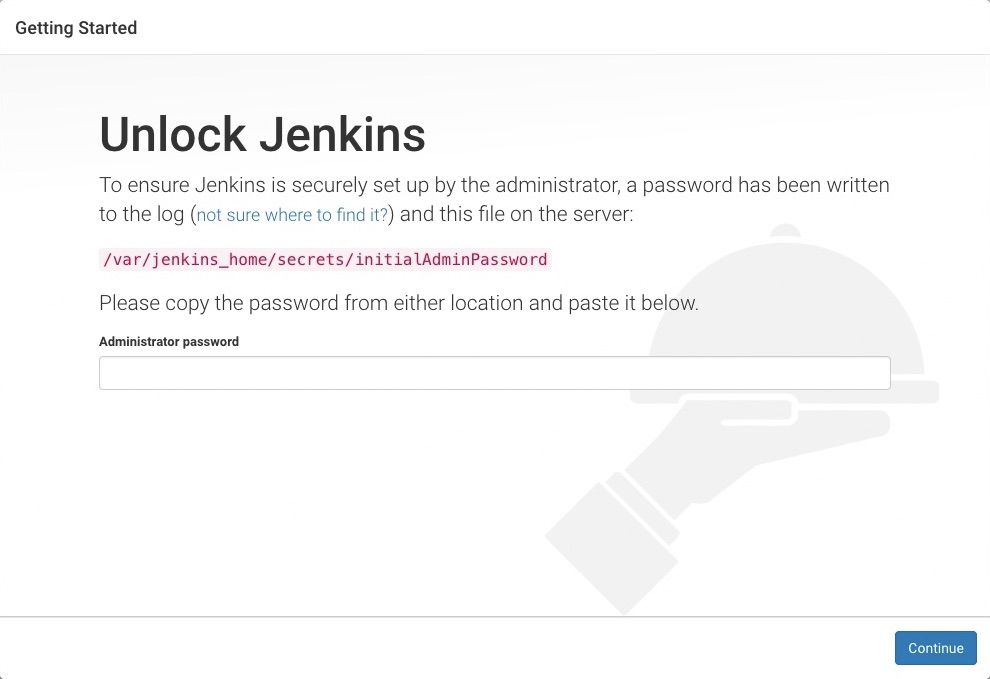
*The Unlock Jenkins screen, which requires an initial administrator password to proceed with the setup.*
2. Unlock Jenkins: To ensure you are the legitimate administrator, Jenkins requires an initial password. This password was automatically generated during installation and stored in a file on your server. As the screen indicates, you can find it at /var/lib/jenkins/secrets/initialAdminPassword.
Use the `cat` command in your terminal to display this password:
```bash
sudo cat /var/lib/jenkins/secrets/initialAdminPassword
```
Copy the long alphanumeric string from your terminal, paste it into the "Administrator password" field in your browser, and click "Continue".
3. Customize Jenkins with Plugins: The next screen gives you two options for installing plugins. For your first time, the recommended approach is to install the standard set of plugins.
* Click "Install suggested plugins".
* Jenkins will now begin installing a set of plugins essential for common CI/CD tasks, such as Git integration and pipeline functionality. This may take a few minutes.
- Create Your First Admin User: After the plugins are installed, you'll be prompted to create your own administrator account. It is highly recommended to create your own user rather than continuing with the default
adminaccount.
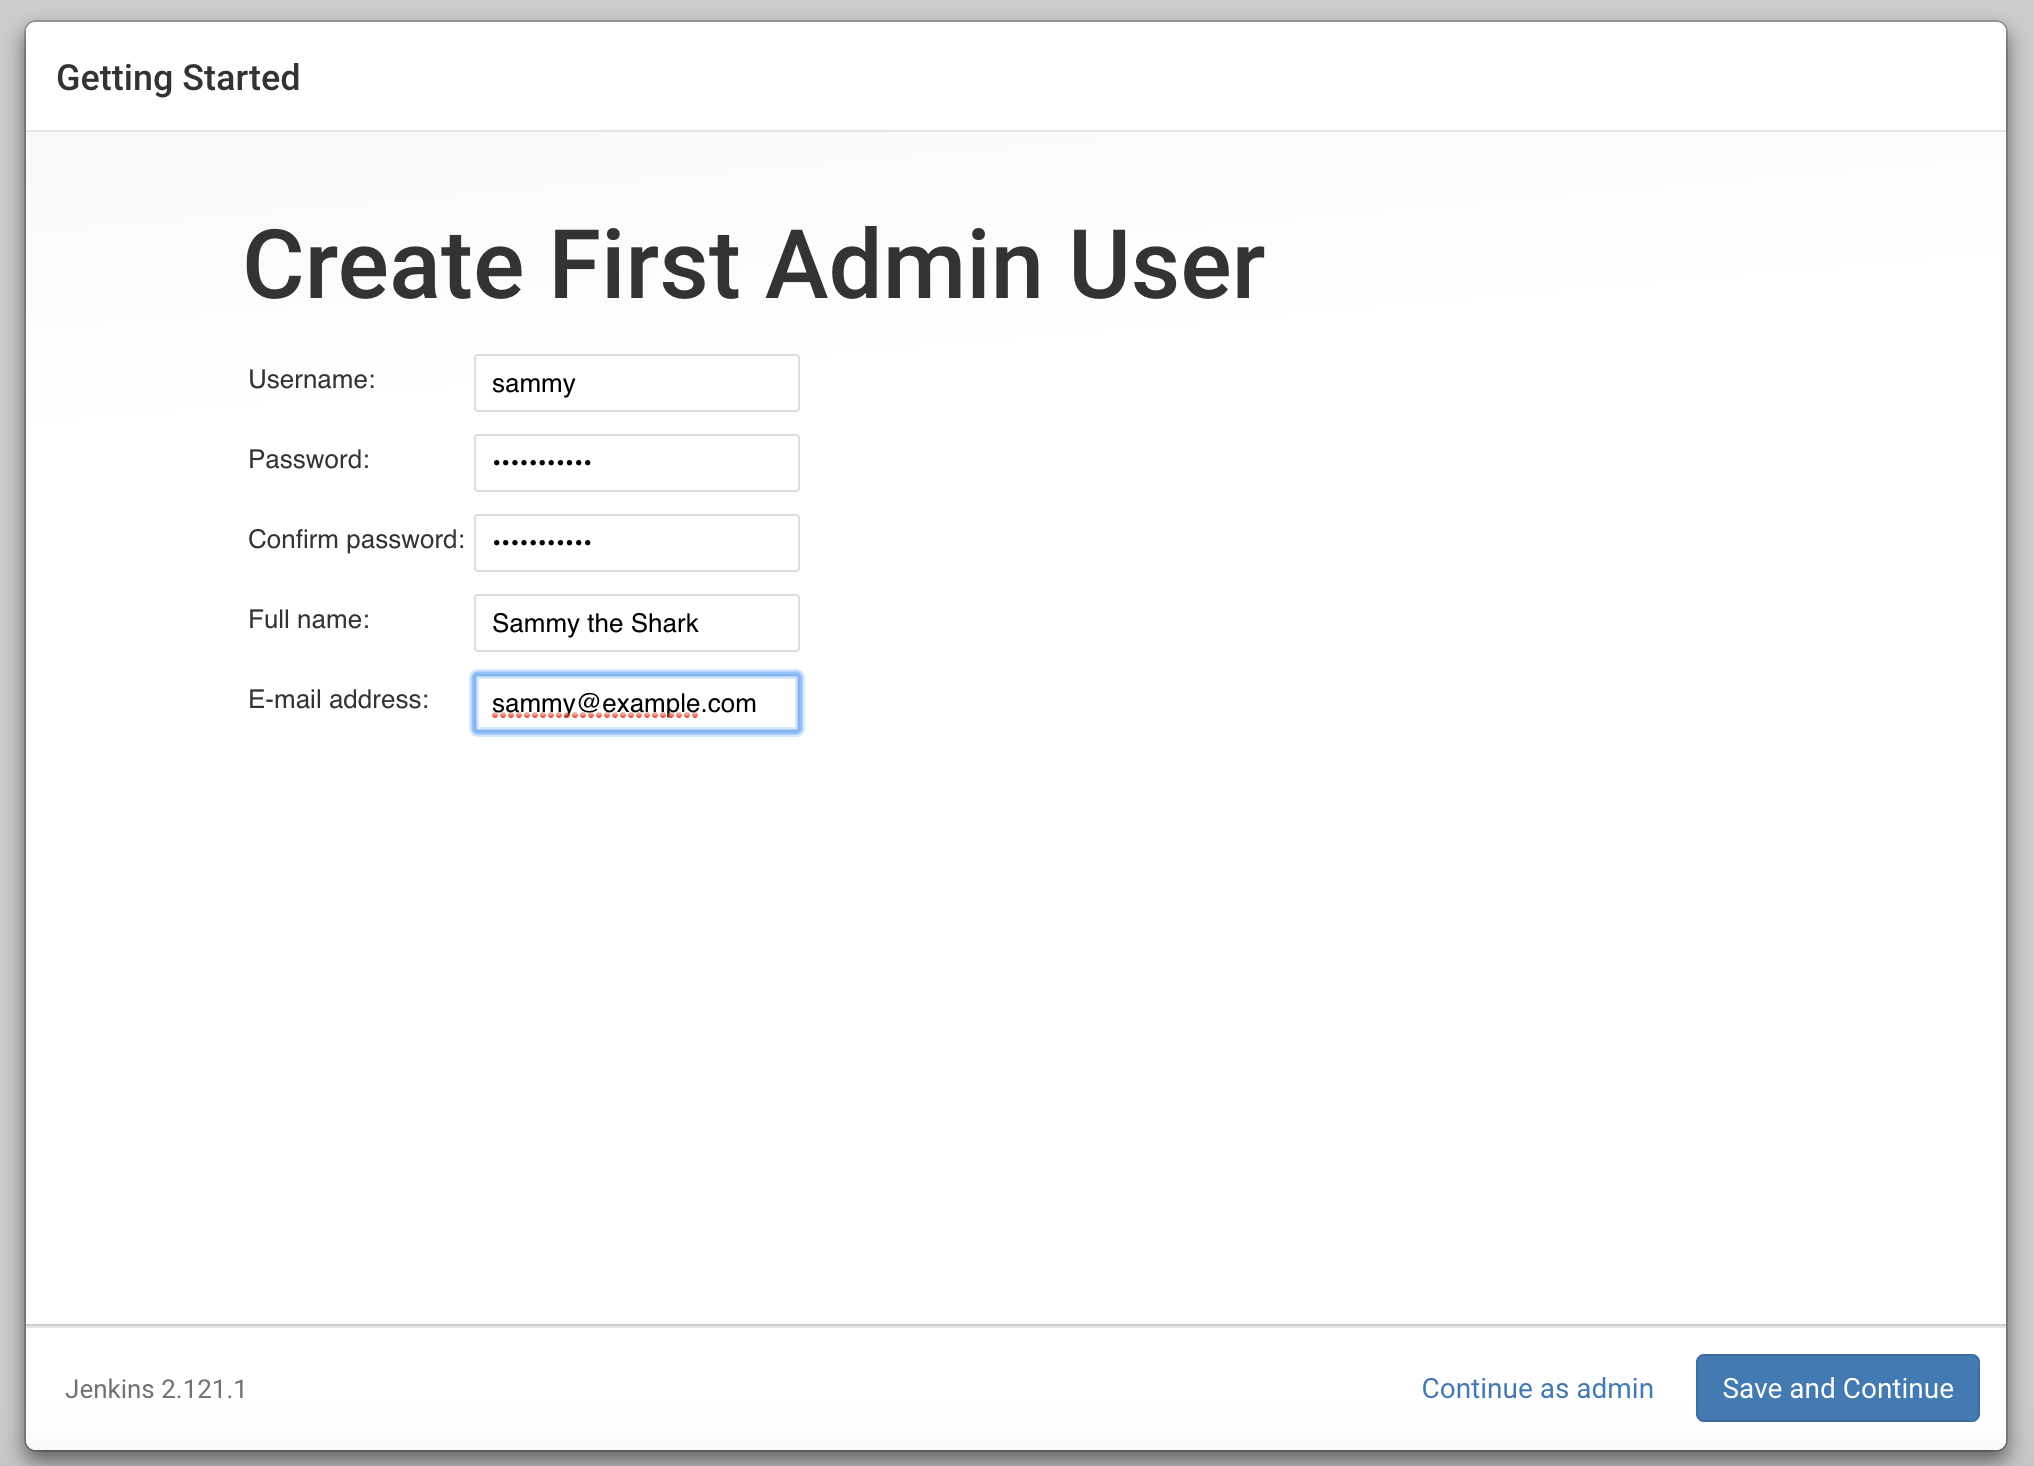
*The Create First Admin User screen, where you will set up your personal administrator credentials.*

Fill out the form with your desired username, password, full name, and email address, then click **"Save and Continue"**.
5. Instance Configuration: The final screen asks you to confirm the URL for your Jenkins instance. The default value, based on your server's IP address and port, is usually correct. Click "Save and Finish".
You should now see a "Jenkins is ready!" page. Click "Start using Jenkins" to be taken to your new Jenkins dashboard.
For a final visual confirmation of these UI steps, you can watch the last part of the setup video.
Build a Jenkins Server on Ubuntu 24.04: Easy Setup Tutorial
This video covers the web-based setup wizard, from unlocking Jenkins to creating the admin user.
Watch the segment showing the unlock and plugin installation process. Then, watch the final part on creating the user and finishing the setup.
Conclusion
Congratulations! You have successfully moved from theory to a tangible, working system. In this hands-on lesson, you installed Jenkins on a Linux server and completed the essential post-installation setup.
Here are the key takeaways from today's session:
- Jenkins is a Java application and requires a compatible Java version (like OpenJDK 17) to be installed first.
- Installation on Ubuntu involves adding the official Jenkins
aptrepository to ensure you receive stable and up-to-date releases. - The Jenkins service is managed using
systemctl, and network access is typically controlled via a firewall likeufwon port8080. - The initial setup involves unlocking Jenkins with a secret key, installing a set of recommended plugins, and creating a personal administrator account.
You now have your own Jenkins server, the control center for all the automation you'll build in this course. In our next lesson, we will familiarize ourselves with the Jenkins dashboard and configure some essential global settings, such as paths for your JDK and Git installations, which will prepare us to create our very first Jenkins job.