Hello! Welcome to the first lesson in our module, "Advanced Techniques: Dialogue and Lip-Sync."
In the last module, we mastered the art of assembly. We learned how to sequence clips, use transitions, and, most recently, how to align our cuts to the rhythm of a music track. We've essentially been creating powerful silent films with musical scores. Today, we take a huge leap forward by giving your characters a voice.
This lesson focuses on the foundational step of bringing dialogue into your project. Specifically, you will learn how to import character animations and AI-generated dialogue into a video editing timeline. This is the crucial setup phase that prepares your project for the magic of lip-syncing, which we'll tackle in the next lesson.
The Two Paths to Dialogue
When creating talking characters with AI, there are two primary workflows you'll encounter, depending on the tools you use. Understanding both will give you the flexibility to handle any project.
- The Integrated Workflow: Some AI tools generate a short video clip with the character already talking and lip-synced. Your job is to generate these clips sentence by sentence and then assemble them in your video editor to form a complete conversation.
- The Component Workflow: This more common and flexible method involves creating your assets separately. You generate a silent character animation (the video) and then generate the corresponding dialogue using a Text-to-Speech (TTS) tool (the audio). You then import both of these "components" into your editor and place them on the timeline.
Let's explore each of these workflows in detail.
Workflow 1: The Integrated Approach
This approach is common with all-in-one AI video apps. You provide an image and a line of text, and the tool produces a short, talking video clip. Your main task becomes one of assembly.
The video below demonstrates this workflow using Grock AI, a tool you've experimented with. Pay close attention to the strategy of generating dialogue in short, separate batches.
Generate FREE High Quality Talking Ai Images and Videos For Free (Forget Sora 2 and Veo 3).
The video 'Generate FREE High Quality Talking Ai Images and Videos For Free' provides an excellent demonstration of the integrated workflow.
Please watch the segment from 07:17 to 10:00. Focus on these key points: How a line of text is used to generate a short (e.g., 6-second) talking video. The explicit advice to generate a long piece of dialogue in short batches. How these individual clips are intended to be brought into an editor like CapCut and stitched together to form a longer conversation.
As you can see, the process is:
- Finalize your character's script.
- Break the script down into short sentences or phrases.
- In your AI tool, generate one video clip for each sentence.
- Import all the resulting video files into your video editor.
- Place them back-to-back on the timeline to reconstruct the full monologue or dialogue scene.
This method is fast for simple scenes but offers less control over timing and performance compared to the component workflow.
Workflow 2: The Component Approach
This is the standard workflow in professional video production and offers the most creative control. You act as the director, bringing together the separate visual and audio performances in your editing timeline.
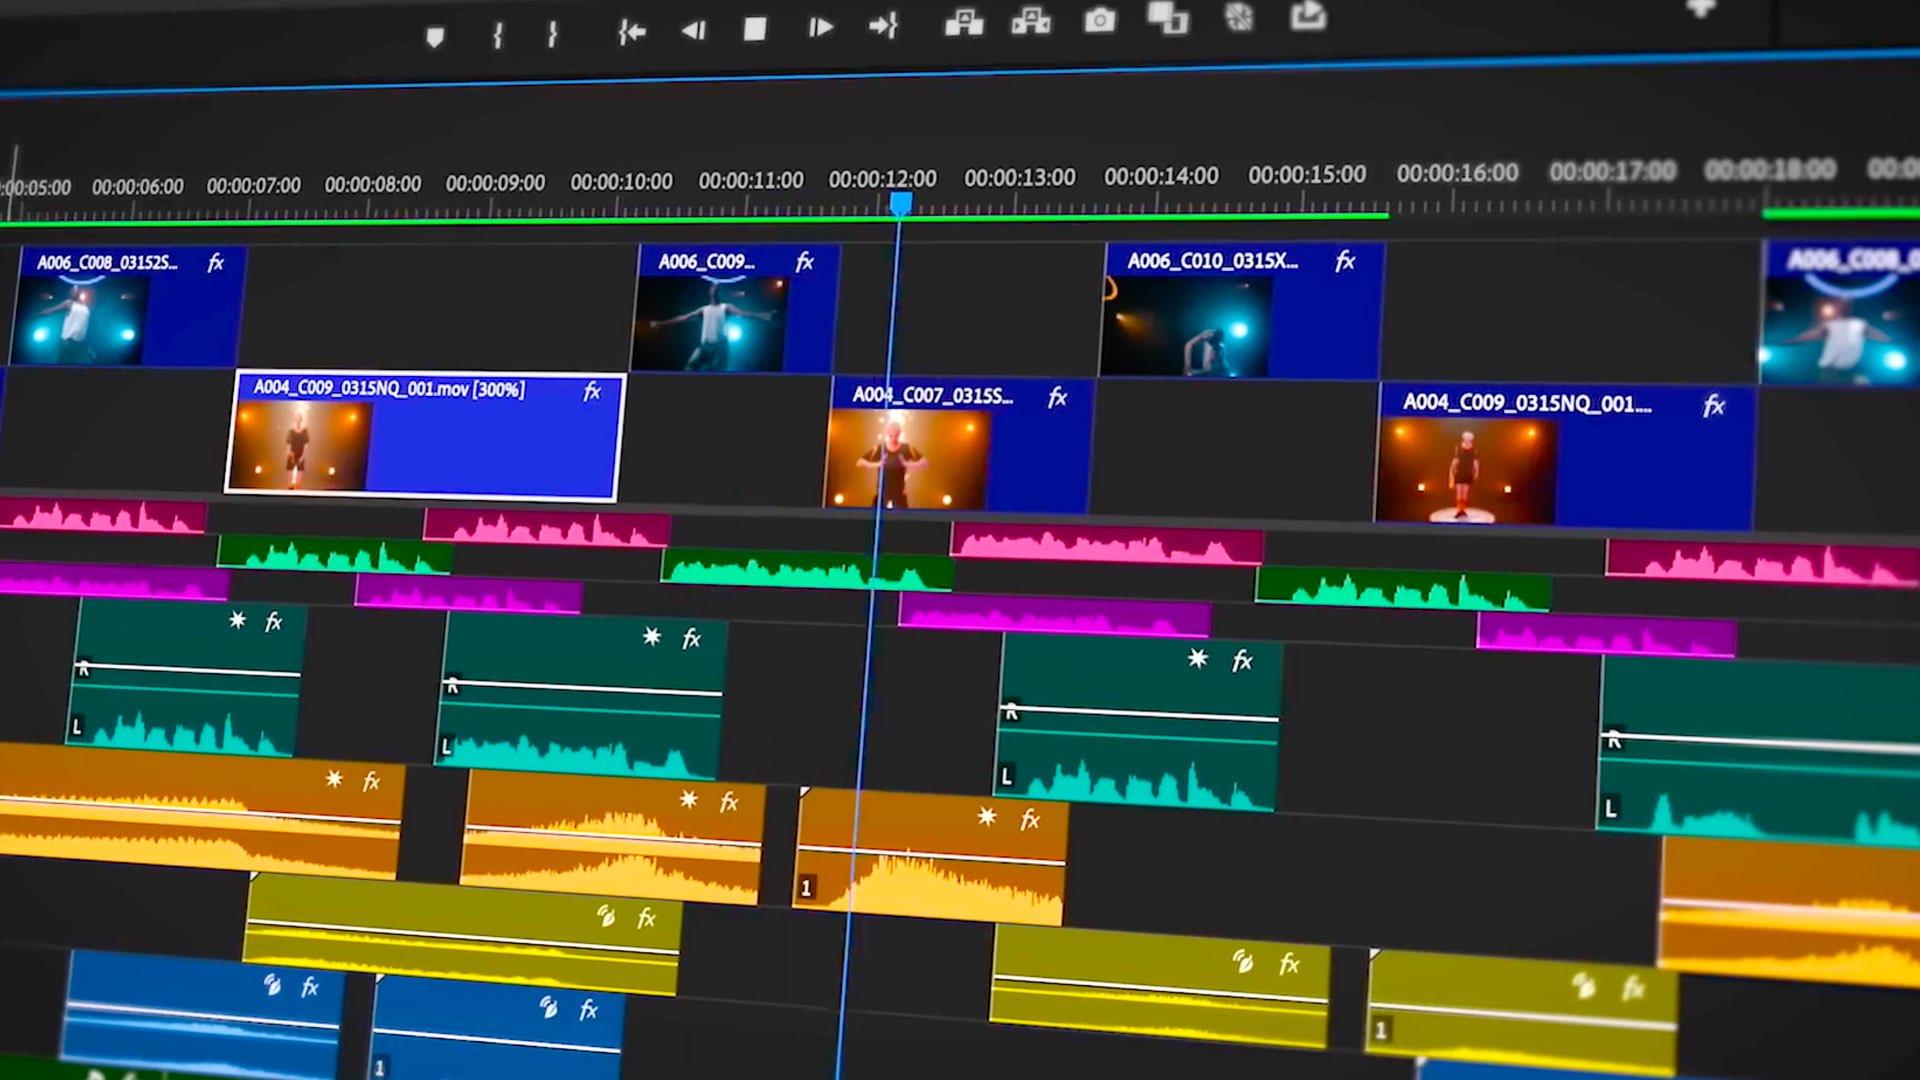
This workflow is best described by the professional term Automated Dialogue Replacement (ADR). To understand the principles, let's look at a conceptual guide.
How to Seamlessly Sync AI Voiceovers with Video (AI Dubbing & ADR)
The article 'How to Seamlessly Sync AI Voiceovers with Video' from Kukarella provides a clear, professional breakdown of different syncing workflows. We'll focus on the one that applies directly to our task.
Please read two short sections: Start with 'The Two Core Challenges: ADR vs. Dubbing' to understand the terminology. Then, read about the 'Workflow 2: The "Visuals-First" Method (for AI Dubbing & ADR)'. Pay close attention to the core principle: You manipulate the audio to match the video. Note the steps of generating audio line-by-line and placing it on the timeline.
The "Visuals-First" method is the heart of the component workflow. Let's break down the practical steps.
Step 1: Generate and Import the Character Animation
First, you need your character's performance. Using an AI tool like Sora, Veo, or Nano Banana, generate a silent video clip of your character. This could be them listening, reacting, or simply moving naturally. Once you have this video file, import it into your video editor and place it on the main video track (e.g., V1).
Step 2: Generate and Import the AI Dialogue
Next, you need the voice. This is where Text-to-Speech (TTS) tools come in. You'll use your script to generate a high-quality audio file.
The following guide walks through this process using ElevenLabs, a popular TTS tool, and Adobe Premiere Pro, a professional video editor. The principles are the same for any TTS tool and editor you choose.
Guide to ElevenLabs text to speech with Adobe Premiere Pro
This 'Guide to ElevenLabs text to speech with Adobe Premiere Pro' shows the practical steps of creating an AI voiceover and bringing it into your project.
Please read the sections 'How to combine ElevenLabs TTS with Premiere Pro' starting from 'Step 1: Prepare your script' through 'Step 4: Import the audio into Premiere Pro'. Focus on the simple process: paste script, generate audio, download the MP3, and import it into your editor.
Step 3: Place the Dialogue on the Timeline
With both the video and audio files imported into your project, you can now place them on the timeline.
- Drag your character animation video onto a video track (e.g., V1).
- Drag your AI-generated dialogue audio file onto a separate audio track directly below it (e.g., A2).
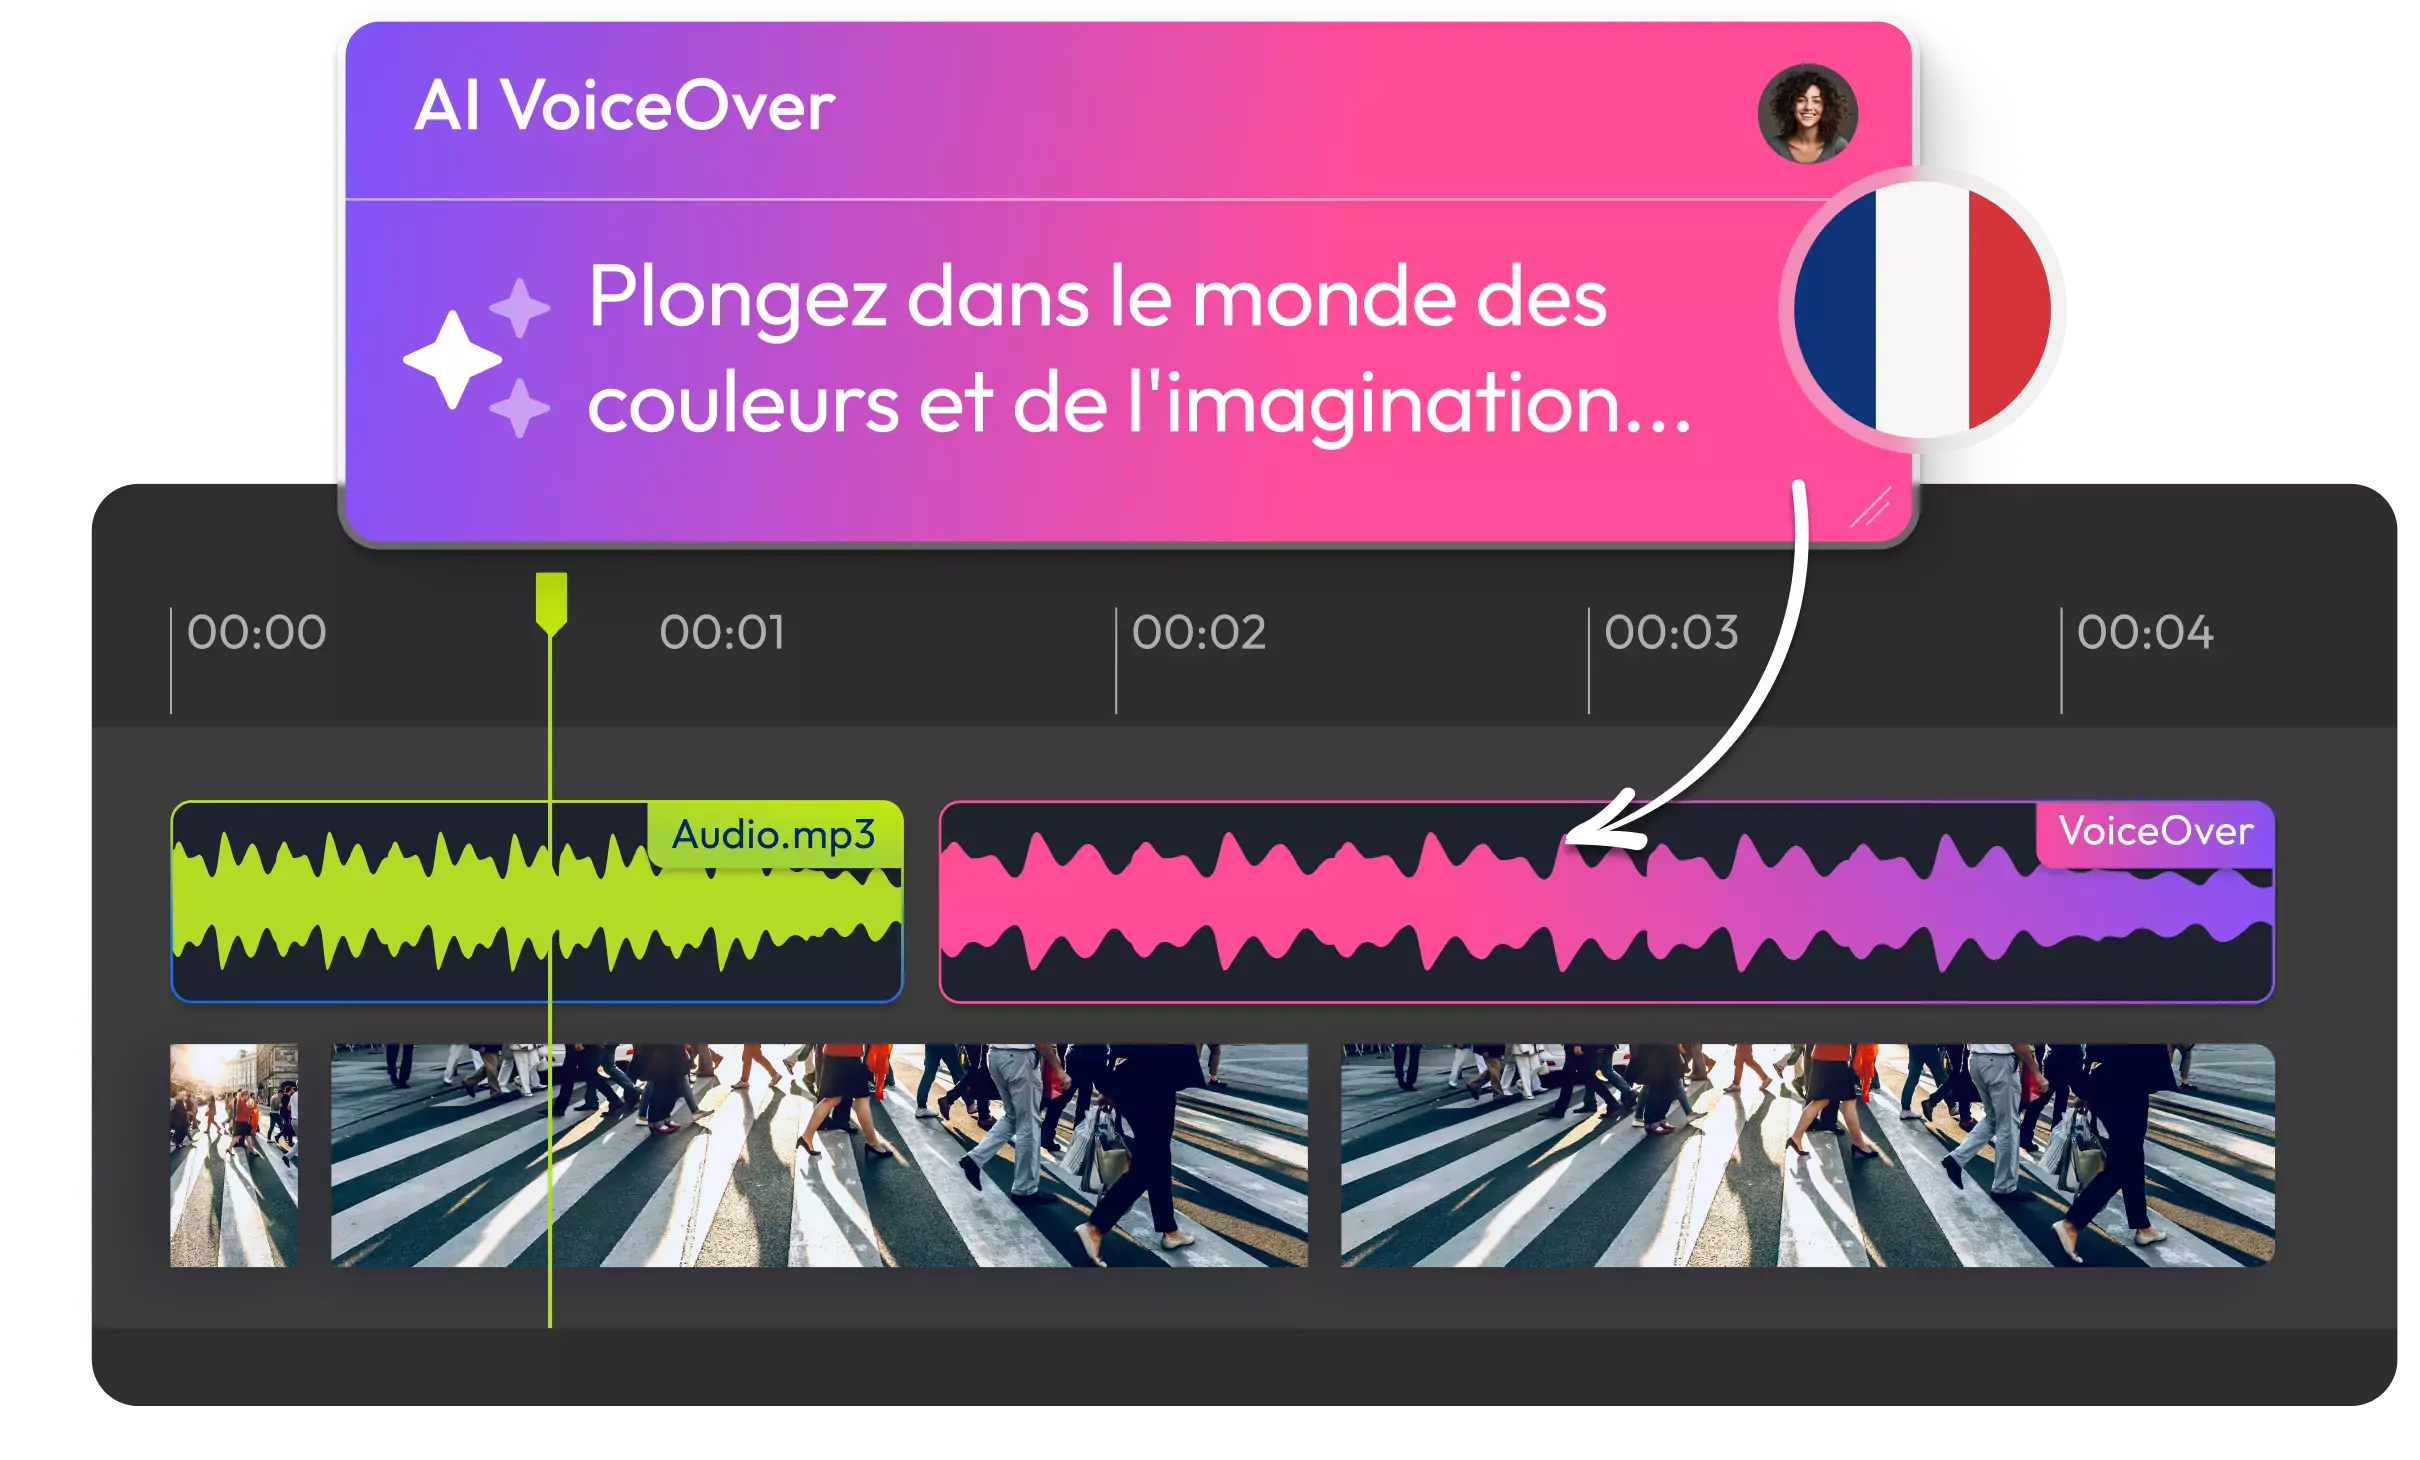
You can now slide the audio clip left or right to position the start of the dialogue precisely where you want it in relation to the character's on-screen actions.
Test your understanding!
You have a 12-second silent animation of a character looking around a room and then showing a clear expression of surprise at the 8-second mark. You also have a 2-second audio file of that character saying, "Whoa, what's this?"
Using the component workflow, how would you arrange these on your timeline for the most natural effect?
Show answer
- Place the 12-second video clip on video track V1.
- Place the 2-second audio clip on audio track A2.
- Slide the audio clip along track A2 so that it starts at the 8-second mark, perfectly aligning the beginning of the dialogue ("Whoa...") with the character's visual expression of surprise.
To see this process in action, the next video provides a great summary. It shows someone importing a generated video and a separate voiceover into CapCut, preparing them for the lip-sync process.
How to Create a Free AI Avatar That Talks & Moves
This clip from 'How to Create a Free AI Avatar That Talks & Moves' clearly demonstrates the component workflow inside a real video editor.
Watch the segment from 08:17 to 09:20. Notice how the video clips are placed on the timeline first, and then the voiceover is added as a separate track underneath. The clips are then split and aligned before being exported for lip-syncing.
Conclusion
Today we've laid the essential groundwork for creating talking characters. You now understand the two primary methods for getting your character animations and dialogue into your editing timeline, ready for the next step.
Key Takeaways:
- Integrated Workflow: AI tools generate short, pre-synced talking clips that you must assemble in your editor.
- Component Workflow: You generate visuals (animation) and audio (dialogue) separately and import them into different tracks on your video editor's timeline.
- This second workflow, also known as the "Visuals-First" or ADR method, offers greater creative control.
- The goal of this lesson is to have both the character animation and the dialogue track sitting in your timeline, roughly aligned with the on-screen action.
Preview of the Next Lesson:
We have our character on screen and their voice on the audio track. But their lips aren't moving in sync! In our next lesson, we will tackle this head-on as we learn how to use lip-syncing tools to match character mouth movements to the audio track, truly bringing your characters to life.