Hello! In our last lesson, we outlined a comprehensive, four-phase workflow to guide you in planning and executing your 3-5 minute capstone project. You now have a clear project plan, from pre-production asset creation to final delivery.
As you embark on this final project, you'll inevitably encounter moments where the AI doesn't behave as expected. Longer narratives magnify small errors, and what was a minor quirk in a 10-second clip can become a major narrative disruption in a 3-minute film.
This lesson is your troubleshooting guide. We will focus on how to analyze and solve common production challenges that arise in longer AI video projects. Think of this as the field manual for when your production process hits a snag. We'll explore why these issues happen and, more importantly, what you can do to fix them. Acknowledging and preparing for these challenges is a key step in moving from an enthusiast to a proficient AI video creator.
The Art of Diagnosis: Identifying Common Problems
Before you can solve a problem, you must correctly identify it. In AI video production, issues often fall into a few common categories. Your background in consulting will be an asset here, as this process is similar to diagnosing a business problem: observe the symptom, identify the root cause, and then apply a targeted solution.
Let's define the most frequent challenges you'll face:
- Identity Drift: The most notorious problem. Your character's facial features, body shape, or key identifiers change from one shot to the next, breaking the illusion that they are the same person.
- Style Creep: The overall visual aesthetic you carefully crafted begins to change. A "gritty neo-noir" style might suddenly look too clean, or a "soft watercolor" animation might become sharp and digital.
- Wardrobe Hallucinations: A character's clothing details—patterns, logos, or even entire articles of clothing—morph, appear, or disappear between shots.
- Physics Glitches: The simulation of the world breaks down. Objects might feel weightless, "float" unnaturally, morph during movement, or collide in an unrealistic manner.
- Continuity Errors: The environment itself changes illogically. An object on a table might move between a shot and a reverse-shot, or the time of day might shift inconsistently.
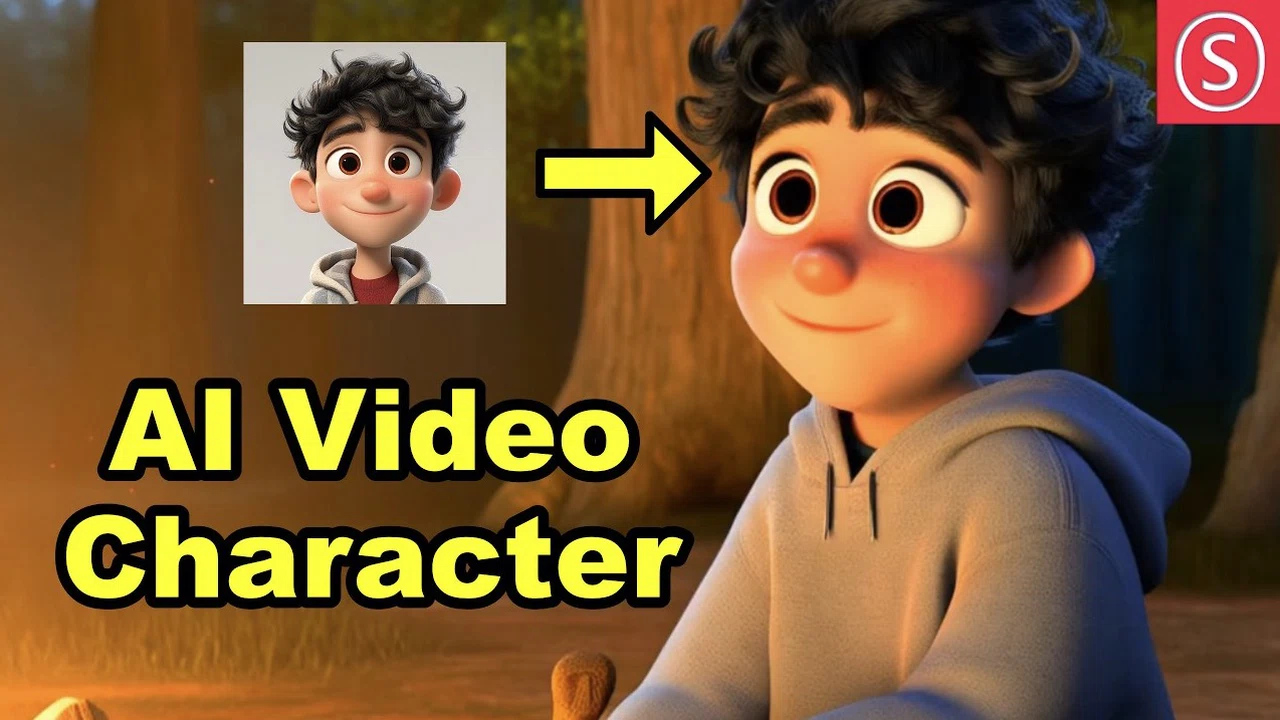
Recognizing these issues is the first step. Now, let's build your toolkit for solving them.
Troubleshooting Toolkit Part 1: Solving Consistency Challenges
Maintaining consistency is the single biggest challenge in longer AI video projects. Here are several powerful techniques, ranging from simple workflow hacks to more advanced prompting strategies.
The "Last Frame, First Frame" Method
One of the most direct ways to enforce continuity is to create an explicit link between your clips. The logic is simple: the end of one clip should be the beginning of the next.
This video from zapiwala ai demonstrates a practical, albeit manual, workflow for achieving this.
Unlock the SECRET to Long AI Videos FREE & Unlimited 🔥 Meta AI Video Generator
This technique ensures a seamless transition by using the final frame of your previous clip as the image prompt for the next one. It's a robust method for creating a continuous flow of action.
Watch from 05:12 to 06:43. Focus on the core 'secret trick': downloading a clip, taking a snapshot of its last frame, and uploading that snapshot to generate the next scene. This manually creates the strong visual link needed for continuity.
This method is highly effective for chaining together shots that are meant to feel like a single, unbroken take, even if they were generated separately.
The "Return to Origin" Method
A common pitfall is to generate Clip B from Clip A, then Clip C from Clip B, and so on. Each generation introduces a tiny amount of drift, which accumulates over time. By the time you get to Clip Z, your character may be unrecognizable.
A more robust, if sometimes more tedious, method is to always generate new scenes from your single, highest-quality "hero" shot that you created in pre-production.
The creator at AI Video School showcases this method, and importantly, also discusses the real-world workflow frustrations that can come with it.
Make Consistent Characters & Scenes with Google Flow's "Jump To" (AI Video Tutorial)
This video provides a deep dive into using a 'Jump To' feature, but the key takeaway is the creator's strategy for fighting consistency drift. It's a perfect example of a practical, production-tested workflow.
Watch from 00:00 to 03:08, and then from 04:30 to 06:22. Pay close attention to: The concept of starting with one perfect 'hero' clip (00:40). The core insight: the creator repeatedly returns to the original clip to generate new scenes. This avoids the cumulative drift that happens when you chain generations together (03:45). The honest look at workflow challenges, like the tool's interface making this process difficult. This is a normal part of AI production (05:25).
Strategic Prompting for Consistency
Your prompts are your primary tool for control. To combat inconsistency, your prompts need to be precise and strategic.
Let's explore an article that provides a foundational framework for maintaining style consistency.
Maintaining Style Consistency in AI Animation
This article from LongStories.ai breaks down the core challenges of style consistency and provides a clear workflow for solving them. It introduces key concepts like 'Style Drift' and 'Character DNA'.
Please read the sections 'Building a Workflow for Consistent AI Animation Styles' and 'Troubleshooting Style Drift Issues'. Focus on the specific solutions offered, such as using fixed seeds, negative prompts, and adjusting tool-specific parameters.
Based on that reading and other best practices, here are some key prompting tactics:
- Prompt the Setting First: When jumping to a new scene, start your prompt with the new environment. For example: "Inside a bustling coffee shop, our hero looks out the window." This tells the AI to prioritize changing the background, reducing the chance of it morphing the character with the background. The video from AI Video School (LINK) highlights this tip at 01:45.
- Reinforce the Environment: To maintain a consistent location across multiple shots, explicitly tell the AI. For instance: "Same kitchen, but now it is morning. The woman cracks an egg..." The AI Video School video (LINK) also demonstrates this technique effectively at 07:30.
- Use Negative Prompts: Be explicit about what you don't want. If a character keeps generating with glasses, add
no glassesorwithout glassesto your prompt. The article "Maintaining Style Consistency" (LINK) discusses this in the "Solutions for Fixing Style Drift" section. - Lock in Your Seed: If your tool allows, using the same seed number across multiple generations can help maintain a consistent "noise" pattern, which contributes to a more stable look.
Troubleshooting Toolkit Part 2: Taming Motion and Physics
When objects move without weight or morph unnaturally, it instantly breaks immersion. Solving this requires thinking less like an artist and more like a physics director. You need to tell the AI how and why things are moving.
The following article is a masterclass in this technical approach to prompting. It details how to talk to different AI models in the language they understand.
How to Actually Control Next-Gen Video AI
This guide from Creative AI Ninja explains the shift from vague descriptions to precise, technical direction. It provides concrete prompting syntax to control physics and motion, which is essential for solving these types of glitches.
Please study the following sections to learn how to fix motion and physics issues: Runway Gen 4.5: Mastering Motion and Camera Control: Focus on the 'The Force-Reaction Syntax' and how it uses weight descriptors and force language. Common Runway Failures and Fixes: These are direct problem-solution pairs for morphing, weightlessness, and jerky cameras. Fixing Physics Glitches (Sora): Read the three examples for fixing common physics problems. The principles apply across different models. Common Failure Patterns and Fixes (All Models): Review this summary for general fixes that reinforce what we've discussed.
The core takeaway is to use Force-Reaction Syntax. Instead of "A car crashes," you would prompt: "A heavy sedan moving at high velocity impacts a concrete barrier. The front hood crumples inward; glass shatters with momentum; the chassis recoils from the impact force."
By using words that describe cause, effect, and physical properties, you are giving the model's physics engine specific instructions to execute.
Test your understanding!
You are trying to create a shot of a single teardrop rolling down a character's cheek. Your simple prompt, "A tear rolls down her face," produces a weird, watery smudge that doesn't look realistic.
Using the principles of "Force-Reaction Syntax," how could you rewrite this prompt for a more realistic result?
Show answer
A good prompt would focus on the physics of the fluid. For example:
"A single teardrop forms at the corner of the woman's eye. Pulled by gravity, the viscous droplet traces a path down her cheek, clinging to the skin due to surface tension. It slows as it crosses the contour of her cheekbone before continuing its descent."
This prompt uses words like "forms," "pulled by gravity," "viscous," "traces a path," "clinging," and "surface tension" to guide the AI's fluid dynamics simulation.
Conclusion
You are now at the forefront of a new creative field, and with that comes the challenge of navigating tools that are still evolving. Encountering production problems is not a sign of failure; it is a normal part of the process. The difference between an amateur and a professional is the ability to diagnose those problems and systematically apply a solution.
Key Takeaways:
- Production challenges are inevitable. Learning to diagnose issues like identity drift, style creep, and physics glitches is a critical skill.
- Consistency is engineered, not accidental. Use deliberate workflows like the "last frame, first frame" method or the "return to origin" strategy to maintain control.
- Prompt with technical precision. Shift your language to direct the AI. Use force-reaction syntax for motion and be explicit about settings and negative constraints for consistency.
- Adapt your strategy. Different tools have different quirks and strengths. The solution for one may not work for another. Be prepared to experiment and find the unique "language" your chosen tool understands.
You now have not only a plan for executing your project but also a guide for troubleshooting it. This lesson provides the last major piece of the conceptual puzzle. The final steps in the course are to apply these skills by documenting your own workflow and compiling your completed videos into a final portfolio.
You have the map and the toolkit. It's time to build.