Hello! Welcome to your first lesson on AI Automation with n8n.
Today, we'll get you set up with the main tool for this course: n8n. Our goal is to create your free n8n Cloud account. This is the foundation for everything we'll build, from simple automations to the AI-powered workflows you're keen to create.
Because you prefer a practical, hands-on approach and want to avoid technical setup, we'll be using the cloud version. It's the fastest way to get started and lets us dive straight into building automations.
Let's begin!
What is n8n?
Think of n8n (pronounced "n-eight-n") as a digital assembly line for your data and apps. It allows you to connect different software services (like Gmail, Google Sheets, and ChatGPT) and create automated processes, which n8n calls workflows. You build these workflows on a visual canvas by connecting nodes, without needing to write any code.
To get a quick sense of what's possible, the following video from the n8n team provides a great overview.
n8n Quick Start Tutorial: Build Your First Workflow [2025]
Watch the first minute of this video, 'n8n Quick Start Tutorial', to see a high-level introduction to the key concepts we'll be covering throughout this course.
Watch from the beginning until timestamp 01:00. Pay attention to the mention of triggers, actions, and how data flows between steps.
Don't worry about understanding all the details just yet. The key takeaway is that n8n allows you to build powerful automations visually.
Creating Your n8n Cloud Account
Now, let's get you set up. We'll follow the official n8n quickstart guide, which will help you create a free account and will also pre-load an example workflow for you to see right away. This is a great way to jump right in.
This guide from the official n8n documentation, 'A very quick quickstart', provides the most direct path to creating your cloud account.
Follow the instructions in the section titled 'Step one: Open a workflow template and sign up for n8n Cloud'. Click the link under point 1 ('Templates | Very quick quickstart') and then select 'Get started free with n8n cloud' to begin the sign-up process.
As you go through the sign-up process, you will be asked to create an owner account. The form will look similar to this:
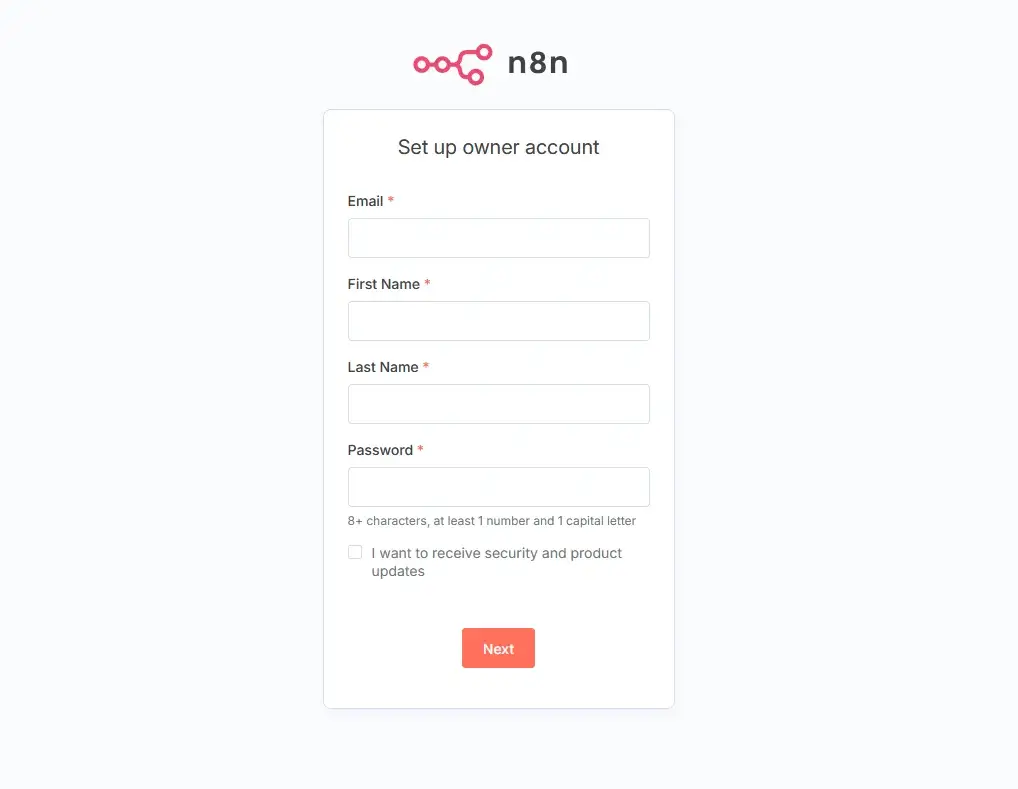
Once your account is created and you log in for the first time, you will be taken directly into your n8n workspace with an example workflow already on your screen.
Test your understanding!
What is the main advantage of using n8n Cloud for someone who is new to automation and doesn't have a technical background?
Show answer
The main advantage is that it requires no installation or server management. You can sign up and start building workflows immediately in your web browser, which is ideal for focusing on learning automation concepts rather than dealing with technical setup.
Your First Look at the n8n Workspace
After creating your account through the quickstart link, you should now be looking at your n8n workspace with a pre-loaded workflow. It might look a little complex at first, but don't worry—we'll break it all down in the upcoming lessons.
For now, just take a moment to notice a few key areas on the screen:
- The Canvas: This is the large central area where you see the connected boxes (nodes). This is where you will build and visualize your workflows.
- Nodes: The boxes themselves are called "nodes." Each node represents a step in your automation, like a trigger that starts the workflow or an action that does something in an app.
- The "Add node" Connector: You'll see a plus sign (
+) on the nodes. This is how you connect new steps to your workflow.
This quick tour is just to familiarize you with the environment. You've successfully completed the main goal for today: getting your account set up and ready to go.
Conclusion
In this lesson, you accomplished the critical first step in your automation journey.
Key Takeaways:
- n8n is a visual workflow automation tool that lets you connect apps and services without code.
- n8n Cloud is the fastest and easiest way to get started, as it requires no technical setup.
- You have successfully created your own n8n Cloud account and are ready to start building.
Next Lesson Preview:
Now that you have your account, the next step is to get comfortable navigating the n8n interface. In our next lesson, we will explore the canvas, the node panel, and the execution log in detail. This will give you the confidence to move around the platform and understand what's happening as your workflows run.