Hello! Welcome back to our exploration of SwiftUI animations.
In our last lesson, we mastered the art of customizing how an animation performs, using timing curves and spring physics to control the feel and rhythm of state changes. We focused on animating a view's properties while it remains in the view hierarchy.
Today, we'll address a different but related challenge: animating a view's arrival and departure. This lesson will teach you how to create custom view transitions using the .transition() modifier. You'll learn how to control the way views enter and exit the screen, moving beyond simple fades to create sophisticated and branded animations that enhance the user experience.
1. What is a Transition?
A transition defines how a view is inserted into or removed from the view hierarchy. It only takes effect when a view's existence is tied to a piece of state, typically within an if statement, and that state change is wrapped in a withAnimation block.
struct TransitionExample: View {
    @State private var showDetails = false

    var body: some View {
        VStack {
            if showDetails {
                RoundedRectangle(cornerRadius: 10)
                    .fill(.blue)
                    .frame(width: 200, height: 100)
                    // The transition modifier defines the enter/exit animation
                    .transition(.scale)
            }

            Button("Toggle Details") {
                // The animation block triggers the transition
                withAnimation(.bouncy) {
                    showDetails.toggle()
                }
            }
        }
    }
}
In this example, when showDetails becomes true, the rectangle doesn't just appear; it scales into view. When showDetails becomes false, it scales out.
Let's start by reviewing the core concept and the built-in transitions that SwiftUI provides.
This article from The SwiftUI Lab offers a concise and accurate definition of what a transition is and how it relates to animation.
Read the section 'What Is a Transition?'. Focus on the fundamental relationship between a conditional view (if show), the .transition() modifier, and the withAnimation block that triggers the effect.
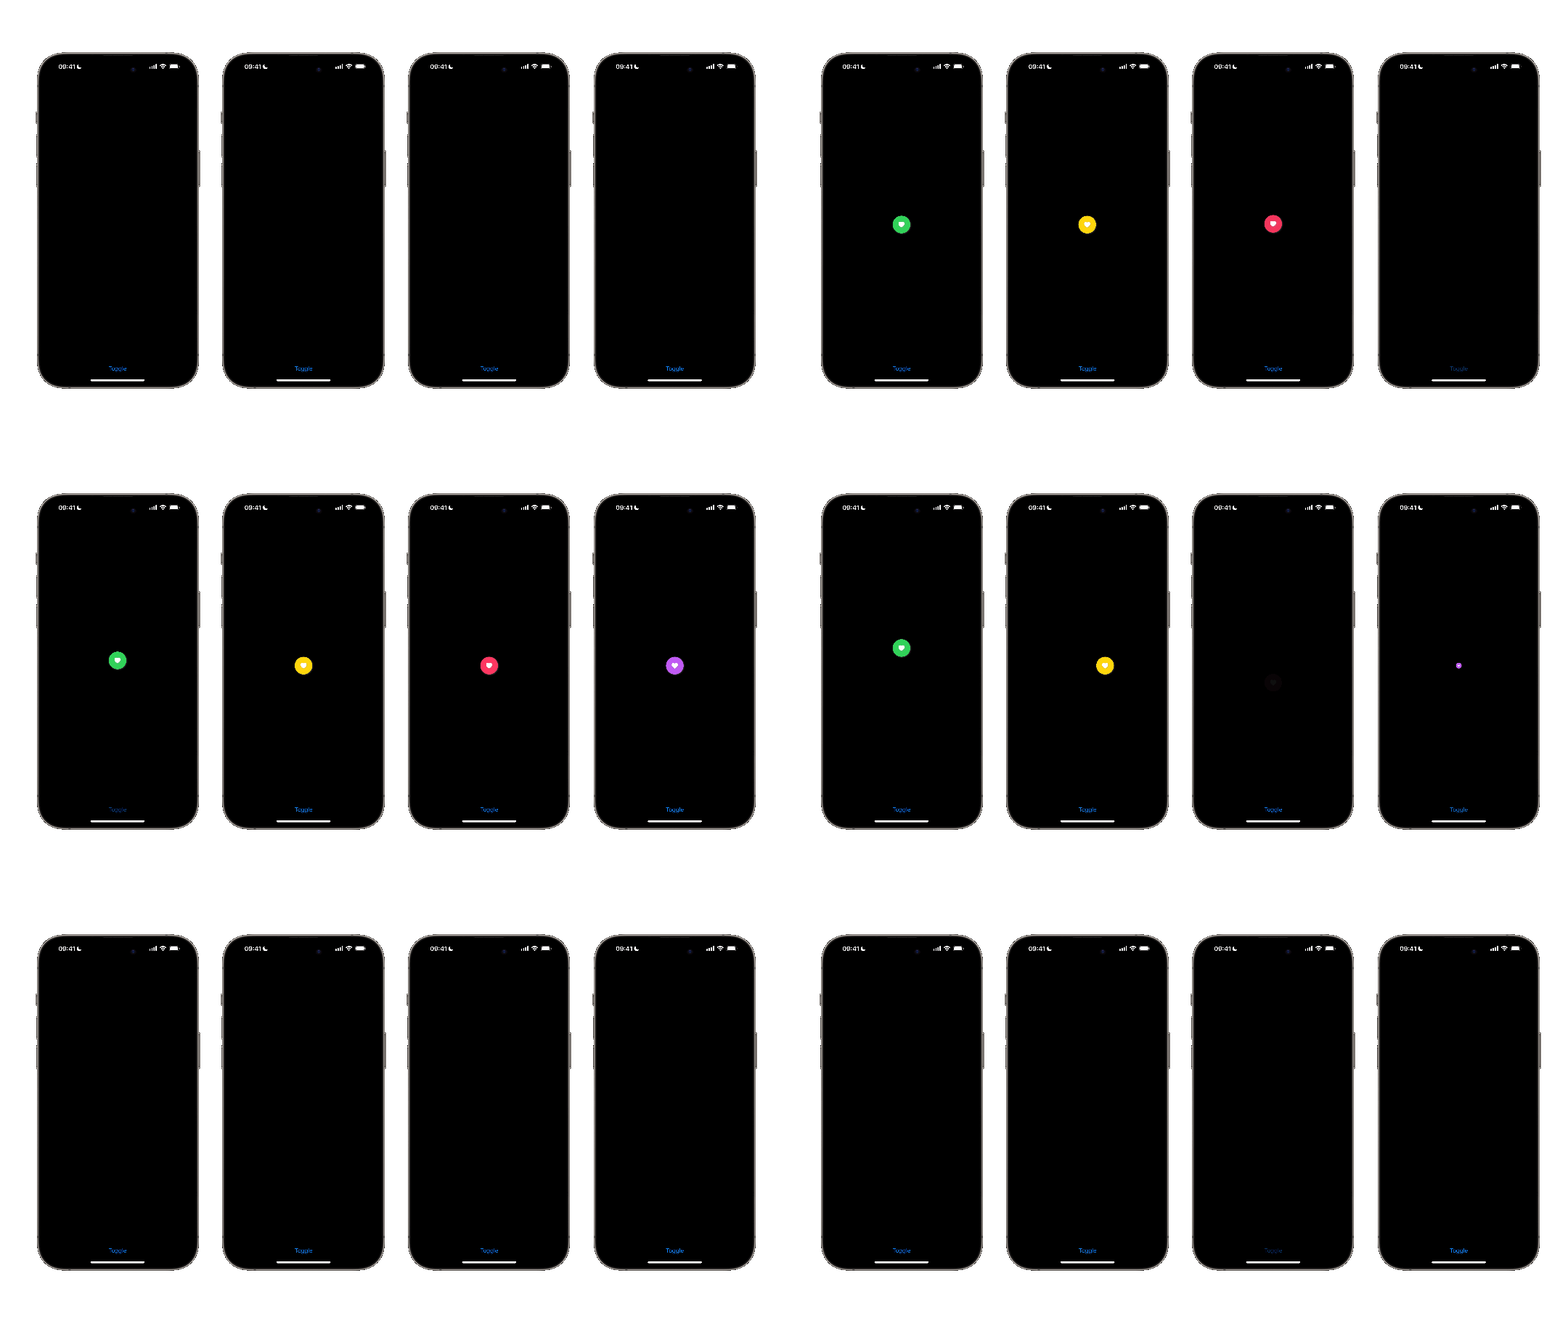
SwiftUI provides several ready-to-use transitions like .opacity, .scale, .slide, and .move(edge:).
2. Composing More Advanced Transitions
While the basic transitions are useful, their real power comes from combining them. You can create much more dynamic effects using two key techniques: combining and asymmetry.
.combined(with:): This modifier allows you to chain multiple transition effects together. For example, you can make a view slide and fade in at the same time..asymmetric(insertion:removal:): This powerful modifier lets you define different transitions for when a view appears (insertion) versus when it disappears (removal). This is common in professional UIs, such as a card sliding up from the bottom and then being dismissed by sliding back down.
Mastering SwiftUI Transitions – Custom & Built-in Animations
Let's watch a clear demonstration of how to use these two composition techniques.
Watch the section on combining transitions (09:40 - 10:36), where .opacity and .move are chained together. Then, watch the section on asymmetric transitions (16:00 - 17:33). Notice how .asymmetric accepts two separate AnyTransition types for the insertion and removal parameters.
This composition logic is what enables you to build a library of unique transitions without writing a lot of custom code from scratch.
3. Creating Fully Custom Transitions
For truly unique effects that can't be achieved by combining built-in transitions, you'll need to create your own. This is done by defining the active and identity states of the transition using a custom ViewModifier.
Here's the mental model:
identity: This is the view's final, resting state when it is fully visible on screen (e.g.,opacity: 1,scale: 1,rotation: 0).active: This is the state the view is in at the beginning of an insertion or at the end of a removal (e.g.,opacity: 0,scale: 0,rotation: -90degrees).
SwiftUI automatically animates all the animatable properties between these two states for you. The process involves two steps:
- Create a
ViewModifier: This struct defines the visual properties you want to animate. - Create an
AnyTransitionextension: This wraps your modifier into a clean, reusable transition.
How to create custom Transitions in SwiftUI | Advanced Learning #3
This hands-on video from the Swiftful Thinking channel is an excellent guide to this process. We'll follow it to understand the mechanics.
First, watch from 06:24 to 08:22 as the presenter creates a RotateViewModifier. This is the core component that defines the effect. Then, watch the crucial part from 08:22 to 09:56. Here, he uses AnyTransition.modifier(active:identity:) inside an extension to turn the modifier into a reusable .rotating transition. Pay close attention to the roles of the active and identity parameters.
After watching the video, the code structure should be clear. Here is a generalized example:
// 1. The ViewModifier defines the visual properties to be animated.
struct SkewAndFadeModifier: ViewModifier {
    let skew: Double
    let opacity: Double

    func body(content: Content) -> some View {
        content
            // ProjectionTransform is an animatable way to skew a view
            .transformEffect(.init(1, 0, skew, 1, 0, 0))
            .opacity(opacity)
    }
}

// 2. The AnyTransition extension packages the modifier into a reusable transition.
extension AnyTransition {
    static var skewAndFade: AnyTransition {
        .modifier(
            // `active` is the state when the view is "gone"
            active: SkewAndFadeModifier(skew: 0.5, opacity: 0),
            // `identity` is the state when the view is fully visible
            identity: SkewAndFadeModifier(skew: 0, opacity: 1)
        )
    }
}
You can then apply this just like any built-in transition: .transition(.skewAndFade).
4. Parameterizing and Combining Custom Transitions
To elevate your custom transitions to a professional level, you can make them more flexible by allowing parameters and combining them with other transitions.
- Parameterization: Instead of a static property, you can create a static function in your
AnyTransitionextension that accepts arguments (like a rotation angle or offset) and returns a configuredAnyTransition. - Asymmetry with Custom Transitions: You can use your custom transitions within an
.asymmetricblock, combining them with each other or with built-in transitions for highly specific effects.
How to create custom Transitions in SwiftUI | Advanced Learning #3
Let's return to the Swiftful Thinking video to see these advanced techniques in action.
Watch from 11:31 to 13:31 to see how to create a function rotating(rotation:) that returns an AnyTransition, making the effect configurable. Then, from 13:31 to 15:23, observe how he creates an asymmetric transition that uses the custom .rotating transition for insertion and a standard .move for removal.
These patterns allow you to build a powerful and reusable animation library for your projects, ensuring a consistent and polished look and feel.
Conclusion
You now have the complete toolset to control how views animate on and off the screen in SwiftUI. By mastering transitions, you can create user interfaces that are not only functional but also delightful and intuitive.
Key Takeaways:
- A transition defines how a view is inserted or removed from the hierarchy, triggered by a state change inside a
withAnimationblock. - You can compose built-in transitions using
.combined(with:)for multi-effect animations and.asymmetric(insertion:removal:)for different enter/exit behaviors. - For full control, create a custom
ViewModifierand useAnyTransition.modifier(active:identity:)to define the start (active) and end (identity) states of your transition. - Encapsulating custom transitions within an
extension AnyTransitionmakes them clean, reusable, and easy to apply throughout your app. - You can make your custom transitions even more flexible by creating parameterized functions that return a configured
AnyTransition.
Preview of the Next Lesson:
We've now completed our dive into the essentials of SwiftUI animation. In the next module, we'll shift our focus from the visual details of individual views to the high-level structure of an application. We will begin by tackling a common challenge in iOS development: navigation. Your next lesson will introduce the Coordinator pattern and explain its role in managing navigation flow and decoupling your view controllers, a foundational topic for building large, maintainable apps.