Hello! Welcome to the final lesson in our "Network and Internet Fundamentals" module.
In our last lesson, you got hands-on experience using your browser's developer tools to inspect HTTP requests and responses. You saw how a browser asks for a webpage and what the server sends back. That was a great look at web communication from the browser's point of view.
Today, we're going to zoom out and look at the network from a much deeper perspective. We'll use a professional tool called Wireshark to capture and analyze the raw data packets traveling over your network. This will allow you to see not just browser traffic, but all traffic, and understand the fundamental differences between various communication protocols.
By the end of this lesson, you will be able to capture your own network traffic with Wireshark and identify different protocols like ICMP, DNS, HTTP, and TLS in action.
What is Wireshark?
Wireshark is a free and open-source network protocol analyzer, often called a "packet sniffer." It intercepts data packets on a network and displays their contents in a human-readable format. For a cybersecurity professional, it's an indispensable tool for troubleshooting network issues, analyzing malware behavior, and understanding how protocols work.
To get started, you'll need to install Wireshark. The video below explains what Wireshark is and walks you through the installation process.
Wireshark Tutorial for Beginners: How To Capture & Analyze Any Network Traffic (EASY Hands-On!)
This video, 'Wireshark Tutorial for Beginners' by Haruna Adoga, provides a great introduction to the tool. We'll use segments of it throughout this lesson. This first part covers what Wireshark is and how to install it.
Please watch from the beginning until 01:42. The video will direct you to the official Wireshark website (wireshark.org) to download the installer for your operating system. Follow the on-screen instructions to complete the installation. If prompted to install Npcap (on Windows) or other components, please accept, as they are necessary for capturing traffic.
Your First Packet Capture
With Wireshark installed, let's get familiar with the interface and capture some live traffic.
When you open Wireshark, you'll see a list of network interfaces on your computer (e.g., "Wi-Fi," "Ethernet"). You need to choose the one that is currently connected to the internet. You can usually identify the active one by the small graph of network activity next to its name.
The following video segment will guide you through selecting an interface and starting your first capture.
Wireshark Tutorial for Beginners: How To Capture & Analyze Any Network Traffic (EASY Hands-On!)
Let's continue with the same video to see how to start and stop a capture. Pay attention to the three main panes of the Wireshark window once the capture begins.
Watch from 01:42 to 03:32. The presenter will show you how to select an interface and double-click it to begin capturing. You can then click the red square 'Stop' button to end the capture.
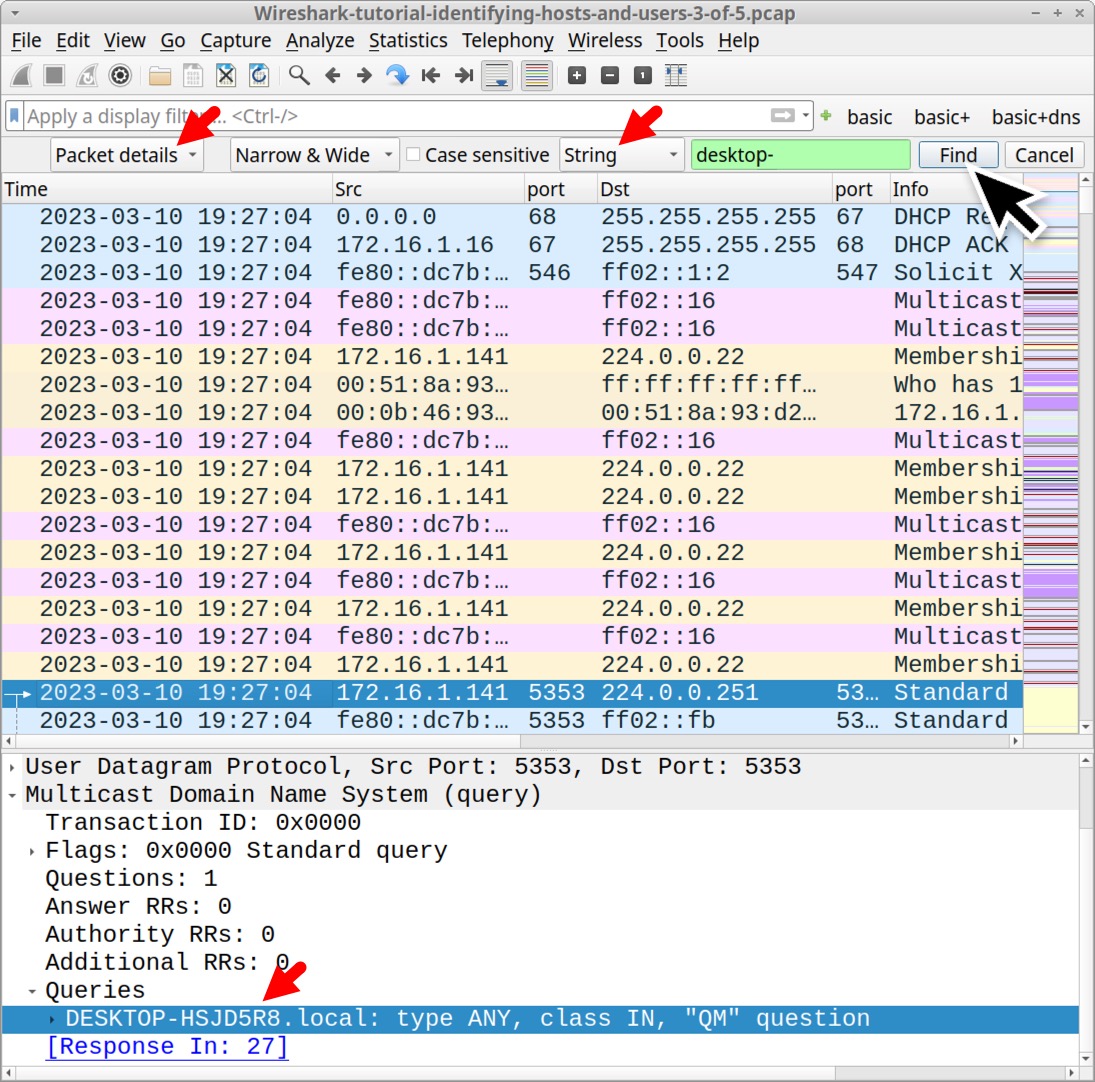
After starting a capture, you'll see three main sections in the Wireshark window:
- Packet List (top): A list of all captured packets, with columns for source/destination IPs, protocol, etc.
- Packet Details (middle): A detailed, layered view of the currently selected packet.
- Packet Bytes (bottom): The raw data of the packet in hexadecimal and ASCII.
Analysis in Action 1: ICMP (Ping)
Let's start with something simple. The ping command, which we used in a previous lesson, uses the Internet Control Message Protocol (ICMP) to send an "echo request" and wait for an "echo reply." This is a perfect first protocol to analyze.
Your Task:
- Start a new capture in Wireshark on your active network interface.
- Open your command prompt or terminal.
- Type
ping 8.8.8.8and press Enter. Let it run for a few seconds. - Go back to Wireshark and stop the capture.
You'll see a lot of traffic. To find what we're looking for, we'll use a display filter. In the filter bar at the top of the Wireshark window, type icmp and press Enter. This will hide all other packets. You should now clearly see the "echo request" packets from your computer to 8.8.8.8 and the corresponding "echo reply" packets coming back.
The next clip demonstrates this exact process.
Wireshark Tutorial for Beginners: How To Capture & Analyze Any Network Traffic (EASY Hands-On!)
This segment shows how to capture ICMP packets from a ping command and analyze the results. It also introduces the useful concept of renaming IPs for clarity, which is a helpful but optional step.
Watch from 03:32 to 05:37. You'll see how the icmp traffic appears in the capture. The video also demonstrates how to apply display filters to find the traffic you're interested in, a crucial skill for using Wireshark effectively.
Analysis in Action 2: HTTP (Unencrypted Web Traffic)
Now for a more complex example that builds on our last lesson. We'll capture the traffic from a web request to an unencrypted HTTP site. This will let you see the raw HTML code of a webpage as it travels across the network.
Your Task:
- Start a new capture in Wireshark.
- Open your web browser and navigate to
http://info.cern.ch(this is a simple, unencrypted site—the world's first website!). - Once the page loads, stop the capture in Wireshark.
Now, let's dissect the traffic:
- In the filter bar, type
dnsand press Enter. You should see packets where your computer asks a DNS server for the IP address ofinfo.cern.ch. - Clear the filter. Now, type
httpand press Enter. You will see the HTTPGETrequest your browser sent to the server. - Right-click on the
GETrequest packet and select Follow > TCP Stream. A new window will pop up showing the entire conversation, including the server's response containing the page's HTML, completely in plain text!
This exercise vividly demonstrates why unencrypted HTTP is insecure. Anyone sniffing the network can read all the data.
Wireshark Tutorial for Beginners: How To Capture & Analyze Any Network Traffic (EASY Hands-On!)
The following clip demonstrates a very similar process. It captures traffic to a local unencrypted web server, applies an http filter, and uses 'Follow TCP Stream' to reveal the page's content.
Watch from 09:47 to 14:42. Focus on the workflow: start capture, generate traffic, stop capture, filter for http, and then follow the TCP stream to see the unencrypted data.
Identifying Encrypted Traffic: HTTPS/TLS
What happens when you visit a secure site? Let's find out.
Your Task:
- Start a new capture in Wireshark.
- Open your browser and navigate to
https://www.google.com. - Stop the capture.
Now, try the same analysis:
- Apply the
httpfilter. You'll see nothing, because HTTPS traffic is not HTTP. - Clear the filter and apply a
tlsfilter. TLS (Transport Layer Security) is the protocol that encrypts HTTPS traffic. You will now see a flurry of packets related to the secure connection setup (the "handshake"). - Find a packet with "Application Data" in the info column, right-click it, and select Follow > TCP Stream.
This time, the data is just a jumble of unreadable characters. This is encrypted data. Without the decryption keys, the conversation is private.
Wireshark Tutorial for Beginners: How To Capture & Analyze Any Network Traffic (EASY Hands-On!)
This final video segment shows exactly what encrypted traffic looks like in Wireshark and highlights why you can't read it.
Watch from 14:42 to 16:31. This directly contrasts with the previous HTTP example and visually demonstrates the power of encryption.
Conclusion
You've now used a professional-grade tool to capture and analyze real network traffic. You've moved beyond the browser and seen data at the packet level, successfully identifying different protocols and observing the crucial difference between encrypted and unencrypted communication.
Key Takeaways:
- Wireshark is a powerful network protocol analyzer that provides deep visibility into network traffic.
- The basic workflow is to start a capture, generate traffic, stop the capture, and then analyze the results.
- Display filters are essential for isolating specific protocols (like
icmp,dns,http,tls) from a noisy capture. - The "Follow Stream" feature reconstructs a conversation, making it easy to see the data exchanged.
- You can visually confirm the difference between unencrypted traffic (readable plain text) and encrypted traffic (unreadable characters).
This lesson concludes our first module on network fundamentals. You've built a solid foundation, moving from the theoretical TCP/IP model all the way to hands-on packet analysis.
Next Steps
In this lesson, you saw firsthand why encryption is so important. In our next module, "Applied Cryptography and Authentication," we will begin to explore how it works. The first lesson will explain the fundamental concepts of symmetric and asymmetric encryption, the building blocks of protocols like TLS.