Hello! In our last lesson, you built a robust EarlyStopping class to prevent overfitting by automatically halting training at the optimal moment. This was a crucial step in automating the training process. Now, we're going to take this a step further.
This lesson is about moving from individual scripts to a cohesive, reusable system. You have built an impressive arsenal of models, optimizers, and evaluation tools from scratch. The goal now is to structure them in a way that allows you to mix, match, and test them with minimal effort. We will design and implement a flexible training and evaluation pipeline. Given your background in software engineering, you'll find that we'll be applying classic object-oriented principles like abstraction and encapsulation to achieve this.
By the end of this lesson, you will be able to:
- Design a modular structure for ML projects using classes for models, data, and training.
- Refactor your existing from-scratch models to fit into this reusable pipeline.
- Create a
Trainerclass that can train and evaluate any of your models.
This will set the stage perfectly for the final capstone module, where you will systematically compare all the algorithms you've built.
1. Why Bother with a Pipeline?
Before we dive into coding, let's establish why a structured pipeline is essential. As projects grow, a single script for data loading, preprocessing, training, and evaluation becomes unmanageable. Every time you want to try a new model or a different dataset, you end up copying, pasting, and modifying large chunks of code, which is inefficient and error-prone.
A well-designed pipeline solves this by separating concerns.
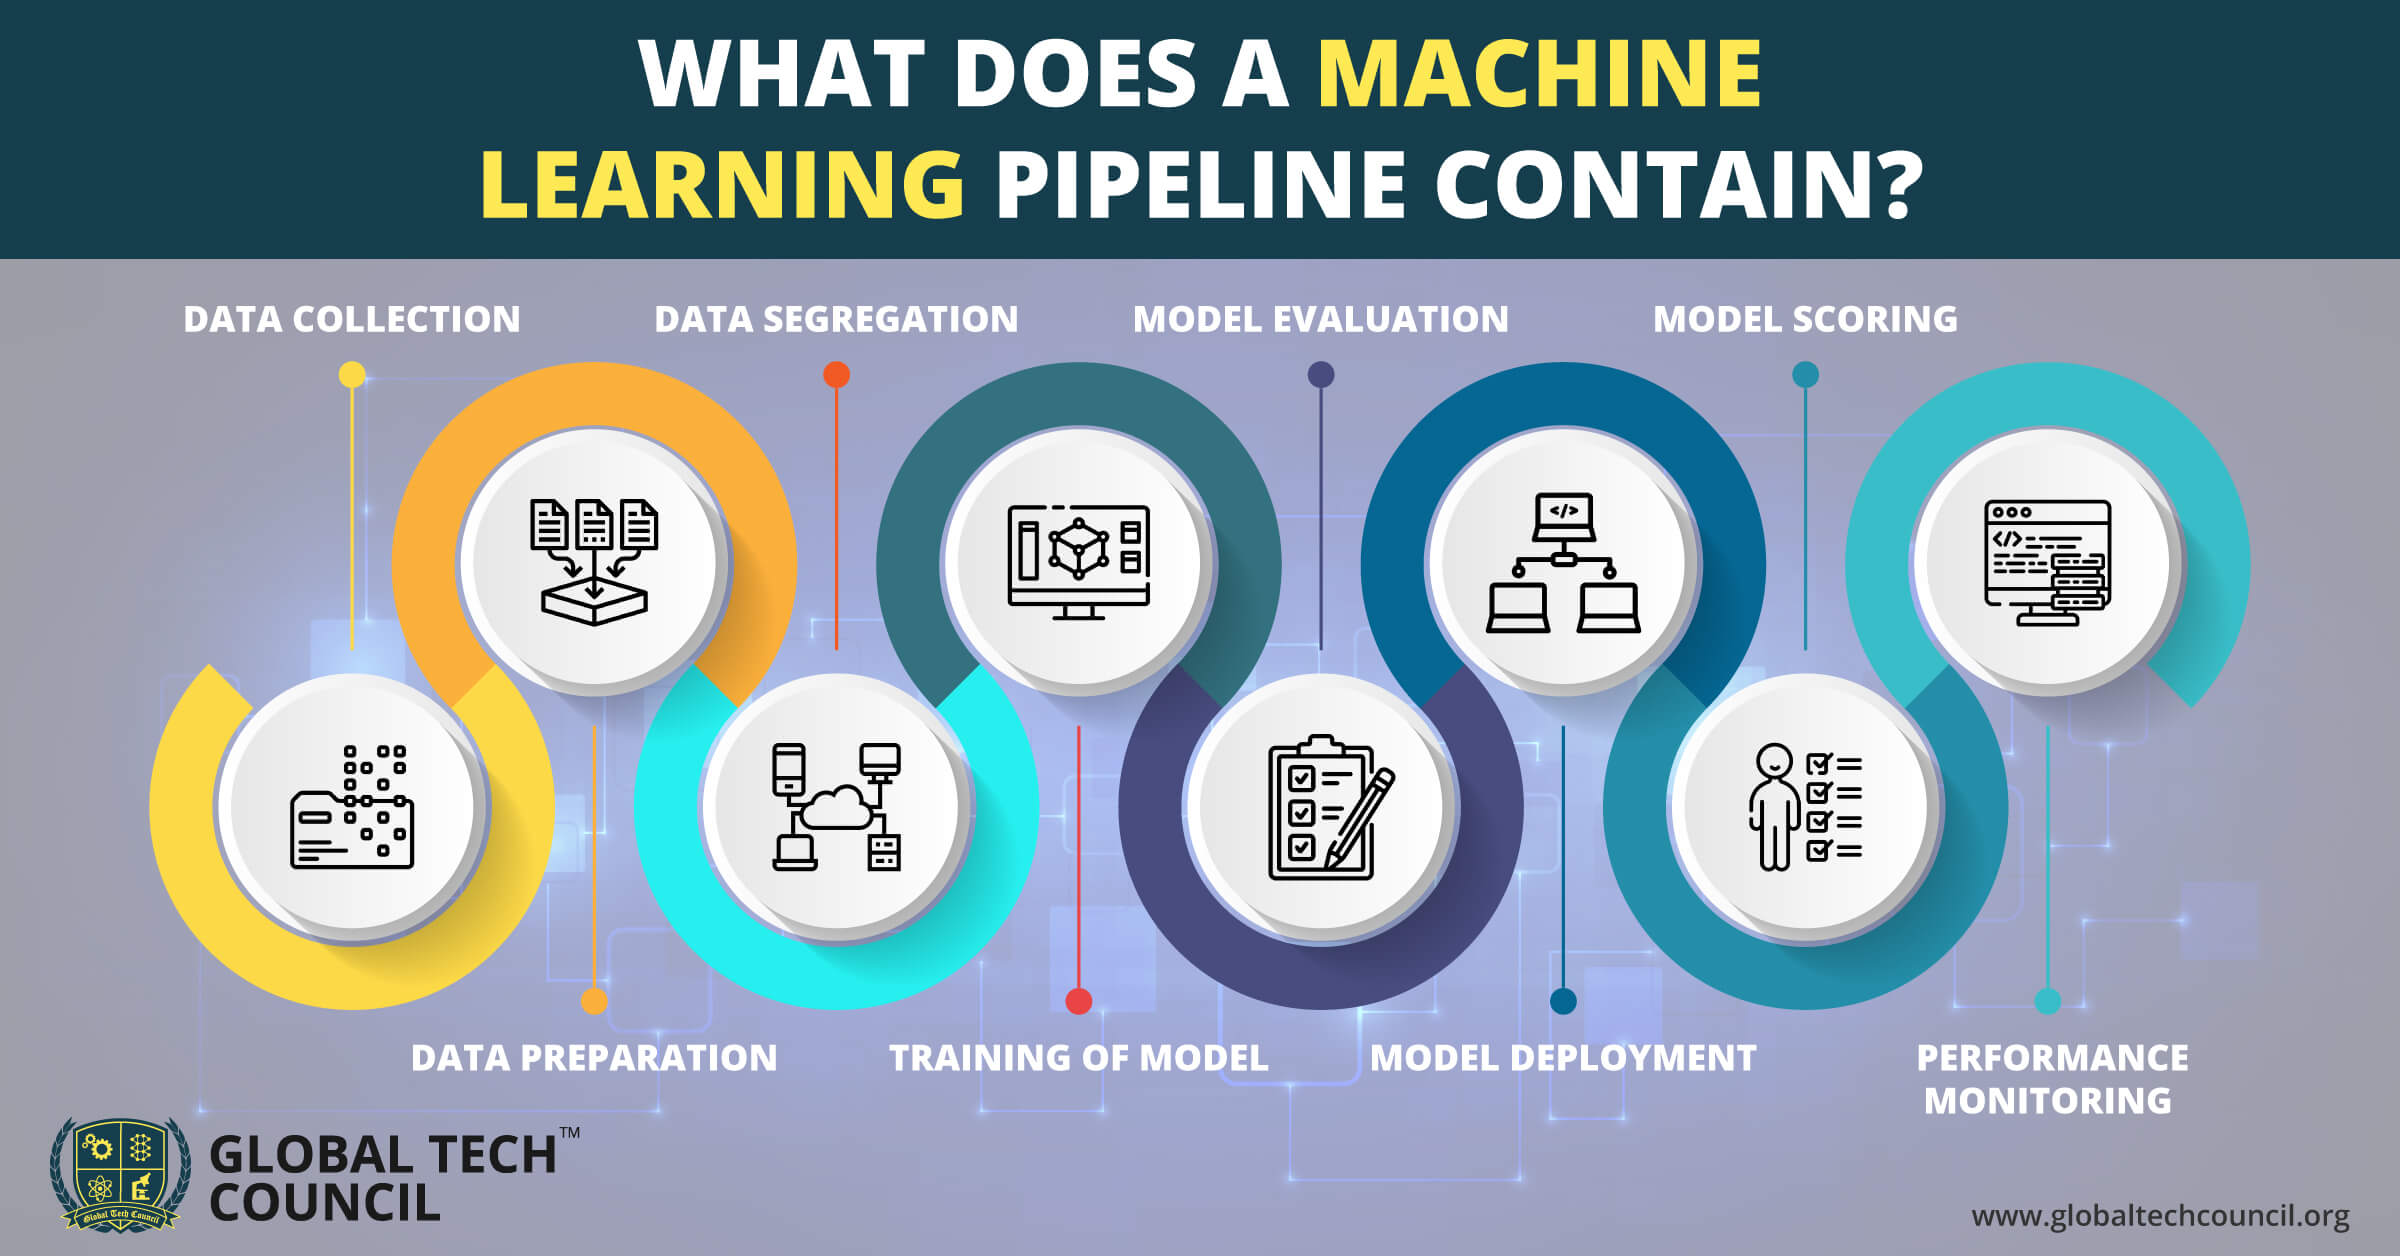
To get into the right mindset, let's watch a video that discusses high-level principles for structuring data science projects.
7 Tips To Structure Your Python Data Science Projects
The video '7 Tips To Structure Your Python Data Science Projects' by ArjanCodes offers excellent advice from a software engineering perspective. While not strictly about ML pipelines, its principles are directly applicable.
Please watch the following segments: Tip 1: Use a common structure (00:42 - 01:45) Tip 5: Move reusable code to a shared package (08:09 - 09:19) Tip 6: Move configuration to a separate file (09:19 - 11:09) Focus on how these ideas promote consistency, reusability, and maintainability.
The key takeaways from the video are:
- Consistency is key: Using a standard structure across projects makes it easier to switch between them.
- Isolate reusable logic: Code that can be used in multiple places (like your custom optimizers or loss functions) should be in its own modules.
- Separate configuration from code: Hyperparameters, file paths, and other settings should not be hardcoded.
We will embody these principles by designing a set of interacting classes.
2. An Object-Oriented Blueprint for Machine Learning
A powerful and common pattern for structuring ML projects involves three core classes, each with a distinct responsibility:
DataModule: Handles all aspects of data management—loading, splitting, preprocessing, and serving up batches.Module(orModel): Encapsulates the model architecture. It defines the model's layers and theforwardpass. It knows nothing about data loading or the training process itself.Trainer: The orchestrator. It takes aModel, aDataModule, and an optimizer, and manages the entire training loop—iterating through epochs and batches, calculating loss, backpropagating gradients, updating weights, and running evaluation.
This design is heavily inspired by modern deep learning frameworks like PyTorch Lightning and is detailed in the "Dive into Deep Learning" book.
3.2. Object-Oriented Design for Implementation
The article 'Object-Oriented Design for Implementation' from d2l.ai provides the blueprint for the structure we will adopt. It formally introduces the Module, DataModule, and Trainer classes.
Please read the introduction and the sections on 'Models' (3.2.2), 'Data' (3.2.3), and 'Training' (3.2.4). Focus on the purpose and expected methods of each class (Module, DataModule, Trainer). Don't worry about the framework-specific code details; concentrate on the class design.
3. Implementing the Pipeline Components from Scratch
Now, let's define the skeletons for these classes in Python. This structure will be the foundation for your reusable pipeline.
A. The Model Base Class
Every model you've built, from Linear Regression to your MLP, can be adapted to fit a common interface. A base Model class will define this contract.
The ML by Hand article you've seen before reinforces this idea. The nn.Module it describes is the fundamental building block for all network layers and models.
How I Built a Deep Learning Library from Scratch...
Let's revisit the 'ML by Hand' article, which has a great section on the design of a base module for models.
Read the 'NN Module' section. Pay close attention to how it stores parameters (_parameters) and defines an abstract forward method. This is exactly what we want for our own Model base class.
Based on this, here is a simple, framework-agnostic base class for our models.
import numpy as np

class Model:
    """Base class for all models."""
    def __init__(self):
        self.parameters = {}
        self.training = True # To control behavior of layers like Dropout

    def forward(self, *inputs):
        """Defines the forward pass of the model."""
        raise NotImplementedError

    def __call__(self, *inputs):
        """Allows us to call the model instance like a function."""
        return self.forward(*inputs)

    def train(self):
        """Sets the model to training mode."""
        self.training = True

    def eval(self):
        """Sets the model to evaluation mode."""
        self.training = False
To use this, you would refactor your MLP to inherit from Model:
# Example of adapting your MLP
class MLP(Model):
    def __init__(self, layer_dims):
        super().__init__()
        # Your from-scratch weight initialization logic
        self.parameters = initialize_parameters_deep(layer_dims)
        self.layer_dims = layer_dims
        # Store activation functions, etc.

    def forward(self, X):
        # Your from-scratch forward_propagation logic
        # Make sure it returns the final output AL
        AL, caches = forward_propagation(X, self.parameters)
        return AL
B. The DataHandler Class
This class will abstract away all the data loading and preparation logic.
class DataHandler:
    """Handles loading, splitting, and batching of data."""
    def __init__(self, X, y, test_size=0.2, val_size=0.2, random_state=42):
        # Using your train_test_split function from Module 1
        # First, split into training and temp (test)
        X_train, X_test, y_train, y_test = train_test_split(X, y, test_size=test_size, random_state=random_state)
        # Split temp (train) into new training and validation
        # The new val_size is relative to the original training set
        val_split_ratio = val_size / (1 - test_size)
        self.X_train, self.X_val, self.y_train, self.y_val = train_test_split(
            X_train, y_train, test_size=val_split_ratio, random_state=random_state
        )
        self.X_test = X_test
        self.y_test = y_test

    def get_train_batches(self, batch_size):
        # Your mini-batch creation logic from the SGD lessons
        # This should yield batches of (X_batch, y_batch)
        pass

    def get_val_data(self):
        return self.X_val, self.y_val

    def get_test_data(self):
        return self.X_test, self.y_test
C. The Trainer Class
This is the heart of our pipeline. It brings everything together. It will manage the training loop, call the model and optimizer, and use your EarlyStopping class.
import time
# Assumes you have your EarlyStopping class from the previous lesson defined elsewhere
# from early_stopping import EarlyStopping

class Trainer:
    """Orchestrates the training and evaluation process."""
    def __init__(self, model, optimizer, loss_function):
        self.model = model
        self.optimizer = optimizer
        self.loss_function = loss_function

    def fit(self, data_handler, epochs, batch_size, patience=10):
        print("Starting training...")
        early_stopper = EarlyStopping(patience=patience)

        for epoch in range(epochs):
            epoch_start_time = time.time()
            self.model.train() # Set model to training mode

            # Your training loop over mini-batches
            for X_batch, y_batch in data_handler.get_train_batches(batch_size):
                # 1. Forward pass
                y_hat = self.model(X_batch)

                # 2. Compute loss
                loss = self.loss_function(y_hat, y_batch)

                # 3. Backward pass (assumes you have a backprop function)
                grads = your_backward_pass_function(y_hat, y_batch, caches) # You'll need to adapt this

                # 4. Update parameters
                self.optimizer.step(self.model.parameters, grads)

            # --- Validation Phase ---
            self.model.eval() # Set model to evaluation mode
            X_val, y_val = data_handler.get_val_data()
            y_val_hat = self.model(X_val)
            val_loss = self.loss_function(y_val_hat, y_val)

            epoch_time = time.time() - epoch_start_time
            print(f"Epoch {epoch+1}/{epochs} | Val Loss: {val_loss:.4f} | Time: {epoch_time:.2f}s")

            # Early stopping check
            early_stopper(val_loss, self.model.parameters)
            if early_stopper.early_stop:
                print("Early stopping triggered. Halting training.")
                break

        # Restore best model weights
        print("Training finished. Restoring best model parameters.")
        self.model.parameters = early_stopper.best_model_params
        return {"best_validation_loss": early_stopper.best_loss}
Test your understanding!
Looking at the Trainer.fit method, you can see it's designed to be generic. It calls self.model(X_batch) and self.optimizer.step(...). What specific requirements does this design place on any model and optimizer object you pass to the Trainer?
Show answer
-
Model Requirements: Any model passed to the
Trainermust be a callable object (i.e., have a__call__method) that performs a forward pass and returns the model's predictions. It must also have aparametersattribute (a dictionary) that the optimizer can access and update. OurModelbase class ensures this. -
Optimizer Requirements: Any optimizer must have a
step(parameters, gradients)method that takes the model's parameters and the computed gradients and updates the parameters in place. All the optimizers you've built (SGD, Adam) should conform to this.
4. A Conceptual Look at a Library Pipeline
While we are building our own pipeline from scratch, it's helpful to see how a mature library like Scikit-learn handles this. The following video demonstrates sklearn.pipeline.Pipeline, which chains preprocessing steps and a final model estimator together. Our Trainer class, combined with the DataHandler, accomplishes a similar goal but with the custom, transparent components you prefer.
Machine Learning Pipelines in Python: Step-by-Step Guide with Scikit-Learn
The video 'Machine Learning Pipelines in Python' by Code with Josh gives a clear, step-by-step walkthrough of building a pipeline in Scikit-learn. Watch it to solidify your mental model of what a pipeline does.
Watch from 11:58 to 19:27. This covers: Creating separate preprocessing pipelines for numerical and categorical data. Combining them into a single preprocessor. Adding a model to form the final pipeline. Fitting the pipeline to the data. Notice how the final .fit() call triggers a whole sequence of operations. Our Trainer.fit() method plays a similar role.
Conclusion
You have now designed a complete, object-oriented framework for training and evaluating your from-scratch machine learning models. By separating logic into Model, DataHandler, and Trainer classes, you've created a system that is modular, reusable, and far easier to maintain and extend.
Key Takeaways:
- Abstraction is Power: Using base classes like
Modelcreates a contract that allows yourTrainerto work with any model that adheres to it. - Separation of Concerns: The
Modelonly knows how to compute, theDataHandleronly knows how to manage data, and theTraineronly knows how to orchestrate the process. This makes the code clean and testable. - Pipelines Automate Workflow: A well-structured pipeline encapsulates the entire train-validate-test loop, including complex logic like early stopping, making experimentation fast and reliable.
Preview of the Next Lesson:
Your new pipeline is ready for action! The next logical step is to choose a standardized dataset to put it to the test. In the next lesson, you will select a suitable benchmark dataset. This will be the first step in the final capstone module, where you will use your powerful new pipeline to systematically train, evaluate, and compare every single algorithm you've built.