Hello! Welcome back to our hands-on course in supervised learning.
In the previous lesson, we did the essential mathematical groundwork. We defined the Mean Squared Error (MSE) loss function for linear regression and, most importantly, we derived its gradient. This gave us the "compass" our optimizer needs, pointing in the direction of the steepest increase in error.
Today, we put that compass to use. Our goal is to implement a vectorized version of linear regression using gradient descent and NumPy. We'll move from theory and individual calculations to building a complete, trainable machine learning model from scratch. We will combine the gradient we derived with the optimizer logic from the previous module to create a Python class that can learn from data.
1. From Scalar Math to Vectorized Operations
In the last lesson, we worked with a single feature , using the familiar equation . This is great for understanding the concepts, but real-world models often have dozens or even thousands of features. Iterating through each feature and each data point with Python for loops would be incredibly slow.
This is where vectorization comes in. By representing our data and parameters as matrices and vectors, we can leverage NumPy's highly optimized, low-level linear algebra operations to perform calculations on the entire dataset at once.
Let's update our notation for a multi-feature, multi-sample world:
- Features : A matrix where each row is a data sample and each column is a feature. Its shape is
(n_samples, n_features). - Weights : A vector containing the weight for each feature. Its shape is
(n_features, 1). - Bias : A single scalar value, the same as the intercept from before.
- Targets : A vector of the true values for each sample, with shape
(n_samples, 1). - Predictions : A vector of the model's predictions, with shape
(n_samples, 1).
Our prediction equation for a single sample now becomes a powerful matrix equation for all samples at once:
Here, is the dot product of the feature matrix and the weight vector. Let's look at the shapes to see how this works: (n_samples, n_features) dot (n_features, 1) results in a matrix of shape (n_samples, 1), which is exactly what we need for our predictions. NumPy handles this beautifully:
# Assuming X, W, and b are initialized
y_pred = np.dot(X, W) + b
2. The Vectorized Gradient
Just as we vectorized our prediction function, we can also vectorize our gradient calculations. Recall the partial derivatives we derived:
In vectorized form, these become:
Let's break down the gradient with respect to the weights, :
- is the vector of errors, shape
(n_samples, 1). - is the transpose of the feature matrix, shape
(n_features, n_samples). - The dot product results in a shape of
(n_features, 1), which is exactly the shape of our weight vector . This gives us one gradient value for each weight, telling us how to update each one.
The Made With ML article provides a step-by-step breakdown of implementing these vectorized steps.
Linear Regression - Made With ML
To see how these vectorized equations translate directly into NumPy code, please review the following sections from the 'Linear Regression' article by Made With ML.
Read the sections 'Model', 'Loss', 'Gradients', and 'Update weights'. Notice the direct correspondence between the mathematical formulas and the NumPy code for the forward pass, loss calculation, backpropagation (gradient calculation), and parameter updates.
3. Implementing the LinearRegression Class
Now we'll assemble these components into a full-fledged LinearRegression class. This is a common and highly effective way to structure your machine learning code, keeping your model's logic self-contained. Our class will have three main methods:
__init__(self, learning_rate=0.01, n_iters=1000): The constructor to set hyperparameters like the learning rate and number of training iterations.fit(self, X, y): The core training method that implements the gradient descent loop.predict(self, X): The method to make predictions on new, unseen data using the learned weights.
The fit method is where the magic happens. It will loop for a specified number of iterations, and in each iteration, it will:
- Compute the predictions .
- Compute the gradients and .
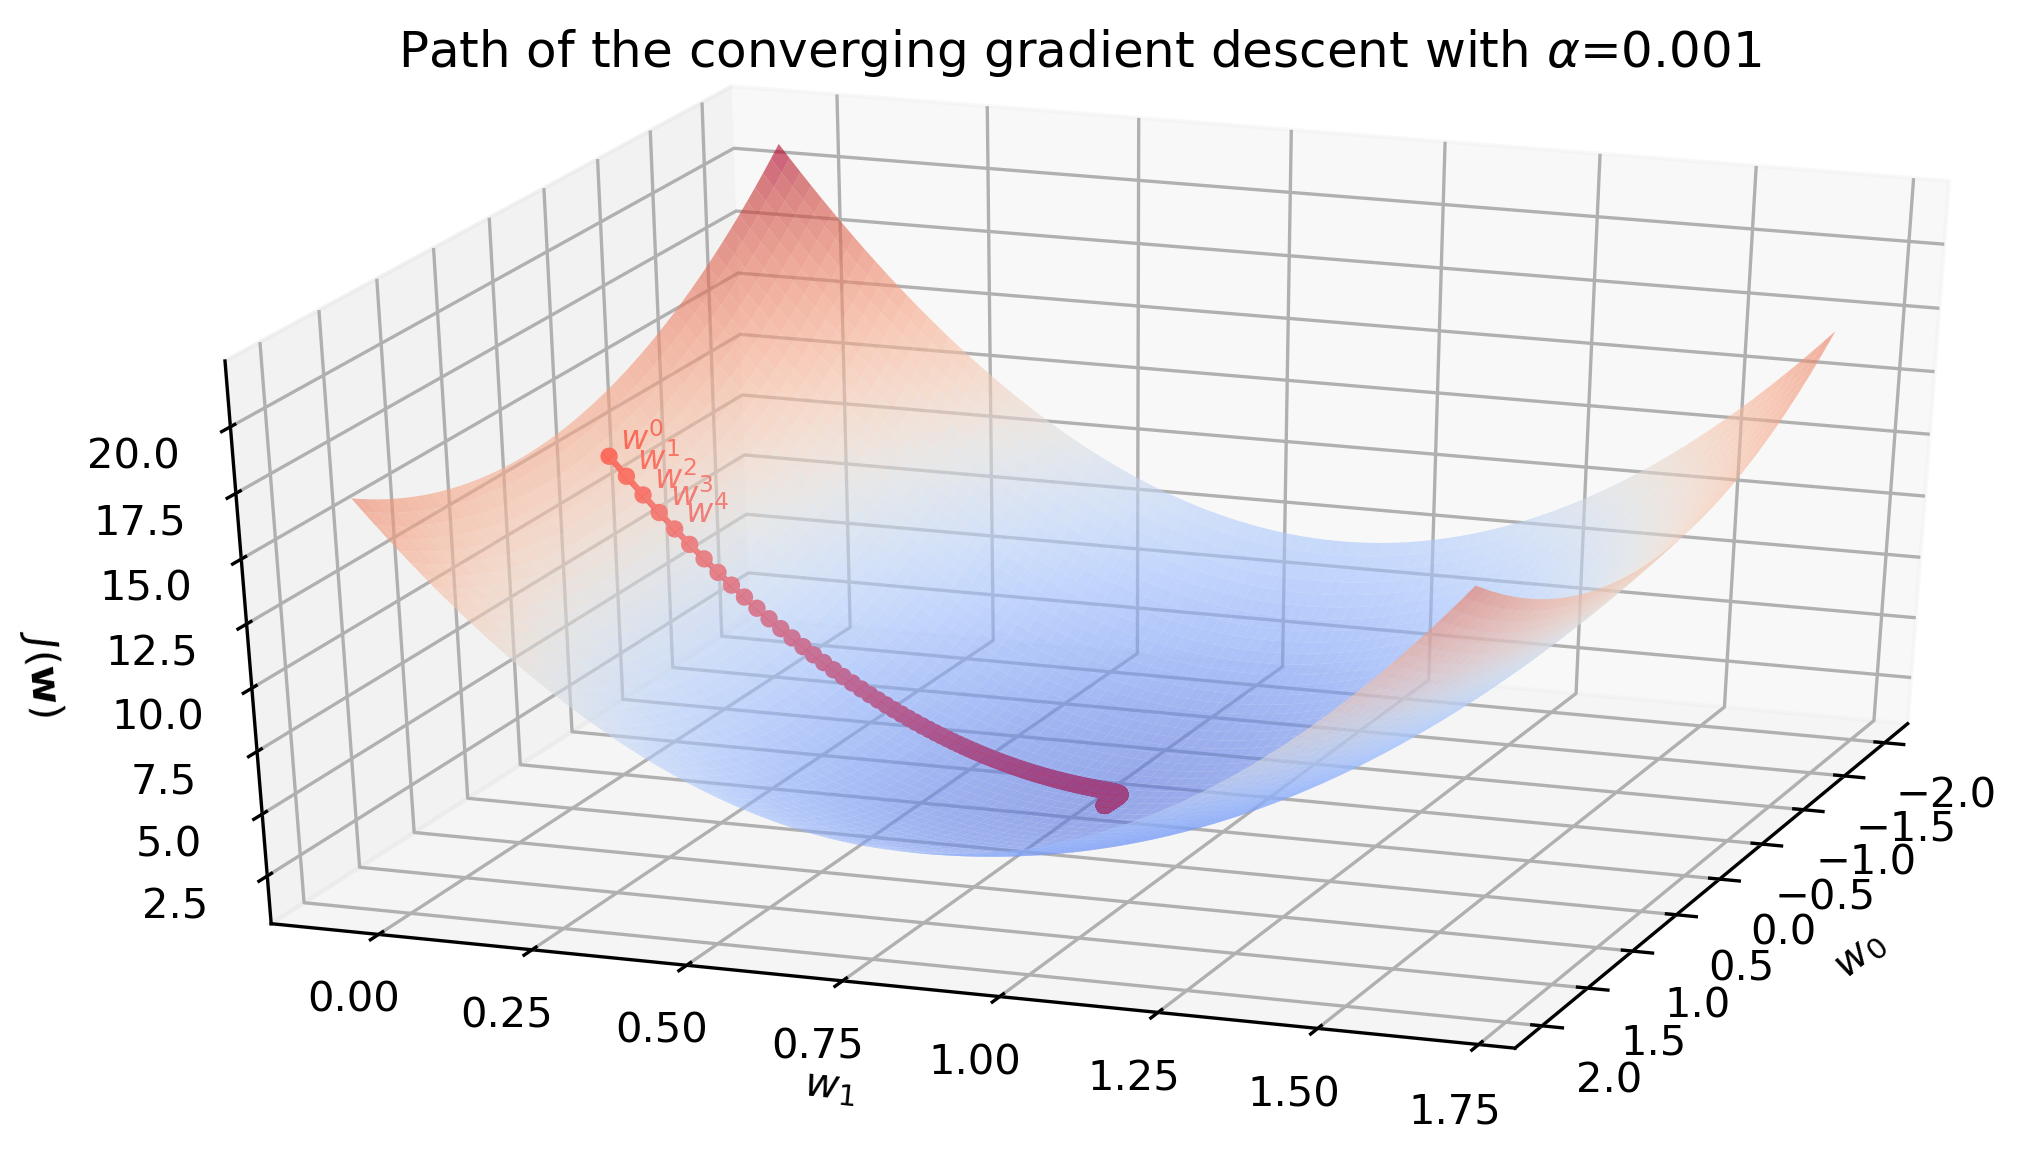
- Update the parameters and using the gradient descent rule:
The following video provides a clear, from-scratch implementation of a very similar class structure. Watching it will help solidify your understanding of how the fit and predict methods work in practice.
How to implement Linear Regression from scratch with Python
This clip from AssemblyAI's tutorial demonstrates the implementation of the core fit and predict methods for a linear regression class.
Watch the video from 07:03 to 11:56. Pay close attention to how the training loop is constructed within the fit method and how the final, trained parameters are used in the predict method. Note that their gradient calculation dw = (1 / n_samples) * np.dot(X.T, y_pred - y) omits the factor of 2. This is a common simplification, as the constant factor can be absorbed into the learning rate. For our implementation, we will stick to the mathematically correct gradient we derived.
4. Putting It All Together: Your First Model
Below is the complete, commented code for our vectorized LinearRegression class. It combines everything we've discussed: the vectorized prediction, the vectorized gradient calculation, and the iterative gradient descent update rule, all within a clean class structure.
import numpy as np

class LinearRegression:
    """
    A from-scratch implementation of Linear Regression using vectorized Gradient Descent.
    """
    def __init__(self, learning_rate=0.01, n_iters=1000):
        self.lr = learning_rate
        self.n_iters = n_iters
        self.weights = None
        self.bias = None

    def fit(self, X, y):
        """
        Train the linear regression model using gradient descent.
        X: Training data features, shape (n_samples, n_features)
        y: Training data targets, shape (n_samples,)
        """
        # 0. Initialize parameters
        n_samples, n_features = X.shape
        self.weights = np.zeros(n_features)
        self.bias = 0

        # Ensure y is the correct shape
        if y.ndim > 1:
            y = y.ravel()

        # 1. Gradient Descent
        for _ in range(self.n_iters):
            # Calculate predictions
            y_predicted = np.dot(X, self.weights) + self.bias

            # Calculate gradients based on our derived formulas
            # Note the factor of 2 from the derivative of the squared term
            dw = (2 / n_samples) * np.dot(X.T, (y_predicted - y))
            db = (2 / n_samples) * np.sum(y_predicted - y)

            # Update parameters
            self.weights -= self.lr * dw
            self.bias -= self.lr * db

    def predict(self, X):
        """
        Make predictions using the trained model.
        X: Data to make predictions on, shape (n_samples, n_features)
        """
        return np.dot(X, self.weights) + self.bias
Test your understanding!
In the fit method, the gradient for the weights is calculated as dw = (2 / n_samples) * np.dot(X.T, (y_predicted - y)). What would be the issue if we forgot the transpose and wrote np.dot(X, (y_predicted - y)) instead? Consider the matrix dimensions.
Show answer
Let's check the dimensions:
Xhas shape(n_samples, n_features).(y_predicted - y)has shape(n_samples,).
NumPy's np.dot with these shapes would try to perform a dot product between a (n_samples, n_features) matrix and a (n_samples,) vector. This operation is mathematically undefined and would raise a ValueError related to incompatible dimensions.
The transpose X.T has a shape of (n_features, n_samples). The dot product np.dot(X.T, (y_predicted - y)) results in a (n_features,) vector, which is exactly the shape we need for our gradient dw to match the shape of self.weights. This is a great example of how checking matrix dimensions can be a powerful debugging tool in machine learning.
5. Training and Evaluation
Let's see our model in action! We'll use scikit-learn to generate a synthetic regression dataset, split it, and then train and evaluate our from-scratch model.
# --- Imports for testing ---
from sklearn.model_selection import train_test_split
from sklearn.datasets import make_regression
import matplotlib.pyplot as plt

# --- A simple MSE function from Module 1 ---
def mean_squared_error(y_true, y_pred):
    return np.mean((y_true - y_pred)**2)

# 1. Generate synthetic data
X, y = make_regression(n_samples=100, n_features=1, noise=20, random_state=42)

# 2. Split data
X_train, X_test, y_train, y_test = train_test_split(X, y, test_size=0.2, random_state=1234)

# 3. Train our model
regressor = LinearRegression(learning_rate=0.01, n_iters=1000)
regressor.fit(X_train, y_train)

# 4. Make predictions
predictions = regressor.predict(X_test)

# 5. Evaluate the model
mse = mean_squared_error(y_test, predictions)
print(f"Mean Squared Error on test data: {mse:.2f}")

# 6. Visualize the results
y_pred_line = regressor.predict(X)
plt.figure(figsize=(8, 6))
plt.scatter(X_train, y_train, color='blue', label='Train data')
plt.scatter(X_test, y_test, color='green', label='Test data')
plt.plot(X, y_pred_line, color='red', linewidth=2, label='Prediction')
plt.title("Linear Regression from Scratch")
plt.xlabel("Feature")
plt.ylabel("Target")
plt.legend()
plt.show()
When you run this code, you'll see the calculated MSE and a plot showing how well your model's learned regression line fits the data.

Conclusion
Excellent work! You have now successfully built a complete, working linear regression model from the ground up using vectorized gradient descent. You've translated mathematical concepts into a reusable Python class and trained it on data.
Key Takeaways:
- Vectorization is key to writing efficient machine learning code, replacing slow Python loops with optimized NumPy operations.
- The prediction equation becomes , and the gradient calculations for and have corresponding vectorized forms.
- A machine learning model can be cleanly encapsulated in a Python class with
__init__,fit, andpredictmethods. - The training loop is the heart of gradient descent, iteratively calculating predictions, computing gradients, and updating model parameters to minimize a loss function.
Preview of the Next Lesson:
Our model works, but can we make it train faster and more reliably? If you tried using a much larger learning rate in the code above, you might have seen the MSE explode. In the next lesson, we will explore why this happens and implement a crucial pre-processing step: feature normalization. You'll see how scaling your features can have a dramatic impact on the convergence speed of gradient descent.