Introduction
Hello! In our last lesson, we focused on the "why" of shading—analyzing how a surface's angle to the light source determines its value. You learned to break down objects into planes and assign basic light, halftone, and shadow values. This gave you a logical framework for understanding form.
Today, we shift from theory to practice and tackle the "how." You know which value a surface needs, but how do you physically create that specific shade of grey on paper? This lesson is all about that fundamental skill. We will cover the two primary methods for creating a range of values with a pencil: controlling your pencil pressure and building up tones through layering. Mastering these techniques is the key to moving beyond flat-looking drawings and creating work with convincing depth and volume.
Part 1: Pencil Pressure Control
The most direct way to control value is by varying how hard you press your pencil to the paper. Light pressure deposits a small amount of graphite, creating a light tone. Heavy pressure deposits more graphite, creating a dark tone. It sounds simple, but developing fine control over this pressure is a crucial motor skill for any artist.
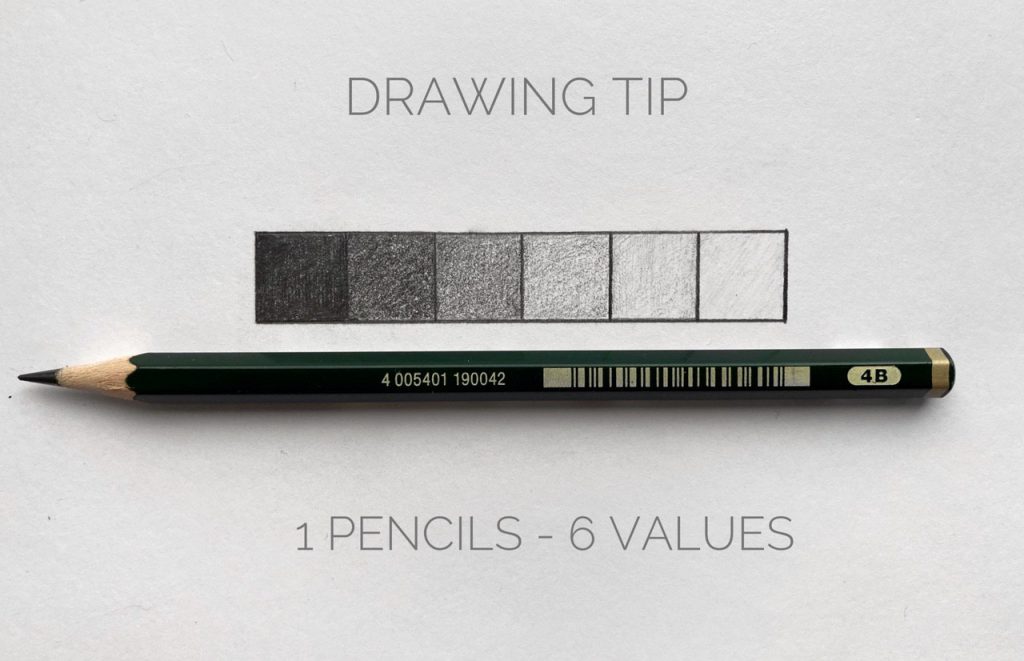
Let's watch a short video that demonstrates this principle in action.
How to Shade with PENCIL for BEGINNERS
The creator of RapidFireArt demonstrates how to practice pressure control to create gradients and a basic value scale. This is the foundational skill for all shading.
Watch from 00:27 to 01:50. Pay attention to the two exercises shown: creating a smooth, gradual gradient and filling the boxes of a value scale from darkest to lightest.
As you saw, the goal is to develop the muscle memory needed to produce a specific value on command and to transition smoothly between values. A key tip for smooth shading is to maintain consistent pressure for each individual stroke within a single tonal area. If you want to create a gradient, you gradually reduce or increase pressure at the end of each stroke.
Part 2: Expanding Your Toolkit with Different Pencils
While you can achieve a good range of values with a single pencil, using pencils of different hardness grades makes the job much easier and produces better results. You've likely seen the letters and numbers on your pencils (e.g., 2H, HB, 4B). This is the graphite grading scale.
- H pencils (Hard): Have more clay in their graphite core. They deposit less graphite, creating lighter, sharper lines. They're great for initial sketches and light tones but can indent the paper if you press too hard.
- B pencils (Black/Soft): Have less clay and more graphite. They deposit graphite easily, creating darker, richer marks that are easier to blend. They are ideal for shading dark areas.
- HB pencil: A middle-ground pencil, equivalent to a #2 pencil.
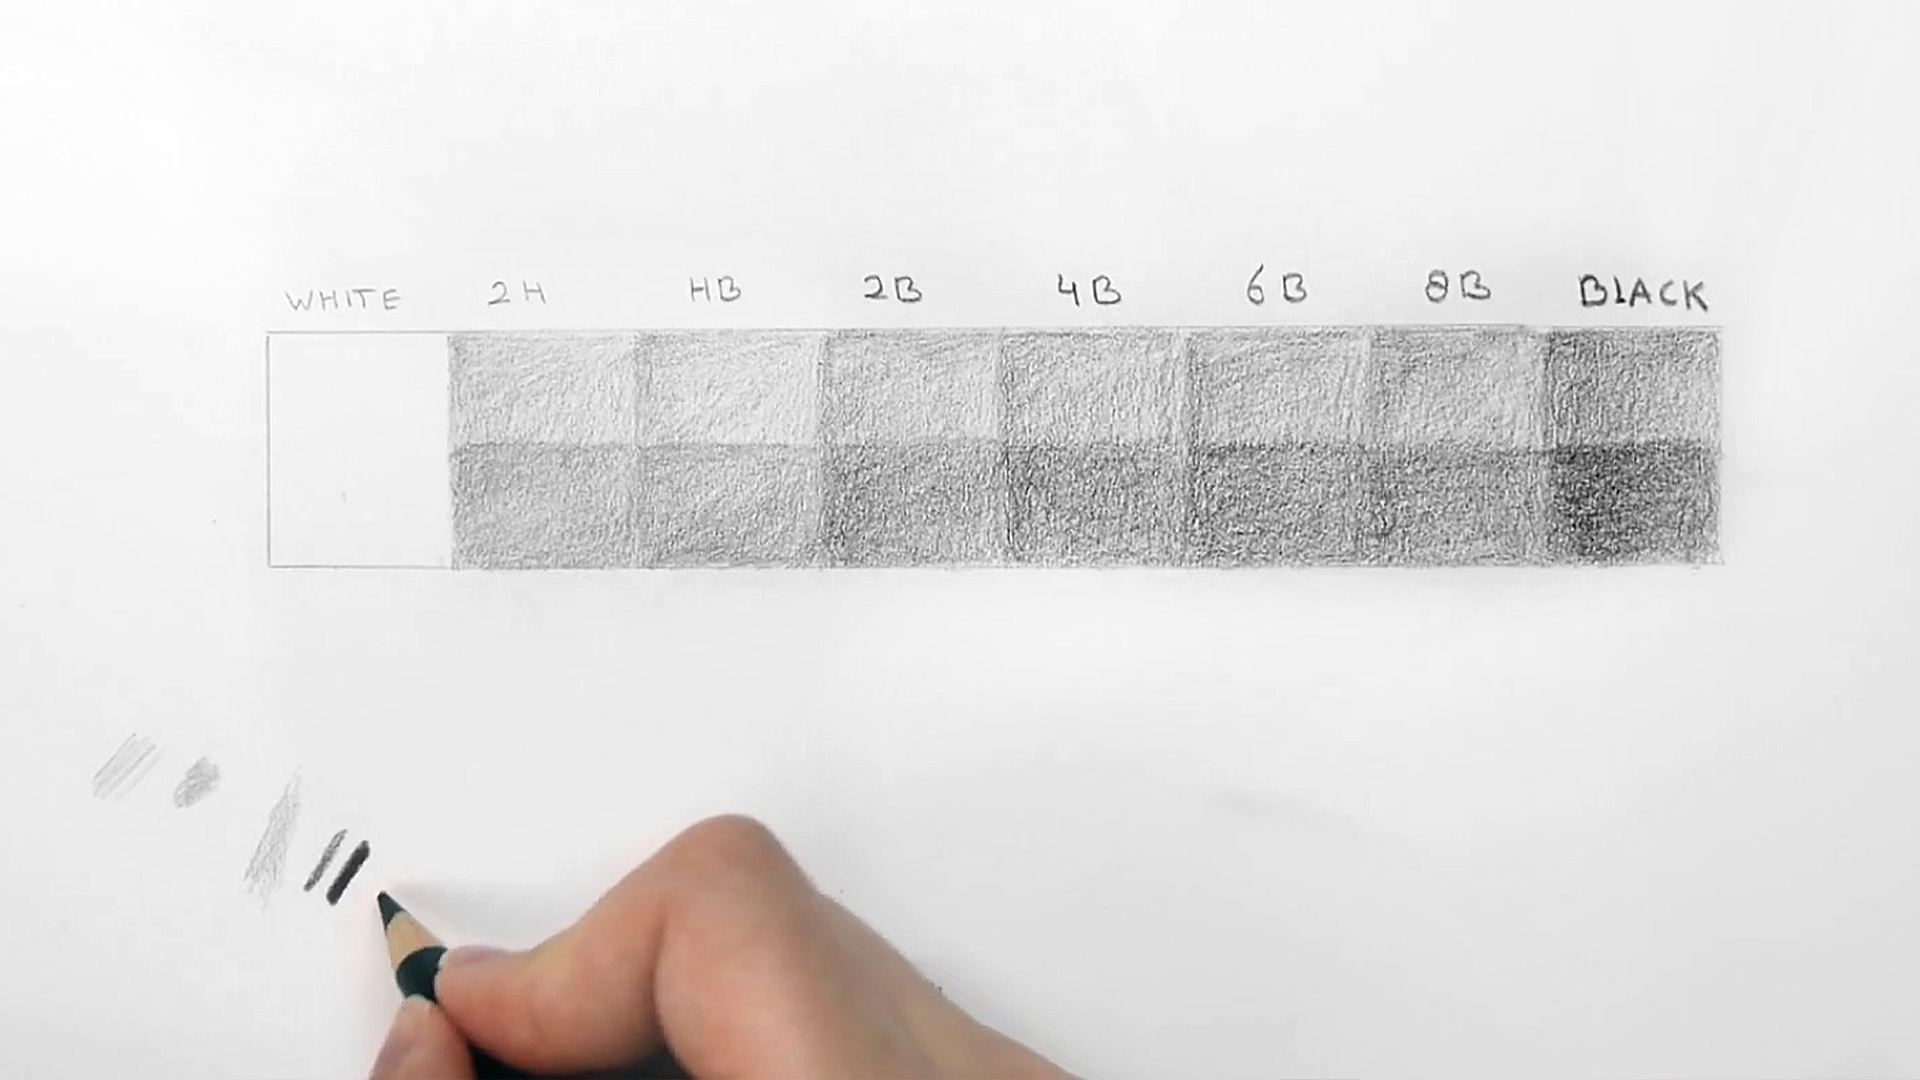
This next short clip gives a very clear, quick overview of why an artist might choose specific pencils for a drawing.
Beginner’s Guide to Graphite Pencils | Drawing Realism Made Simple
In this clip from "Beginner’s Guide to Graphite Pencils," Gemma Chambers explains her choice of a hard, medium, and soft pencil to achieve a full range of values.
Watch from 00:23 to 00:45. This will give you a practical understanding of why having a small selection of pencils is so useful.
Part 3: Building Richness Through Layering
Instead of trying to achieve your final dark value by pressing as hard as you can in one go, a more professional and controllable method is layering. This involves building up the tone gradually with multiple light layers of graphite.
There are two main benefits to this approach:
- Control: It's easier to make small adjustments and avoid going too dark too quickly.
- Richness: Layering different pencil grades (e.g., a layer of HB followed by a layer of 4B) creates a deeper, more complex black than you could get by just pressing hard with one pencil. The harder pencil fills the "tooth" or texture of the paper, and the softer pencil glides over the top.
The general rule for layering is to start with your harder pencils for the light base tones and build up to your softer pencils for the darker areas.
This next video segment is an excellent demonstration of this process.
Beginner’s Guide to Graphite Pencils | Drawing Realism Made Simple
Here, Gemma Chambers demonstrates the layering process for a realistic drawing. This is a perfect example of a structured, iterative workflow that should resonate with your background in programming—building a complex result from simple, repeated steps.
Watch from 04:13 to 07:10. Observe how she: Starts with the hardest pencil (HB) and light pressure to block in the first layer. Moves to a medium pencil (3B) to add the next layer of value, still pressing lightly. Finally, uses the softest pencil (6B) to push the darkest areas, building the value up gradually rather than pressing hard immediately.
Practice Session: Value Drills (30-35 minutes)
Now it's time to put these concepts into practice. For these exercises, you'll need your sketchbook and a few pencils if you have them (an HB, a 2B, and a 4B or 6B would be ideal, but you can do this with just one pencil).
Drill 1: Pressure Control Gradients (5 minutes)
Using a single B-grade pencil (like a 2B or 4B), draw a long, rectangular box.
- Shade it from left to right, starting with the lightest pressure you can manage and gradually increasing pressure to create your darkest possible value on the right. Try to make the transition as smooth as possible.
- Draw another box below it and do the reverse: start dark on the left and transition to light on the right.
This exercise, from the RapidFireArt article, is fundamental for building muscle memory.
Drill 2: Constructing a 5-Step Value Scale (20 minutes)
This is the most important exercise of the lesson. You will create a precise 5-step value scale. Instead of shading it from left to right, we will use a more structured method that yields better results. This guide will walk you through it.
Learn to Draw – Challenge 2: Value Scale
The article "Learn to Draw – Challenge 2: Value Scale" by artist and instructor Dorian Iten provides a superb, step-by-step process for creating an accurate value scale. Following this structured approach will give you a reliable tool for measuring values in the future.
Read the sections "How to make a Value Scale," "The 6 Step Process," and "Common Mistakes." Then, follow the steps to create your own 5-step scale as he suggests for beginners. Draw a rectangle with 5 boxes. Leave one end pure white (the paper) and fill the other end with your darkest black. Find the middle grey value and fill in the center box. Fill in the remaining two boxes with the values that are halfway between their neighbours. Adjust and rebalance the tones until the 'jump' in value between each step feels equal.
Drill 3: Layering Practice (5 minutes)
Let's do a quick exercise specifically on layering. This comes from the "Shading Practice" section of the RapidFireArt article.
- Draw another rectangular box.
- Using an HB pencil and light pressure, shade the entire box with a single, even, light grey tone.
- Now, divide the box into three equal sections.
- Go back over the first two sections with another light layer of the HB pencil.
- Finally, go over just the first section with a third light layer.
You should now have a simple 3-step gradient created purely by layering, not by increasing pressure. This helps you understand how tones are built up.
Conclusion
Excellent work today. You've just practiced the foundational mechanical skills for all realistic shading. These drills might seem simple, but they are the bedrock of creating believable form and light.
Key Takeaways:
- Pencil Pressure: The most direct way to control value. Developing this control is essential for creating smooth gradients and specific tones.
- Pencil Grades: Using a range of H and B pencils makes achieving a full spectrum of values easier and more effective.
- Layering: Building up tones gradually with light layers gives you more control and creates richer, deeper darks. The professional workflow is to start with harder pencils and build up to softer ones.
- The Value Scale: Creating a value scale is not just a one-time exercise; it's the process of calibrating your hand, your eye, and your tools to work together.
In our next lesson, we will build directly on this foundation. Now that you know how to create a range of values, we'll explore different ways to apply those values using specific shading techniques like hatching and cross-hatching. This will allow you to not only show value, but also suggest the texture of a surface.