Hello! Welcome to the first lesson of our new module, "Exploring Mandala Styles."
In our last module, we assembled the complete toolkit for composing a mandala. We learned how to plan its structure, rhythm, visual weight, and finally, its geometric base. You now understand that a 6, 8, or 12-point symmetry acts as the architectural skeleton of your design. Today, we'll start adding the "flesh" to that skeleton.
This lesson's learning outcome is to incorporate traditional motifs like flowers and geometric shapes into a mandala design. We will explore how these repeating decorative elements give a mandala its theme and character, transforming a simple polygon into a piece of art.
For someone with a background in web design, you can think of motifs as being similar to common UI components or design patterns. Just as you might use a 'card' or 'hero image' as a building block for a webpage layout, a crochet designer uses motifs like 'petals' or 'star points' as building blocks for a mandala.
1. The Language of Motifs: Flowers and Geometry
A "motif" is simply a recurring decorative figure or design. In crochet mandalas, these are typically categorized as either floral or geometric, though the line between them often blurs.
To get a sense of these categories, let's look at a brief overview.
Crochet Mandala Blanket Patterns and Tutorials for DIY Healing ...
The article 'Crochet Mandala Blanket Patterns' from The Wild Rose Gallery provides a good summary of different design styles. We will focus on the descriptions of classic and traditional patterns.
Please read the two subsections titled 'Classic Mandala Designs' and 'Inspiration from Traditional Patterns'. Notice the language used to describe the motifs: 'petals, stars, and geometric rings' in classic designs, and 'lotus petals, mandala wheels, or sunburst designs' in traditional ones.
As the article mentions, these motifs are the building blocks that create the mandala's visual story. A design might be predominantly one type, or it might blend them together.
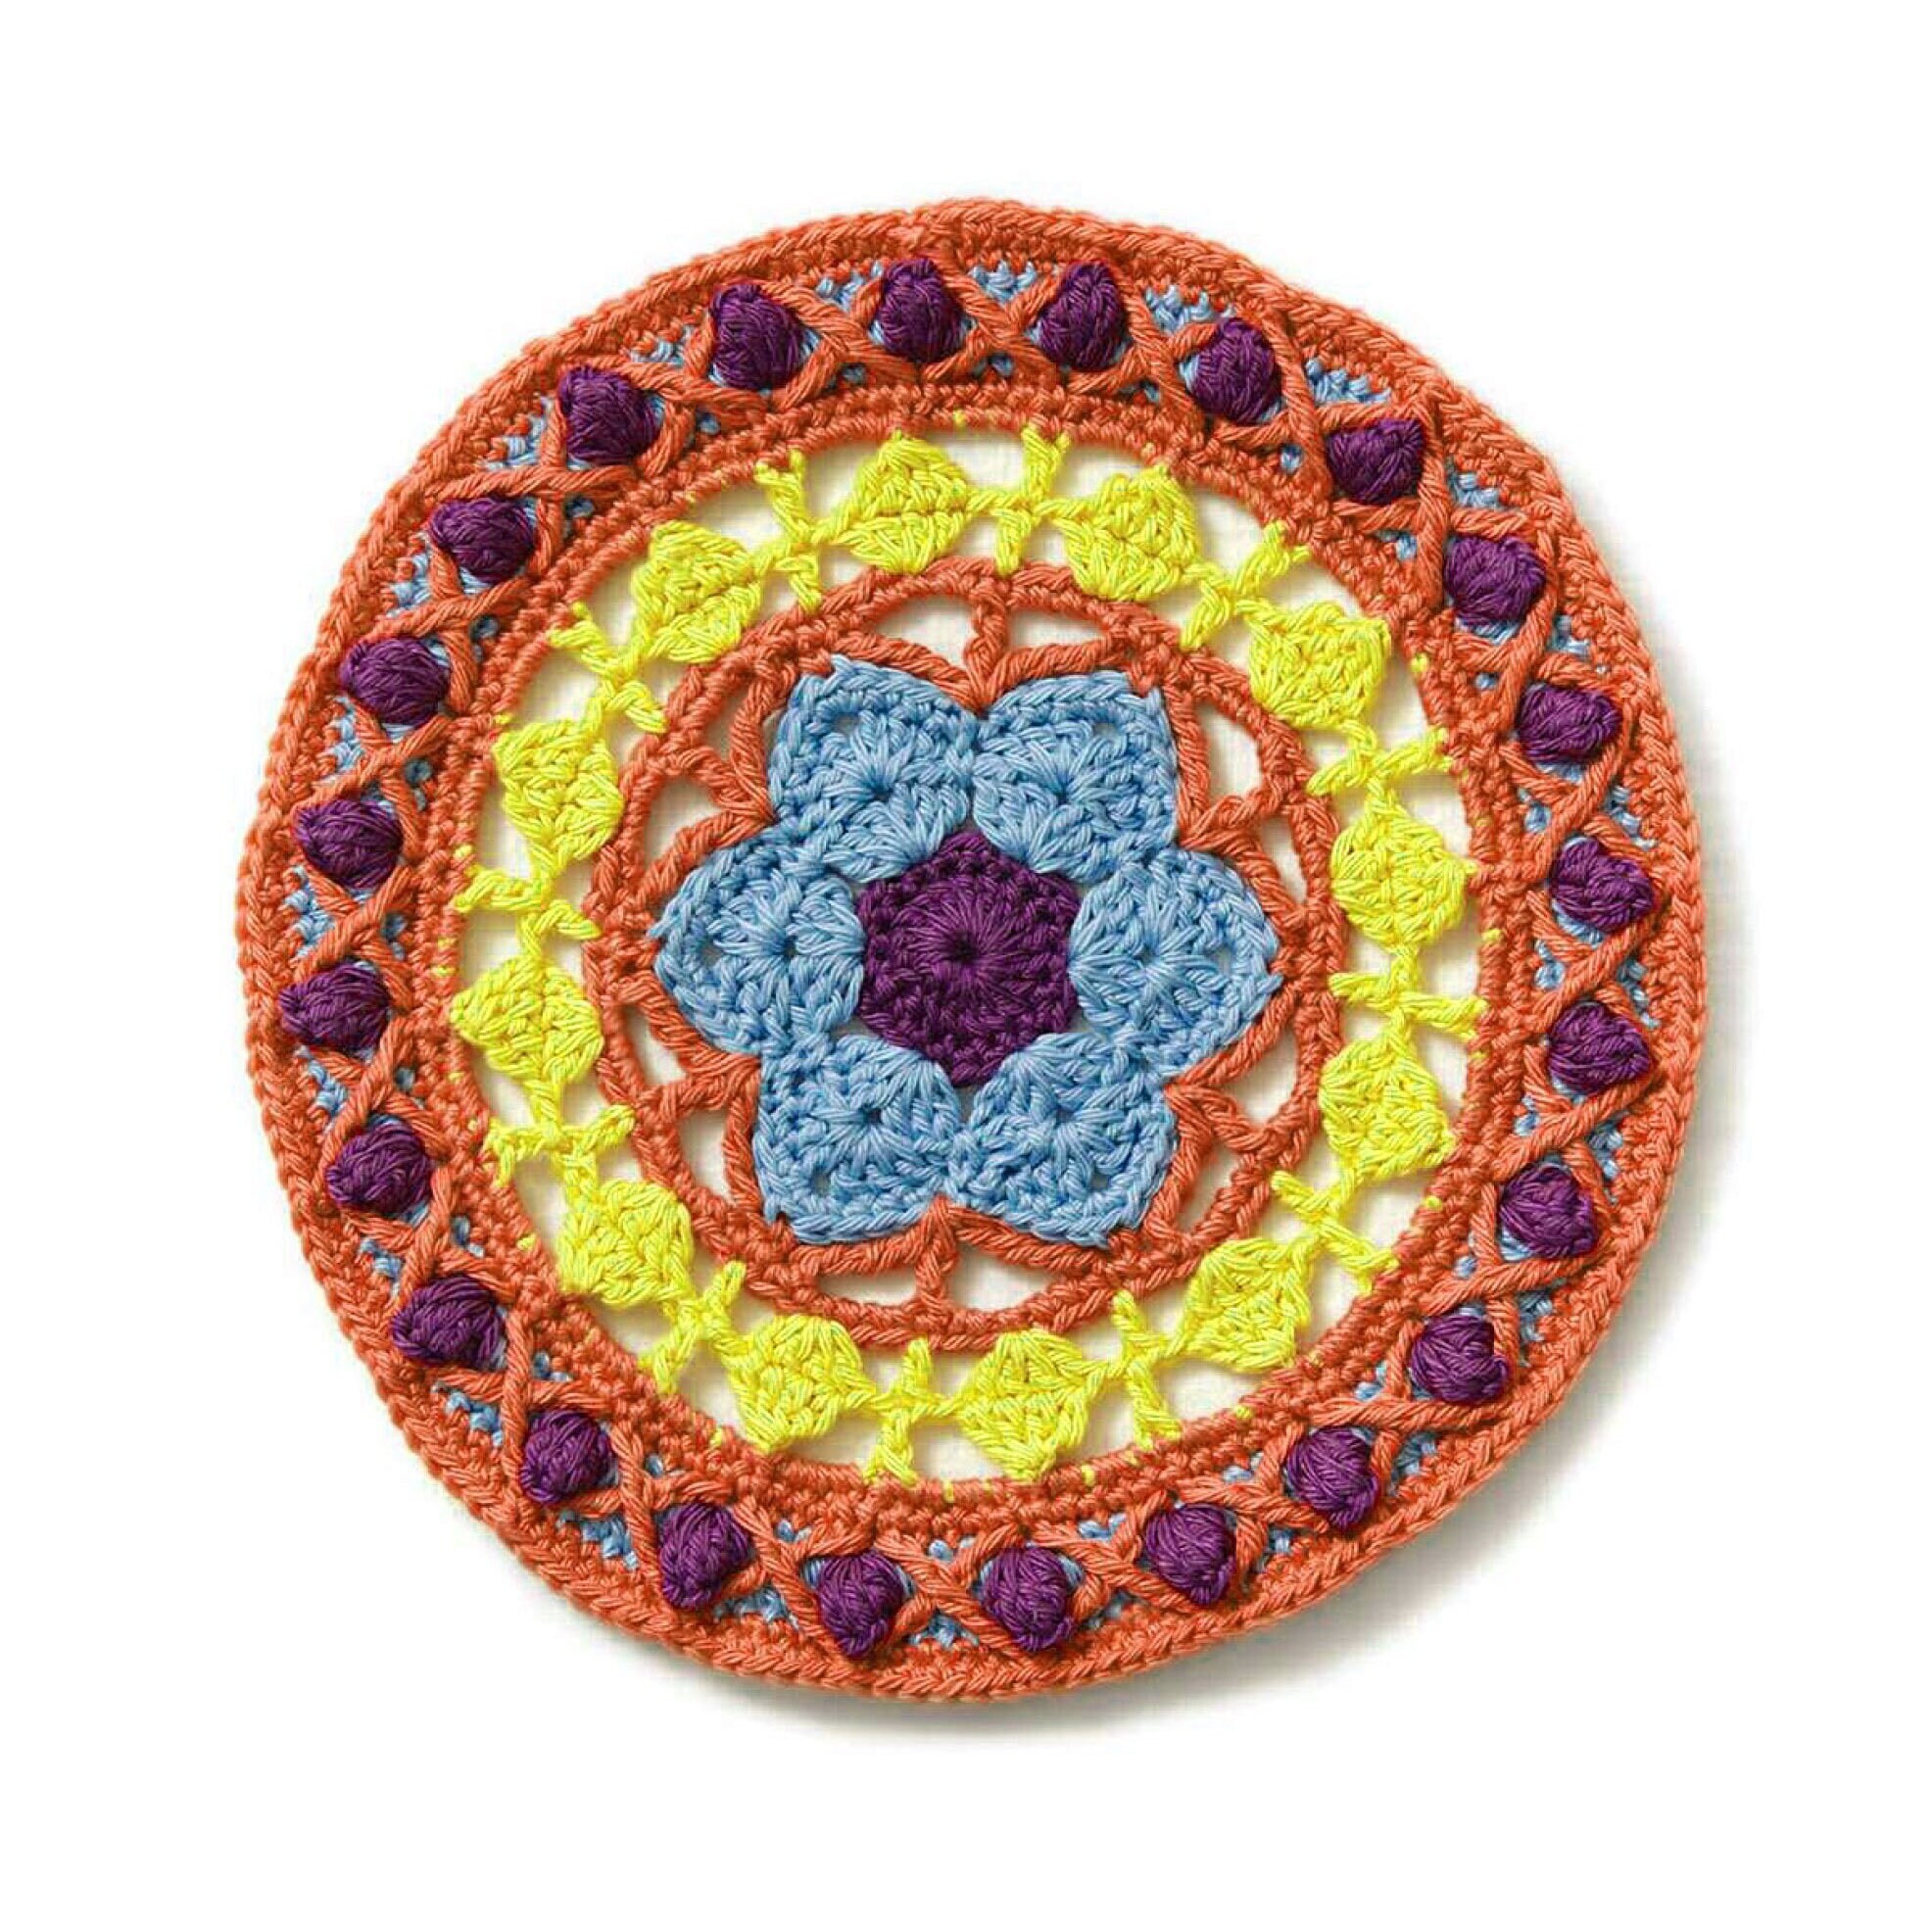
2. Deconstructing a Floral Mandala
The best way to learn how to use motifs is to see how they are constructed in a finished piece. Let's analyze a pattern that is explicitly designed to look like a flower. We will break it down round by round to see how the designer uses specific stitches and techniques to create a floral effect.
Beautiful crochet mandala pattern full tutorial
The video 'Beautiful crochet mandala pattern full tutorial' by Beyond Diary demonstrates the creation of a lovely floral mandala from start to finish. We'll watch it in segments to analyze the key floral-making techniques.
Watch the video, paying close attention to the rounds listed below. For each one, observe how the stitch choices build upon the previous rounds to create petal-like shapes and textures. Round 1 (0:30 - 2:25): Notice how the 12 three-double-crochet clusters form a dense, bud-like center. Round 3 (3:39 - 7:38): This is a key technique! See how the front post treble crochets (FPtr) reach down into Round 1, creating raised, V-shaped lines that form the first layer of petals. Round 4 (7:38 - 8:34): Shell stitches are used to form the base for the next layer of petals. Round 6 (9:16 - 12:32): The designer again uses front post treble crochets, this time reaching down into the shells of Round 4 to create a larger, more defined set of petals. Round 8 (14:16 - 17:24): The '7-dc' groups create fan-like shapes, a very common way to represent open petals. Round 11 (21:18 - 25:46): The final round uses picot stitches and small clusters to create a delicate, lacy, floral border.
What we see in this deconstruction is that "floral" isn't created by a single stitch, but by a combination of techniques:
- Clusters: To create dense, bud-like centers.
- Post Stitches: To create raised, overlapping petals that add dimension.
- Shells and Fans: To create the flared shape of an open petal.
- Picots: To add a delicate, pointed, lace-like edge.
3. Deconstructing a Geometric Mandala
Now let's switch gears and look at a design that leans more heavily on geometric motifs. While it still has some floral qualities, the emphasis is on star points, V-stitches, and textured ridges.
How to crochet MANDALA ♥ CROCHET LOVERS
The video 'How to crochet MANDALA' by Crochet Lovers demonstrates a design with strong geometric features. We'll analyze how different stitches are used to create these shapes.
As you watch, focus on how these stitch combinations create sharp, angular, and repeating patterns. Round 1 (0:31 - 3:12): The 'pineapple stitch' (a type of cluster) creates a textured, star-like center. Round 4 (5:49 - 6:27): Groups of five double crochets create points, which could be seen as either petals or star points, showing how motifs can be ambiguous. Later in the video (9:58 - 12:02): The designer introduces V-stitches (1 dc, ch 1, 1 dc) which are a classic geometric building block. They create a mesh-like fabric with a clear, repeating structure. Final rounds (18:16 - 22:32): The pattern creates sharp 'peaks' using single crochet increases and decreases. Then, a 'double crochet in relief' (a post stitch) is used to create a strong, 3D geometric line that defines the valleys between the peaks.
This analysis shows a different set of tools for creating geometric effects:
- V-Stitches: For creating open, structured, and angular patterns.
- Strategic Increases/Decreases: To form sharp points and valleys ("peaks").
- Post Stitches: To create strong, raised lines that act as structural ribs or outlines.
4. Designing a Round with a Motif
Now let's move from analysis to application. How do you incorporate a motif into your own design? It comes down to two things: creativity and math.
The math must align with the geometric base you learned about in the last lesson. The total stitch count of your round must be evenly divisible by the number of stitches required for one full repeat of your motif pattern.
Let's use a written pattern as our guide. The "Bucaneve Mandala" pattern has some great examples of motif construction.
Beginner Crochet Mandala Pattern
We'll look at the 'Bucaneve' pattern by Rebekah Haas to see how motifs are written and structured within a round. You don't need to make the project, just analyze the instructions for a couple of key rounds.
Scroll down to the 'Pattern' section and find the instructions for Round 5 and Round 6. In Round 5, notice the long list of stitches inside the brackets: [sc 2, hdc 2, dc 2, ch 2, dc 2, hdc 2, sc 2]. This is the recipe for one large 'petal' motif. The designer alternates this with a smaller motif in the ch-4 spaces. This round is all about creating the shapes. In Round 6, find the stitch fptc2tog. The instructions say to work this stitch 'around marked sc of Round 4'. This is a texturing motif. It doesn't create a shape on its own, but it adds a raised, V-shaped line over the work from Round 5, giving it definition and depth.
This shows us the basic process for designing a motif-based round:
- Check your foundation: Know your current round's stitch count (e.g., 96 stitches).
- Decide on a motif: Do you want a petal, a point, a texture?
- Define the motif's "recipe": Write out the stitch combination for one repeat. E.g., a simple petal might be
(2 dc, 1 tr, 2 dc)worked into a single stitch. - Do the math: How many stitches from the previous round does your motif's repeat use? Let's say you decide a full repeat of "petal and space" will use 8 stitches from the round below. With a 96-stitch count, you can fit exactly 12 repeats (96 / 8 = 12). This works perfectly with a 12-point base!
- Write the instruction: You would write your instruction in the format
*...motif recipe...* repeat 12 times.
Test your understanding!
You are designing a mandala. You've just finished a round with 80 stitches, built on an 8-point geometric base.
You want to design the next round to have 8 large, shell-shaped petals. You decide each petal will be (2 dc, 2 tr, 2 dc), all worked into a single stitch from the round below.
How many stitches from the previous round would each full repeat (one petal plus the space between it and the next) need to use? How might you write the instruction for the space between the petals?
Show answer
-
Calculate stitches per repeat: You have 80 stitches and want 8 petals. 80 / 8 = 10. Each full repeat must use 10 stitches from the round below.
-
Design the repeat: The petal itself uses 1 stitch. That leaves 9 stitches to get to the next petal.
-
Write a possible instruction: A simple way to handle the 9 stitches between petals would be to skip some and place a stitch to anchor the work. For example:
*Work (2 dc, 2 tr, 2 dc) in the next st, sk 4 sts, sc in the next st, sk 4 sts*
This full repeat uses 1 (for the shell) + 4 (skipped) + 1 (for the sc) + 4 (skipped) = 10 stitches. It works! You would repeat this sequence 8 times to complete the round.
Conclusion
Today you've learned to see mandalas not just as circles, but as canvases for decorative motifs. By deconstructing existing patterns, you've seen how designers use specific stitch combinations to evoke flowers, stars, and other beautiful shapes.
Key Takeaways:
- Traditional motifs in mandalas are typically floral (petals, fans, buds) or geometric (stars, V-stitches, peaks).
- Motifs are created with specific stitch "recipes," such as clusters, shells, post stitches, and picots.
- Post stitches are a powerful tool for adding 3D texture and creating overlapping effects, like petals.
- The placement and repetition of any motif are governed by the underlying math of your geometric base. The total stitch count must be divisible by the number of stitches in your motif's repeat.
This lesson completes your foundation in symmetrical design. You now know how to build the structure and how to decorate it.
In our next lesson, we'll learn how to artfully break these rules. We will explore how to design mandalas with asymmetrical elements or interrupted patterns for a modern aesthetic. Get ready to take your designs to the next level by learning when and how to introduce creative surprises